
Ever felt the sting of watching a sample spin forever because your centrifuge just can’t hit the speed you need?
That frustration hits labs of all sizes – from a tiny teaching lab to a busy clinical facility. You need something that spins fast, but you don’t want to break the budget.
That’s where an affordable high-speed centrifuge for labs becomes a game‑changer. It gives you the speed to pellet cells or separate plasma in minutes, yet stays light on the wallet.
Think about a research team that’s racing to finish a PCR prep before a deadline. With a fast spin, they can move from extraction to amplification in half the time, freeing up bench space for the next experiment.
In our experience, labs that pick a compact, high‑speed unit see a clear boost in daily throughput. They don’t need a whole room‑sized machine to get the job done.
What matters most is reliability. A good centrifuge should stop the rotor the second the lid opens, so no sample spills or accidents happen. It should also be easy to clean – a quick wipe and it’s ready for the next run.
Speed matters, but so does flexibility. Many labs juggle microtubes, PCR strips, and even small blood collection tubes. A model that accepts several rotor types lets you switch without buying extra gear.
Platforms like Shop Genomics make finding the right balance easier. Their catalog lists mini‑centrifuges that hit 6,000 rpm, fit eight tubes, and cost far less than a bench‑top giant.
So, if you’re hunting for a tool that delivers high‑speed performance without the premium price tag, start by listing the tasks you need to spin and match them to a model that offers the right speed, capacity, and safety features.
Next up we’ll break down the key specs to watch for, so you can pick the perfect fit for your lab’s workflow.
Step 1: Define Your Lab’s Specific Needs
First thing’s first – know exactly why you need a centrifuge right now. Are you pulling DNA from tiny tissue punches for a genetics class? Or are you processing dozens of blood tubes in a clinical diagnostics lab? Write the main goal on a sticky note. Seeing it in front of you makes the rest of the decision feel less like a guess and more like a plan.
Next, list the sample types you handle most often. Micro‑tubes, PCR strips, 5 ml blood tubes, or even larger conical tubes? Each rotor size fits a certain tube range, and the wrong fit means extra adapters or wasted bench space. When you know the exact tube sizes, you can zero in on a model that holds them all without a circus of extra parts.
Think about how fast you need the spin. A 6,000 rpm mini‑centrifuge might be perfect for quick plasmid prep, but a high‑throughput core might need 12,000 rpm for rapid plasma separation. Ask yourself: does a few extra seconds matter for your workflow? If you’re racing against a deadline, every minute counts.
Now consider the bench real‑estate you have. Small teaching labs often have just a single shelf left after a microscope and a freezer. A compact unit that fits next to a pipette stand can free up precious space. Larger facilities might afford a floor‑standing model, but they still benefit from a footprint that doesn’t dominate the room.
Safety is non‑negotiable. Look for a lid‑lock that won’t open until the rotor stops, and a quick‑deceleration brake that brings the spin to zero in one second. Those features keep samples from spilling and protect hands from sudden movements.
Budget constraints are real, especially for academic or start‑up labs. Set a hard ceiling for what you can spend, then look for a model that gives you the most speed and capacity inside that range. Remember, a higher price tag doesn’t always mean better fit for your specific tasks.
Once you have these criteria – sample type, speed, footprint, safety, and budget – you can start narrowing down options. Write a simple checklist and tick each box as you compare models. This turns a vague idea into a concrete buying guide you can share with your team or procurement office.
Here's a quick way to organize your thoughts:
- Primary sample type(s)
- Maximum RPM / RCF needed
- Tube capacity per run
- Bench space available
- Safety features required
- Maximum budget
Use this list during product research and you'll avoid the trap of falling in love with a shiny model that never fits your lab's reality.
And when you talk to vendors, be ready to say, "I need a centrifuge that spins 6,000 rpm, holds eight 1.5 ml tubes, fits on a 6‑inch shelf, and stays under $300." Clear specs make negotiations smoother and speed up the approval process.
Finally, involve the people who will actually run the machine. Ask a post‑doc or technician what they wish was easier about their current centrifuge. Their insights often reveal hidden needs – like a built‑in timer or a quieter motor – that you might otherwise miss.
Getting this definition right is the foundation for every later step. It saves you time, money, and a lot of frustration down the line.
Ready to see an example of a well‑defined need in action? Check out the short video below – it walks through a real lab's checklist and how they matched it to a compact, high‑speed unit.
After watching, go back to your checklist and fill in any blanks. When every item is answered, you’ll know exactly which affordable high‑speed centrifuge for labs fits your work like a glove.
Step 2: Set a Realistic Budget and Compare Specs
Now that you know what you need to spin, it’s time to put a price tag on the idea. A realistic budget stops you from chasing a dream machine that will never fit on the bench.
Know your budget limits
First, ask yourself how much you can actually spend. Look at your grant, your department’s purchase order ceiling, or even the cash left from last year’s equipment budget.
Write that number down and treat it like a hard line – not a suggestion.
Break down the cost factors
Next, split the price into pieces. The base unit is the biggest chunk, but there are hidden costs too.
- Rotor adapters – you might need a 5 ml snap‑cap rotor or a PCR strip set.
- Safety accessories – lid‑lock upgrades or extra braking pads.
- Service plans – a 2‑year warranty can save you a lot if the motor quits.
- Shipping – bulk orders often get free freight, but a single unit might not.
When you add those up, you get a true picture of what “affordable” really means for you.
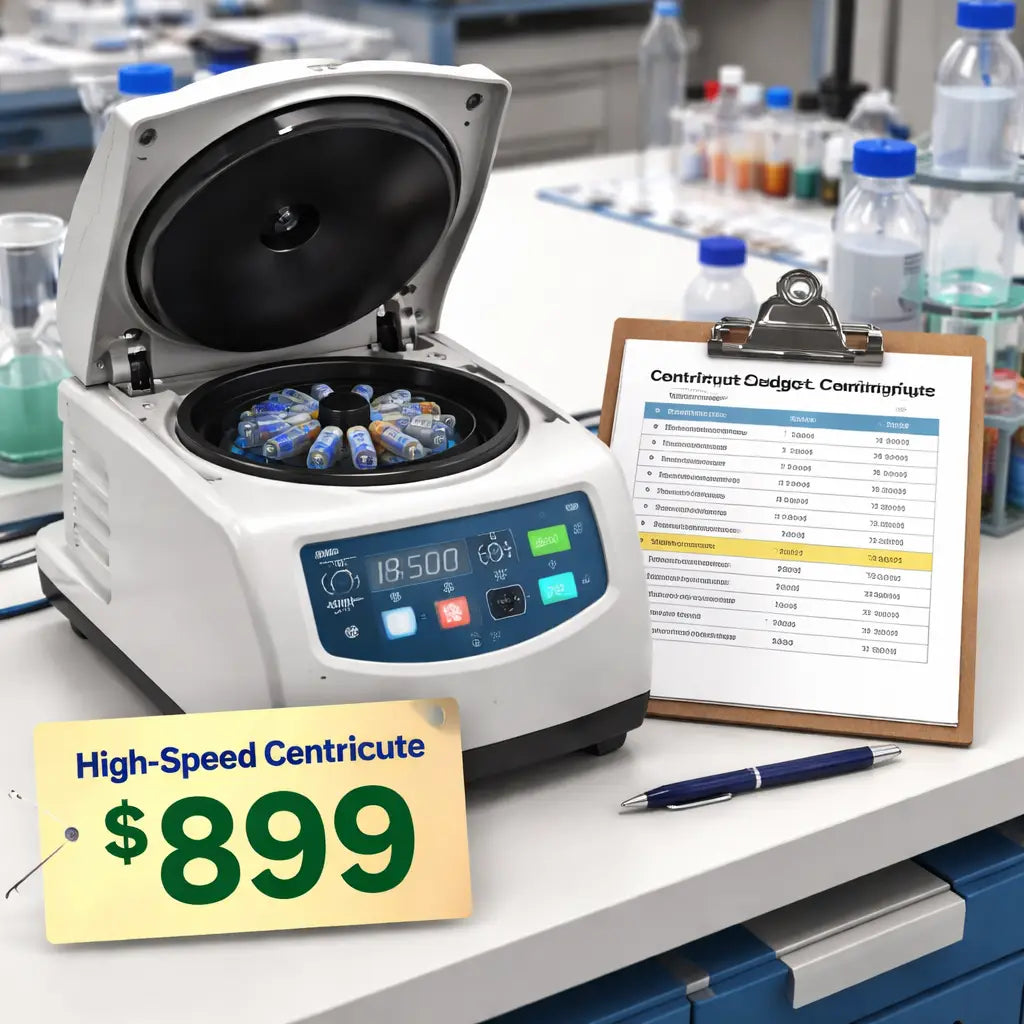
Create a comparison table
Grab a spreadsheet and list every model you’re looking at. Columns should include:
- Price (list and sale)
- Max rpm / RCF
- Tube capacity (micro, PCR, 5 ml, 15 ml)
- Footprint (does it fit your bench?)
- Warranty length
Fill in the rows with data from the product pages. Seeing the numbers side by side makes the decision feel less like a guess.
For a quick glance at the market, you can browse a catalog that shows everything from mini‑centrifuges to floor‑standing units. A wide range of centrifuge models is listed on Labsup, which can help you spot price gaps.
Check warranty and support
Two cheap machines that break after three months cost more than a solid unit with a longer warranty. Look for at least a 2‑year parts guarantee.
Also, see if the seller offers free shipping on bulk orders or a hassle‑free return. Those little perks turn a good price into a great deal.
When you’ve narrowed it down to two or three contenders, line them up against your checklist. If one model meets every must‑have but costs a little more, ask yourself if the extra reliability is worth it. If the cheaper option misses a key feature, it’s probably a false save.
Finally, involve your team. A quick chat with the technician who will load the tubes can reveal a hidden need – maybe a quieter motor or a simpler rotor change.
By the end of this step you’ll have a clear, numbers‑driven view of what you can afford and which specs matter most.
Step 3: Evaluate Performance Metrics and Features
Now you’ve got a list of models and a budget in hand. It’s time to see how each machine actually performs.
Pick the right speed and force
Speed is measured in revolutions per minute (rpm). The higher the rpm, the faster your sample spins.
But you also need to look at relative centrifugal force (RCF). RCF tells you how hard the spin pulls on the sample.
Ask yourself: do you need 6,000 rpm for DNA pelleting, or is 3,000 rpm enough for plasma?
Check the braking and deceleration
A quick stop means less chance of spills.
Look for a braking system that brings the rotor to a halt in under two seconds.
When the lid stays locked until the spin stops, you avoid accidental openings.
Look at capacity and rotor options
Capacity isn’t just about how many tubes fit.
It’s about whether the rotor matches the tube types you use every day.
Eight‑tube rotors work for most micro‑tubes, but a swing‑out rotor may be better for larger 15 ml tubes.
Consider noise and footprint
Noise matters if you share a bench with a microscope.
Pick a model that runs under 65 dB – you’ll hear the hum, not a roar.
Measure the footprint against your bench space. A compact unit saves room for pipettes.
Safety features you can’t skip
Look for an interlock that won’t let the rotor spin unless the lid is sealed.
Some models also have a temperature sensor that shuts down if it overheats.
Those little safeguards keep your samples and your team safe.
What the data says
We’ve pulled together the most common metrics that matter for an affordable high‑speed centrifuge for labs. Use the table below as a quick checklist.
| Metric | Why it matters | Typical range for affordable models |
|---|---|---|
| Max rpm / RCF | Determines what protocols you can run | 3,000 rpm / 1,000 xg to 6,000 rpm / 2,500 xg |
| Braking time | Reduces spill risk and speeds up workflow | 1–2 seconds |
| Noise level | Keeps the lab environment comfortable | 60–65 dB |
Take the table, compare each model, and mark the ones that hit your must‑have numbers.
Quick step‑by‑step sanity check
1. Write down the rpm and RCF each unit lists.
2. Note the brake time and lid‑lock type.
3. Measure the unit’s width and height against your bench.
4. Score the noise level – lower is better.
5. Add a point for each safety feature you need.
When you add up the points, the highest scorer should also fit your budget.
That’s how you turn a list of specs into a real decision.
In our experience, labs that follow this simple scoring system end up with a centrifuge that pays for itself in a few months because they avoid downtime.
Platforms like Shop Genomics make it easy to pull the specs into a spreadsheet, so you can see the numbers side by side.
Now you’ve got the facts, the scores, and a clear picture of which machine will keep your workflow moving.
Step 4: Choose a Reliable Vendor and Watch the Demo
You've narrowed the list down to a handful of models. Now it’s time to make sure the seller actually backs up the specs.
First, look for a vendor that publishes clear return policies, warranty terms, and service options. A two‑year parts guarantee is a good baseline. If the company offers a free calibration check within the first year, that’s a bonus.
Ask for a live demo
Most reputable labs sell their centrifuges with a short video walk‑through. Even better – ask for a live Zoom demo. Seeing the lid‑lock engage, the braking system stop in a second, and the noise level in a real lab helps you trust the numbers.
During the demo, watch for these cues:
- Is the safety interlock audible and visual?
- Does the speed readout update instantly when you adjust rpm?
- Is the user interface simple enough that a new tech can learn it in five minutes?
If the vendor can’t line up a demo, walk away. A solid demo shows they stand behind the machine.
Check the vendor’s support track record
Search for customer reviews on the vendor’s site or on forums like LabX. Look for comments about spare parts availability and how fast the support team replies. A lab that needed a replacement rotor last year and got it shipped overnight probably has a smoother supply chain than one that waited weeks.
In our experience, labs that partner with vendors offering free shipping on orders over $1,000 avoid surprise freight fees that can push a purchase over budget.
Compare pricing after you factor in extras
Take the base price, then add the cost of any required adapters, a temperature module, or an extended warranty. Write the total in a spreadsheet next to the other models you’re considering.
For example, the Shop Genomics myFuge™ Mini Centrifuges (8 place) list for $294.87, but you might need a 32‑slot PCR rotor adapter for $30 and a one‑year service plan for $50. The final cost is $374.87 – still under many budget caps.
When you add up the hidden fees, the cheapest sticker price can disappear.
Watch the demo video (if provided)
Many vendors host a short YouTube clip that shows the unit in action. Pay attention to the noise level – does the background sound stay quiet, or does it sound like a small engine?
Notice how quickly the rotor decelerates. A one‑second stop is ideal for labs that handle hazardous samples.
Make a final checklist
Before you sign, tick off these items:
- Warranty ≥ 2 years.
- Free or low‑cost shipping on bulk orders.
- Live demo available.
- Clear after‑sales support contact.
- Total cost (base + accessories + warranty) fits your budget.
If a vendor meets every point, you’ve found a reliable partner. If something feels off, keep looking – the right vendor will make the purchase feel easy, not stressful.
Choosing a trustworthy seller and seeing the machine work before you buy saves you from hidden surprises and keeps your bench running smoothly.
Step 5: Install, Validate, and Maintain Your Centrifuge
Got the unit out of the box? Great. The first thing you’ll feel is the weight of a new tool on your bench.
Take a breath. Let’s set it up right the first time.
Unbox and place
Pull the carton apart slowly. Keep the foam inserts – you’ll need them later.
Find a flat, sturdy surface. Make sure there’s at least a few inches of clearance on every side.
Plug the power cord into a grounded outlet. If your lab uses a surge protector, use it.
Does the unit sit level? A wobble can cause vibration later.
Hook up the rotor
Grab the rotor from the package. It usually snaps into the spindle.
Check the alignment marks. They should line up without force.
Give the rotor a gentle spin by hand. It should turn smoothly.
Now tighten the lock screw just enough to hold it. Too tight can strip threads.
First run – validation
Run a short test cycle. Most affordable high‑speed centrifuges for labs have a 30‑second spin at low speed.
Watch the lid lock engage. If it stays open, stop the run and re‑check the interlock.
Listen for odd noises. A hum is normal; a rattling sound is not.
When the spin stops, the rotor should come to a full halt in under two seconds. That’s a good brake.
Record the rpm and time in a log book. You’ll compare this later.
Calibration check
Many users skip this step. I can’t recommend that.
Grab a balance and a known‑weight tube. Spin it at a mid‑range speed.
After the run, weigh the tube. If the weight changed, the seal may be loose.
Use the manufacturer’s calibration guide – the Eppendorf routine maintenance guide is a solid reference routine maintenance guide outlines the steps.
Mark the date of this first validation. It becomes your baseline.
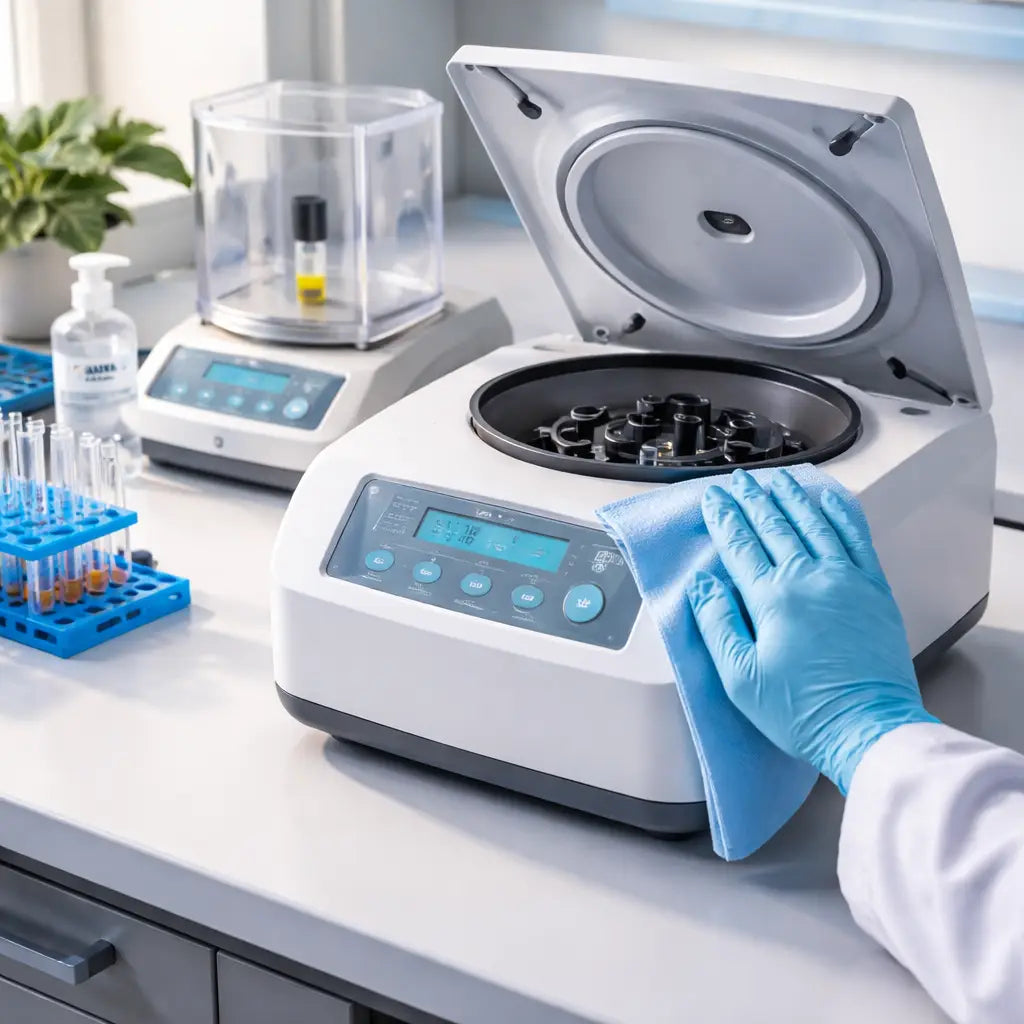
Daily care
After each run, wipe the exterior with a lint‑free cloth. A little isopropyl alcohol works well.
Don’t spray liquid directly on the unit. Spray the cloth, then wipe.
Check the lid seal for debris. A stuck lid can cause safety issues.
Keep the rotor and adapters free of dust. A quick brush does the trick.
Weekly routine
- Inspect the power cord for wear.
- Check the brake pads for wear marks.
- Run a low‑speed test to verify brake time.
- Log any unusual vibration or noise.
These checks take five minutes. They save hours of downtime.
Monthly deep dive
Schedule a deeper clean once a month. Remove the rotor and clean the spindle with a soft brush.
Lubricate any moving parts only if the manual says to.
Replace any worn seals or O‑rings. They’re cheap and easy to swap.
Run a full‑speed validation cycle. Compare the rpm and brake time to your baseline.
If numbers drift more than 5 %, it’s time to call support.
Yearly service
Even the best affordable high‑speed centrifuge benefits from a professional check.
Most vendors offer a one‑year service plan. It often includes motor inspection and firmware updates.
Ask the supplier about a calibration certificate. That paperwork can be handy for audits.
Keep all service receipts in a dedicated folder – physical or digital.
What to do when something goes wrong
The lid won’t lock? Turn the unit off, unplug it, and inspect the interlock sensor.
Rotor won’t spin? Check the motor fuse and the safety key.
Noise spikes? Look for loose screws on the base plate.
If you can’t find the issue, reach out to the vendor’s support line. Quick response saves experiments.
Remember, a well‑maintained centrifuge pays for itself by keeping your samples safe.
Now you have a clear routine. Install, validate, and keep it clean. Your lab runs smoother, and you avoid costly surprises.
Ready to put the plan into action? Grab a notebook, set a reminder, and start today.
Conclusion
We’ve walked through every step you need to pick an affordable high-speed centrifuge for labs, from figuring out what you spin to budgeting, comparing specs, testing vendors, and keeping the unit clean.
Remember, a solid routine, a quick wipe after each run and a monthly check of the brake and lid-lock, saves you from costly downtime.
Key takeaways
Define your exact tube needs before you look at any catalog. Set a hard budget line and break it down into accessories and service plans. Score each model on speed, safety, noise and footprint, then pick the one that hits your must‑haves.
Choose a vendor that offers a live demo and clear warranty terms. A good demo tells you the lid-lock works and the brake stops in under two seconds.
Next steps
Grab a notebook, write down your checklist, and set a reminder to run your first validation spin next week.
If you’re ready to see real options, Platforms like Shop Genomics let you filter by rpm, capacity and price, then compare warranties side by side.
Regularly updating the calibration certificate also helps during audits and keeps your data reliable.
Stick to the plan, log your maintenance, and you’ll keep samples safe while your lab runs smoother, all without breaking the bank.
FAQ
What makes a centrifuge both affordable and high‑speed?
In a lab you want fast spins without blowing the budget. Look for a motor that reaches 5,000‑6,000 rpm but is built into a compact chassis. The price stays low when the unit uses a simple rotor system and fewer extra features. You still get the speed you need for DNA pelleting or plasma separation, as long as the specs match your protocols.
How can I tell if the rpm is enough for my assays?
First, check the protocol’s required relative centrifugal force (RCF). Most PCR prep steps need about 2,000 xg, which translates to roughly 5,000‑6,000 rpm on a standard 4 cm rotor. If you’re only doing low‑speed spins, a 3,000 rpm model might be fine. Write down the rpm and RCF for each assay, then match them to the machine’s spec sheet.
What safety features should I look for in a low‑cost model?
Even a cheap unit should lock the lid until the rotor stops. A clear brake indicator helps you know when it’s safe to open. Look for an interlock that prevents the motor from starting if the lid isn’t sealed. A built‑in temperature sensor that shuts down the motor if it overheats adds extra peace of mind.
Can I trust the warranty on inexpensive centrifuges?
Warranty length varies, but a good rule of thumb is at least two years for parts. Shop Genomics often bundles a solid warranty with free shipping on bulk orders, which cuts hidden costs. Read the fine print: does it cover the motor and rotor? Does it include a free calibration check? Those details tell you how much risk you’re taking.
How often should I service an affordable high‑speed centrifuge?
Start with a quick wipe after every run. Once a month, run a low‑speed test and check the brake time – it should stay under two seconds. Inspect the lid seal and rotor for dust or wear. A full service every six to twelve months keeps the motor humming and prevents unexpected downtime.
Is it worth buying extra rotors or adapters?
If your lab handles different tube sizes, an extra rotor can save you from buying a second centrifuge. Adapters are cheap and let a single unit spin microtubes, PCR strips, and even 5 ml tubes. Just make sure the adapter is rated for the same max speed, otherwise you risk breaking the motor.


