
You can run high‑quality genomics work without spending a fortune on a microcentrifuge.
Imagine a university teaching lab that needs to spin down DNA samples for PCR. They only have a tight budget, but they still need reliable speed and temperature control. A small biotech startup faces the same pinch: they must process dozens of samples daily but can’t justify a pricey bench‑top unit.
Start by listing what you really need: max speed (often 13,000‑15,000 rpm is enough), tube capacity (1.5 mL or 2 mL), and power source. Next, compare a few models that hit those specs under $300. Read user reviews for noise level and durability – a quiet motor matters in a shared space. Check the warranty and service options; a two‑year cover can save headaches later.
When you’ve narrowed it down, visit Shop Genomics’s microcentrifuge collection to see the exact specs, price points, and accessories like adapters for 0.5 mL tubes. Many labs find that picking a unit with a simple digital display and easy‑clean rotor speeds up daily workflows.
Finally, write down a quick checklist: speed, capacity, price, warranty, and spare parts. Use that list when you place the order, and you’ll avoid surprise costs while keeping your genomics work on track.
Step 1: Define Your Genomics Workflow Requirements
First thing you need is a clear picture of what your lab actually does each day.
Ask yourself: how many samples do you spin? Do you need 13,000 rpm or a bit more? Write down the max speed you’ll ever need.
Next, think about tube size. Most teaching labs use 1.5 mL or 2 mL tubes, but a biotech startup might run 0.5 mL PCR plates. Note the rotor type that fits those tubes.
Power source matters too. If you run on a tight budget, a unit that plugs into a standard 110 V outlet saves you the cost of a dedicated line.
Noise is not just a nuisance; it can break focus in a shared space. Look for a motor that stays below 60 dB, which most budget models promise.
Now jot a quick checklist: speed, capacity, voltage, noise, warranty, spare parts. This list will keep you from chasing specs later.
Take a minute to rank each item by how critical it is. High‑priority items like speed and capacity get the most budget, while nice‑to‑haves like a backlit display can wait.
Write the final list on a sticky note and keep it on your bench for quick reference.
Once you have the checklist, compare options on a site like Shop Genomics. Their range of affordable microcentrifuge for genomics lets you match each need without overspending.
For labeling your samples, a fast online print shop such as Jiffy Print Online can help you get clear barcodes on a tight schedule. If you need cheap lab paperwork, Topyappers offers budget‑friendly forms and templates.
Step 2: Evaluate Key Specs for Affordable Microcentrifuges
Now that you have a checklist, it's time to dig into the specs that really matter for an affordable microcentrifuge for genomics.
Speed and g‑force
Most DNA work runs fine at 13,000‑15,000 rpm, which translates to about 15,000‑18,000 ×g. If you plan to spin larger tubes or need faster pelleting, look for a unit that can hit at least 20,000 ×g. Fisher Scientific lists models that reach 21,300 ×g, so those can cover any routine genomics protocol. Fisher Scientific microcentrifuge specs
Tube size and rotor layout
Check the rotor capacity. A 24‑well rotor for 1.5‑2 mL tubes fits most PCR and extraction steps. Some labs use 0.5 mL strips; make sure the rotor has adapters or a separate small‑tube holder. A hypothetical biotech startup might buy a 24‑well rotor and add a 12‑well adapter for strip work.
Temperature control
If your enzymes chill at 4 °C, a basic cooling option is enough. For protocols that need -20 °C, pick a refrigerated model. A small academic lab could save money by using a vented unit for most steps and only buying a refrigerated backup for the rare cold spin.
Power, noise, and durability
Make sure the unit runs on your lab's voltage (110 V or 220 V). Look for a decibel rating below 55 dB; a quiet motor lets you work in shared spaces without distraction. Check the warranty length – two years is a common baseline. Also note if spare parts are sold locally; a quick replaceable rotor can keep you running when a blade breaks.
Action step: write down the numbers you need for each category, then score every model on a 0‑5 scale. The highest total wins.
Step 3: Compare Popular Affordable Models (Table Included)
Now that you know what to look for, it’s time to line up a few budget‑friendly choices. Below is a quick snapshot of three models that many labs find fit the bill for genomics work without breaking the bank.
Key points to check
First, match the max speed to your protocol. Most DNA steps need 13,000–15,000 rpm, so any model that hits that range is safe. Second, look at tube capacity – 1.5 mL or 2 mL rotors cover most PCR and extraction steps. Third, compare price and warranty. A two‑year cover is a good safety net.
| Model | Max Speed (rpm) | Capacity | Price (USD) | Warranty |
|---|---|---|---|---|
| myFuge Mini | 15,000 | 24 × 1.5 mL | ≈$279 | 2 years |
| MC‑24 Basic | 14,500 | 24 × 2 mL | ≈$299 | 2 years |
| EcoSpin 12 | 13,800 | 12 × 0.5 mL strips | ≈$259 | 1 year |
Notice how the myFuge Mini and MC‑24 Basic both cover the standard 24‑well layout, but the EcoSpin 12 focuses on strip work. If you often run 0.5 mL strips, the EcoSpin saves you adapters.
Next step: grab a piece of paper, copy the columns you care about, and give each model a score from 0‑5. Add up the numbers – the highest total points you to the best fit.
Tip: If a model’s price is a few dollars under your budget, check if the seller offers free shipping or a bundle with adapters. That can tip the scales in your favor.
By the end of this quick compare, you’ll have a clear picture of which affordable microcentrifuge for genomics matches your workflow, noise limits, and wallet.
Step 4: Set Up and Validate Your Microcentrifuge (Video Guide)
Now that you’ve picked the right affordable microcentrifuge for genomics, it’s time to get it running.
First, find a clean, level bench near a power outlet. Plug the unit in and let it sit for a minute so the motor warms up.
Next, attach the rotor. Most budget models use a simple twist‑lock – line up the arrows, give it a firm turn, and hear the click.
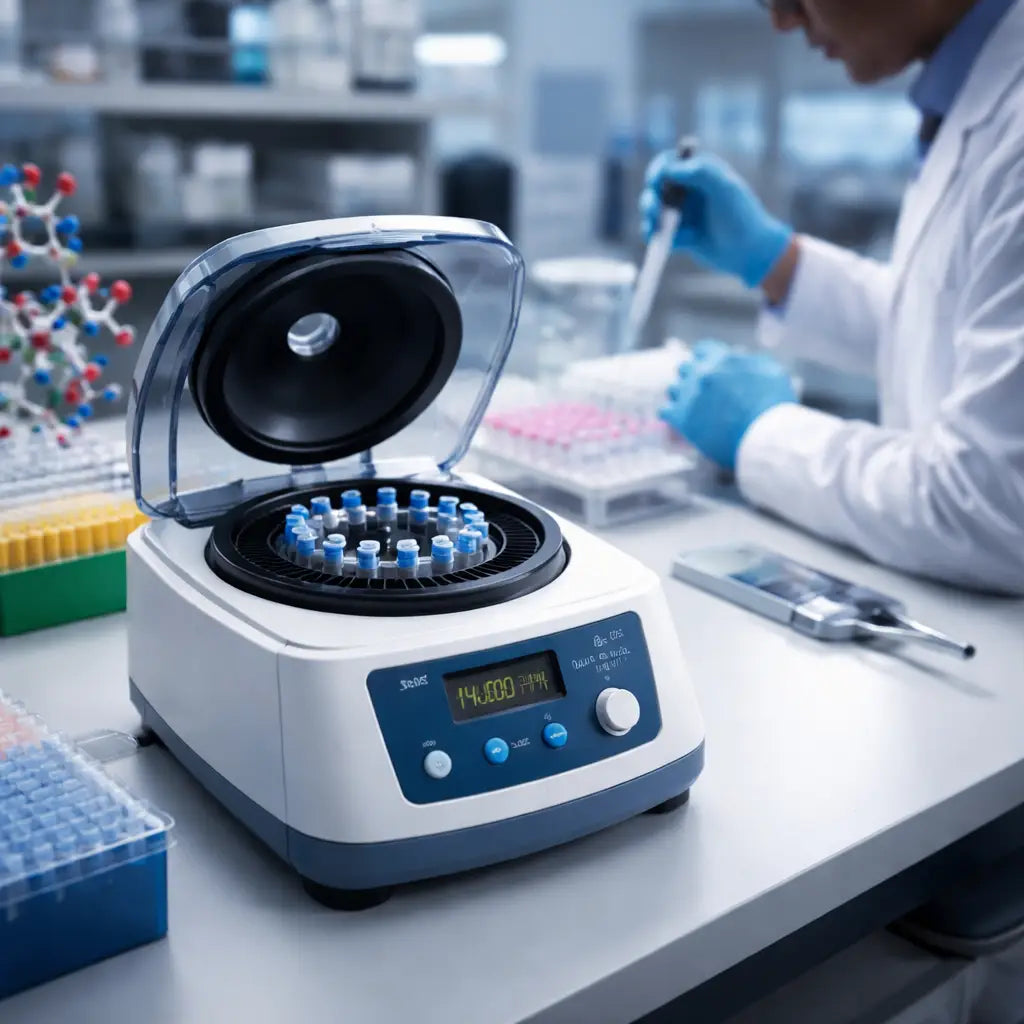
Place a few empty 1.5 mL tubes in the rotor. Close the lid and press the power button. The display should show 0 rpm; press start.
Watch the speed ramp up. If the rpm number climbs smoothly to the set speed (13,000‑15,000 rpm for most DNA work) you’re good. If it stalls or drops, check that the rotor is seated properly and that the tubes are balanced.
Balance is key. Put a tube of water on the opposite side of the rotor. Run a short 10‑second spin. The motor should feel quiet and steady. Any wobble means the load isn’t even.
Now validate temperature, if your model cools. Set the temp to 4 °C, let it reach the set point (about 2‑3 min), and run a 30‑second spin. Feel the motor – it should stay cool to the touch.
Finally, record the results in a quick checklist: speed reached, temperature stable, no noise, rotor locked. Keep this sheet on your bench for future runs.
If anything feels off, the user manual usually has a troubleshooting table. And remember, many labs keep a spare rotor on hand – it saves a day of downtime.
Step 5: Maintenance Tips to Keep Costs Low
Keep your affordable microcentrifuge humming without pricey repairs. A little care goes a long way.
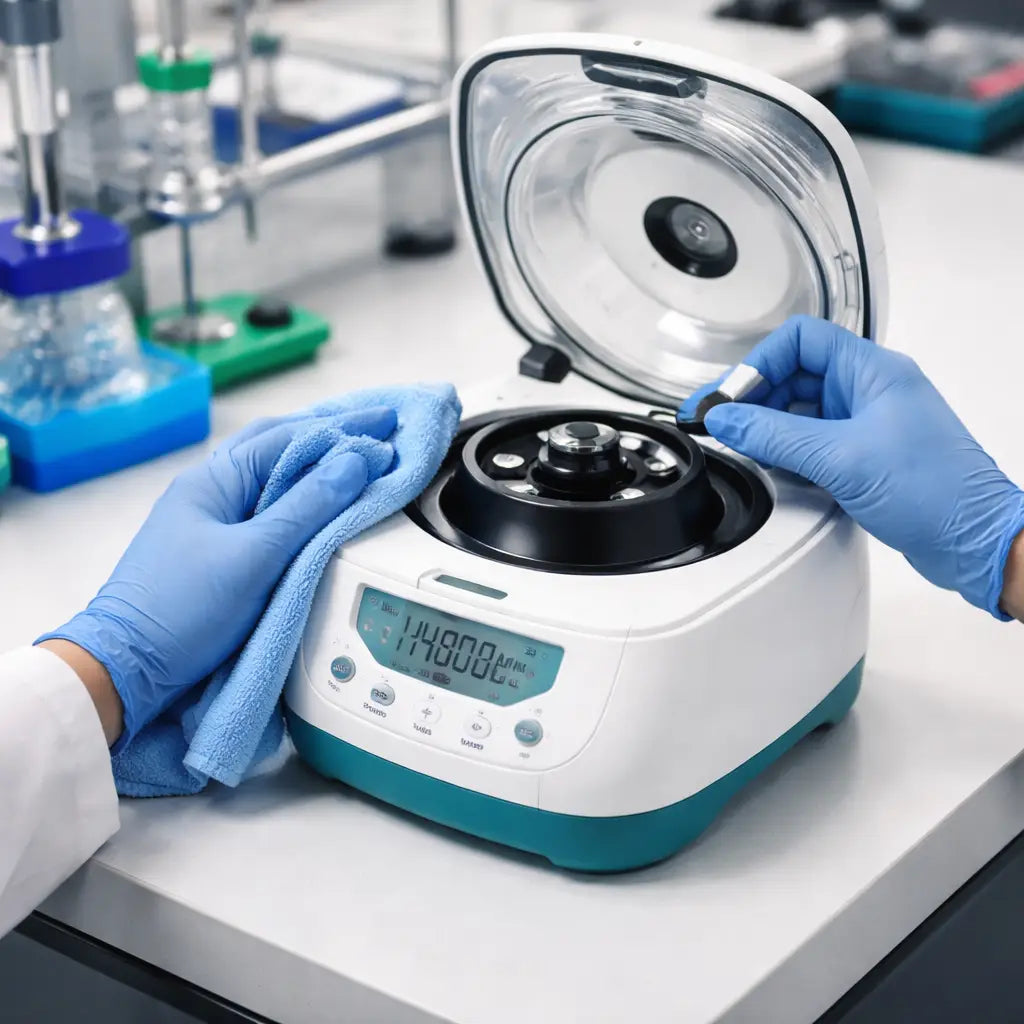
First, wipe the exterior with a soft lint‑free cloth after each run. Dust and spills can sneak into motor vents and raise heat.
Next, check the rotor seats for wear. If the twist‑lock feels loose or the rubber gasket looks cracked, swap it out before a spin fails.
Balance your tubes every time. Uneven loads not only stress the motor but also wear the bearings faster.
Use low‑binding, RNase‑free tubes. Bad tubes can stick DNA to the wall and cause extra cleaning later. For more on tube issues see the microcentrifuge tube challenges article.
Run a short 10 second spin with water only once a week. Listen for odd noises; a whine often means a bearing needs lubrication.
Keep the motor vents clear. A quick vacuum or compressed air blast removes hidden lint that can overheat the unit.
Record each maintenance step in a simple log. A one‑line note like “rotor gasket replaced 2026‑03‑01” saves time when you troubleshoot.
Store the centrifuge in a dry, stable area. Moisture can corrode the motor housing, and temperature swings can warp the rotor.
When you notice a leak or a tube cap that won’t seal, replace the tube batch. Consistent tube quality prevents contamination and reduces repeat runs.
Finally, schedule a quick visual inspection every three months. Spot a cracked seal early and you’ll avoid a costly service call.
By treating your affordable microcentrifuge like a regular lab buddy, you keep downtime low and your budget happy.
Conclusion
Picking the right affordable microcentrifuge for genomics doesn’t have to be a nightmare. You’ve seen how speed, tube size, noise and warranty shape the decision.
Remember to match the rpm to your protocol, keep a spare rotor handy, and log each maintenance step. A quick weekly spin can catch bearing wear before it hurts your budget.
When you’re ready to buy, think about where you’ll get support. Platforms like Shop Genomics list budget‑friendly models, free shipping on big orders and easy returns, making the whole process smoother.
So, take your checklist, score the options, and pick the unit that feels like a lab buddy—not a money pit. Your genomics work will run smoother, and your wallet will thank you.
Got a question or need a quick quote? Drop a note in the Shop Genomics chat and get help fast. Happy spinning!
FAQ
What rpm is enough for most genomics protocols?
Most DNA work runs fine at 13,000‑15,000 rpm. That speed gives enough force to pull down PCR products and small‑scale extractions without over‑heating the motor. If you only work with 1.5 mL tubes, a unit that tops out at 15,000 rpm will cover the majority of tasks. You can always check the protocol sheet for any higher‑speed needs.
Can I use the same affordable microcentrifuge for PCR and DNA extraction?
Yes. The same bench‑top unit can spin both PCR plates and extraction tubes as long as the rotor matches the tube size. A 24‑well rotor fits 1.5‑2 mL tubes, which are common for PCR and many extraction kits. Just make sure the tubes are balanced before each run and the speed stays in the recommended range.
How much does noise matter in a shared lab space?
Noise can be a real distraction when many people work side by side. A quiet motor (under 55 dB) lets you run spins without breaking concentration. Look for models that list a decibel rating or read user reviews that mention “quiet” or “low noise.” If you’re in a teaching lab, a low‑noise unit helps students stay focused.
What should I check in a warranty for an affordable microcentrifuge?
Pick a warranty that covers at least two years and includes parts like the rotor and motor. A warranty that lets you send the unit back for repair saves time and money. Also see if the seller offers an extension or a spare‑part kit you can buy later.
Do I need a refrigerated microcentrifuge for most genomics work?
Only if your protocol calls for cold spins, like keeping enzymes chill at 4 °C. Many labs get by with a vented unit for routine PCR and extraction, then add a refrigerated model just for the few steps that need low temperature. This keeps the cost down while still covering the rare cold‑spin need.
How often should I service an affordable microcentrifuge?
Do a quick check every week: spin a water‑only run for 10 seconds and listen for odd sounds. Clean the vents and wipe the exterior after each use. Every three months, look at the rotor gasket and replace it if it looks cracked. A short monthly log helps you spot wear before it becomes a costly repair.


