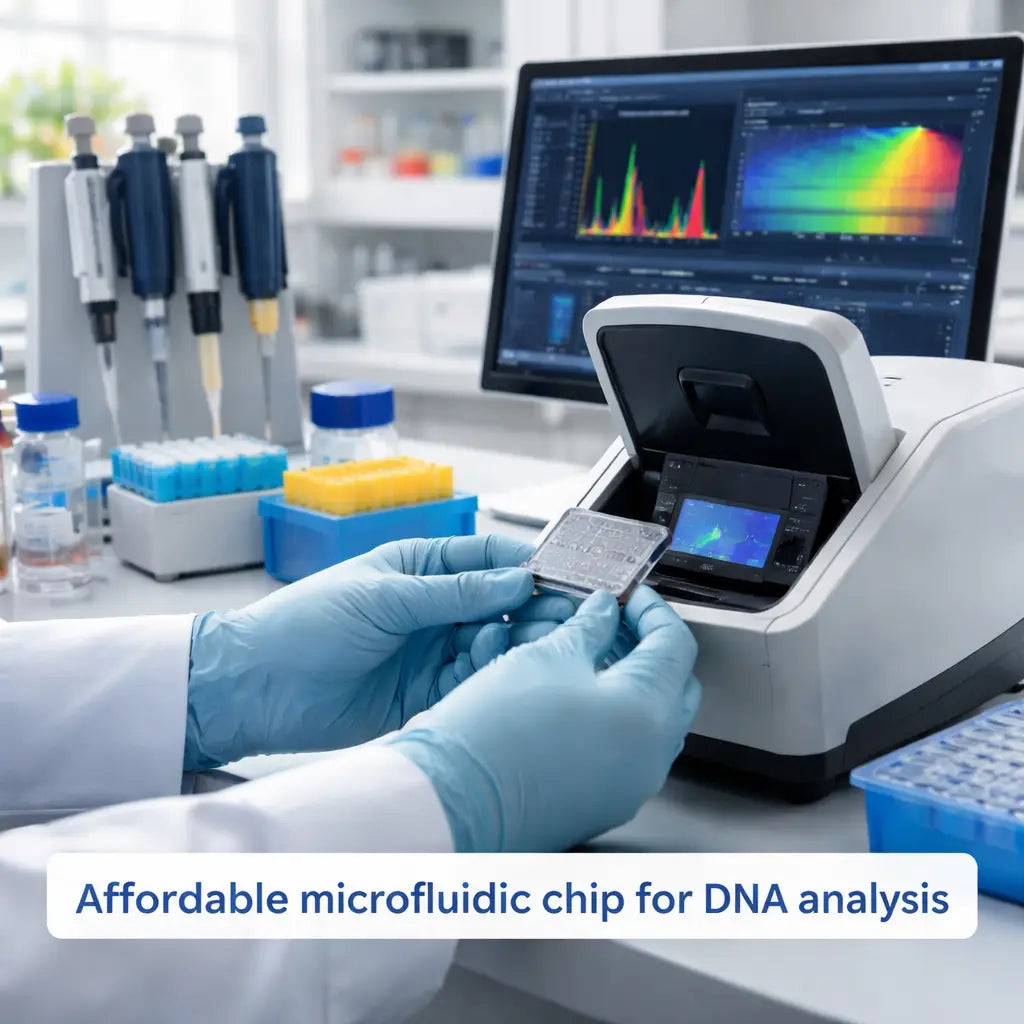
Finding an affordable microfluidic chip for DNA analysis feels like hunting for a needle in a haystack.
Too many labs waste money on pricey chips that need special rigs, while small teams scramble for a tool that fits a tight budget and still gives clean data. You want a chip that slips into a standard pipette workflow, gives consistent results, and doesn’t break the bank.
One practical way to start is to compare the cost per assay of the options you see online. Look for chips that pair with a low-cost quantification device, like the guide on how to choose an affordable DNA quantification device, so you can test performance without buying a whole new reader.
Next, set up a quick test: run a 10 µL sample on three different chips, measure yield with a fluorometer, and note any clogging. Track the numbers in a simple spreadsheet. For more ideas on measuring success, check out this Semantic Search SEO guide, which also shows how to keep notes clear and searchable.
By the end of this article you’ll know exactly which affordable microfluidic chip fits your lab’s needs and how to validate it in just a few easy steps.
Step 1: Pick the right affordable microfluidic chip platform
First, list the chips you see on the market. Write down the price per assay, the sample volume they need, and whether they fit your standard pipette tip. A quick spreadsheet helps you see which ones bite the budget.
Next, check if the chip works with a cheap quantification device. The guide on how to choose an affordable DNA quantification device shows you can test yield without buying a whole new reader.
Now, run a short trial. Load a 10 µL DNA sample onto three chips, run the reaction, and read the fluorescence with a low‑cost fluorometer. Note any clogging or uneven signals. If one chip consistently gives a clean read, that’s a good sign.
And ask yourself: does the chip come with a simple loading protocol? If the steps read like a puzzle, you’ll waste time. Look for clear instructions or video demos. Dr. Dubey’s site (Dr. Dubey's lab tools guide) often lists easy‑to‑follow chip set‑ups.
Sometimes the chip’s housing looks sleek but the material is fragile. A quick tap test can reveal if it will survive repeated use. For a visual cue on handling delicate lab gear, the coastal wood flower art display tips page surprisingly shows how a gentle touch makes a difference.
When you’ve narrowed it down, compare the total cost of the chip plus any needed accessories against your budget ceiling. If the numbers line up and the test runs were smooth, you’ve found your affordable microfluidic chip for DNA analysis.
Here’s a quick video that walks through a basic chip validation step‑by‑step:
Keep the spreadsheet, note the winner, and move on to the next step of your workflow.
Step 2: Design a DNA analysis workflow that fits the chip
First, write down what you need to measure. Are you looking at a single gene or a whole genome? Knowing the scope lets you pick the right assay volume.
Next, match the chip’s input range to your sample prep. A cheap microfluidic chip often takes 5‑10 µL of DNA. If your extraction gives more, dilute it with TE buffer until it lands in that window.
Then, set up a simple pipette routine. Use a standard 10 µL pipette tip, load the sample, and add the chip’s master mix. Keep the tip clean, a stray droplet can clog the channel.
After loading, run the chip on the reader that came with the platform. Most low‑cost readers have a one‑click start button. Let the software collect fluorescence data for the time it suggests (usually 20‑30 min).
When the run finishes, pull the data file and run a quick quality check. Look for a flat baseline and clear peaks. If any well looks noisy, note it and repeat that sample.
Finally, store the raw files in a shared folder and add a short note about the sample ID, dilution factor, and any quirks you saw. This makes it easy to compare runs later.
Upload the file into a free open‑source tool like Galaxy or a simple spreadsheet. Plot the fluorescence intensity versus fragment size and verify that the peaks match the expected size range. If the peaks are low, dilute the sample a bit more and rerun.
Run a control sample each day. The control lets you see if the chip or the reader is drifting. If the control falls outside the normal range, clean the chip inlet or swap the chip before you keep testing real samples.
Step 3: Source or fabricate the chip – options and comparison
Now you need to decide where to get the chip. You can buy a ready-made cheap chip, or you can make one yourself. Both paths have trade-offs.
Buying a pre-made chip is the fastest route. Look for vendors that list a low per-chip price and that say the chip works with a standard fluorometer. Many labs find that a commercial polymer chip costs about $5-$10 each and gives reliable fluorescence signals.
If you have a bit of time, fabricating your own chip can cut costs even more. The Elveflow review outlines the common materials: silicone, glass, PDMS, and thermoplastics like polycarbonate or PMMA. Each material brings its own pros and cons.
Silicon and glass give great optical clarity, but they need expensive clean-room steps. PDMS is cheap and easy to cast, yet it can soak up some dyes. Thermoplastics such as polycarbonate are cheap to mass-produce and handle well in a normal lab, but they need a hot-press or embossing tool.
So which route fits your lab?
Here’s a quick compare table to help you pick.
| Material | Typical Cost per Chip | Key Notes |
|---|---|---|
| PDMS | $5-$10 | Easy cast, may absorb dyes |
| Polycarbonate | $2-$5 | Harder to mold, good for many runs |
| Silicon/Glass | $15-$20 | High clarity, requires clean-room |
If you’re a small academic lab, buying a PDMS-based chip from a supplier may be easiest. If you run many assays weekly, consider a DIY polycarbonate chip - the upfront tool cost spreads over many runs.
Does this feel doable?
Step 4: Set up detection and run your assay (video)
Grab the low-cost reader that came with your chip and place it on a stable bench.
Plug the power cable, then connect the fiber-optic cable to the chip’s detection port. You’ll see a green LED blink. That means the detector is ready.
Next, load your sample. Use a 10 µL pipette tip, add the DNA mix to the inlet, and press the “load” button on the reader. The software will ask you to confirm the volume; hit “OK”.
Now set the acquisition time. Most affordable setups use a 20-minute run. If you’re looking at short amplicons, 15 minutes is enough. For larger fragments, give it 30 minutes.
While the assay runs, open the built-in viewer. You should see a smooth baseline rise as the fluorophore excites. If the line spikes up and down, pause and check for bubbles in the channel.
When the timer hits zero, the software will save a .csv file automatically. Name the file with the sample ID and date. Something like “SampleA_2026-03-14”. This makes it easy to pull up later in a spreadsheet or in Galaxy.
Quick tip: run a blank control every day. It lets you spot drift in the detector before you trust any real sample.
Finally, back up the data to your lab’s cloud folder. A copy on the local drive and another on the server keeps your results safe if the computer crashes.
Shop Genomics lists several affordable readers that plug straight into a laptop, so you don’t need a bulky bench-top unit. Their free shipping on bulk orders helps labs stay under budget.
Now you’ve got a full run captured on video, ready to share with teammates or add to your lab notebook.
Step 5: Analyze results and troubleshoot common issues
Now that the run has saved a .csv file, open it in your spreadsheet or Galaxy. Look at the first few rows – a flat line means the detector stayed quiet, while spikes show real fluorescence.
First check the baseline. If it wiggles up and down, you probably have bubbles or a dirty inlet. Pause the run, blow out the channel with clean buffer, and run a blank again.
Next, examine the peak heights. Weak peaks often mean you loaded too little DNA or over‑diluted the sample. Try a 2‑fold higher concentration and see if the signal grows.
If the same sample gives different peak shapes on different days, that’s drift. Run a control sample every day and compare its size. When the control shifts, clean the optics or swap the chip before trusting any data.
Another common hiccup is a missing peak. This can happen when the chip clogs. Look for a sudden drop in the signal trace. Flush the channel with fresh buffer, or use a new chip if the clog persists.
Keep a simple log: date, chip batch, sample ID, any tweaks you made. Over time you’ll spot patterns – maybe a particular batch of chips always has a higher background.
Remember, troubleshooting is fast when you catch the problem early. A quick visual scan of the .csv, a clean channel, and a reliable daily control keep your affordable microfluidic chip for DNA analysis giving clear, reproducible results.
Conclusion
Picking the right affordable microfluidic chip for DNA analysis boils down to three things: cost per run, reliable data, and ease of use. If you log your chip batch, sample ID, and any tweaks, patterns will pop up fast and you’ll catch problems before they ruin a whole experiment.
Keep a daily control sample on hand. When the control drifts, a quick channel clean or chip swap saves hours of re‑work.
Remember, a simple spreadsheet can turn raw .csv files into clear peak maps that anyone on your team can read.
When you’re ready to buy, think about platforms that ship for free on bulk orders and offer easy returns, that’s the kind of service Shop Genomics aims to give.
Take the steps you’ve learned, test a chip, and you’ll have reproducible results without breaking the budget.
FAQ
What makes an affordable microfluidic chip suitable for DNA analysis?
It needs a clear channel that lets light pass so the reader can see fluorescence. The chip should accept the sample volume you use – usually 5‑10 µL – and fit a standard pipette tip. Low‑cost chips often use PDMS or polycarbonate, which give decent optics without a pricey clean‑room step. Most labs look for a chip that gives consistent peaks and costs under $10 per run.
How do I test a cheap chip before buying in bulk?
Run a quick pilot: pick three different chips, load a 10 µL DNA sample, and measure the signal with your fluorometer. Record the baseline, peak height, and any clogging signs in a simple spreadsheet. Compare the data side‑by‑side and note which chip gives the cleanest curve for the lowest cost. If one chip consistently outperforms, you’ve found a safe bulk candidate.
Can I use the chip with any fluorometer?
Most affordable chips are designed for generic excitation wavelengths, like 488 nm or 530 nm, which match entry‑level fluorometers. Check the chip’s spec sheet for the recommended laser line and make sure your device can hit that range. If the reader has a selectable filter set, pick the one that matches the chip’s fluorescence dye. This avoids extra adapters and keeps the setup cheap.
What are common pitfalls and how can I avoid them?
Clogs happen when air bubbles or dust get into the channel, so always filter your samples and tap the chip gently before loading. A drifting baseline often means the detector needs cleaning – run a blank control each day and wipe the optics if the signal shifts. Finally, keep a log of chip batch numbers; a bad batch will show up as a pattern in your spreadsheet, letting you swap it before losing time.


