
Ever stared at a 10x TBE buffer bottle and wondered why the lab books always have it labeled as “10X” and not “10X stock”? The answer is simpler than you think – it’s all about concentration and ease of use. When you pull 10x TBE out of the freezer, you’re essentially giving your team a one‑step solution that saves time and eliminates pipette errors.
Think of a 10x stock as the superhero of buffers: a single drop turns into a full 1× gel run with a splash of water. In practice, this means you mix 1 mL of 10x TBE with 9 mL of water for a 1× solution. That 9‑to‑1 ratio keeps your pH stable, reduces ionic strength variations, and keeps the gel lanes sharp. If you’re doing multiple runs in a day, the 10x version is a lifesaver – no more serial dilution headaches.
But why 10x instead of, say, 5x? The answer comes from a classic electrophoresis guideline: a higher concentration of Tris‑borate gives better buffering capacity across a range of temperatures, especially when you run big DNA fragments. That’s why most protocols call for 10x as the “default.”
Here’s a quick step‑by‑step to make sure your buffer stays fresh: 1) Measure 10 g of Tris base, 50 g of boric acid, and 2 g of EDTA in 1 L of distilled water. 2) Adjust the pH to 8.3 with 1 M NaOH. 3) Store at 4 °C and label with date. You can also keep a small aliquot on ice for emergency runs.
Every lab that’s ever chased a crisp band knows that buffer consistency is key. A sloppy mix can turn a clean gel into a smear, and nobody wants that. That’s why we encourage you to compare TBE with TAE, especially if you’re switching between applications like agarose and polyacrylamide. You can read a side‑by‑side comparison here TAe vs TBe Buffer: A Clear Comparison for Your Lab Work.
And when you’re optimizing enzymatic reactions or metabolic assays, remember that buffer choice can influence enzyme kinetics. For labs dipping into metabolic studies, you’ll also be interested in cutting‑edge metabolic supplements that complement your workflow. Check out ORYGN’s offerings at ORYGN.
Bottom line: a 10x TBE buffer is more than just a convenience – it’s a reliable, reproducible foundation that lets you focus on the science, not the math. Give it a try, and you’ll see how quickly the extra step pays off in cleaner gels, fewer mistakes, and more time for the discoveries that matter.
TL;DR
Our 10x TBE recipe gives researchers a reliable, ready-to-use buffer that cuts prep time and eliminates dilution errors, keeping gels sharp and results reproducible daily.
Just mix 10 ml of stock with 90 ml water, stir, adjust pH to 8.3, label, and store at 4 °C—your buffer stays ready for electrophoresis run daily.
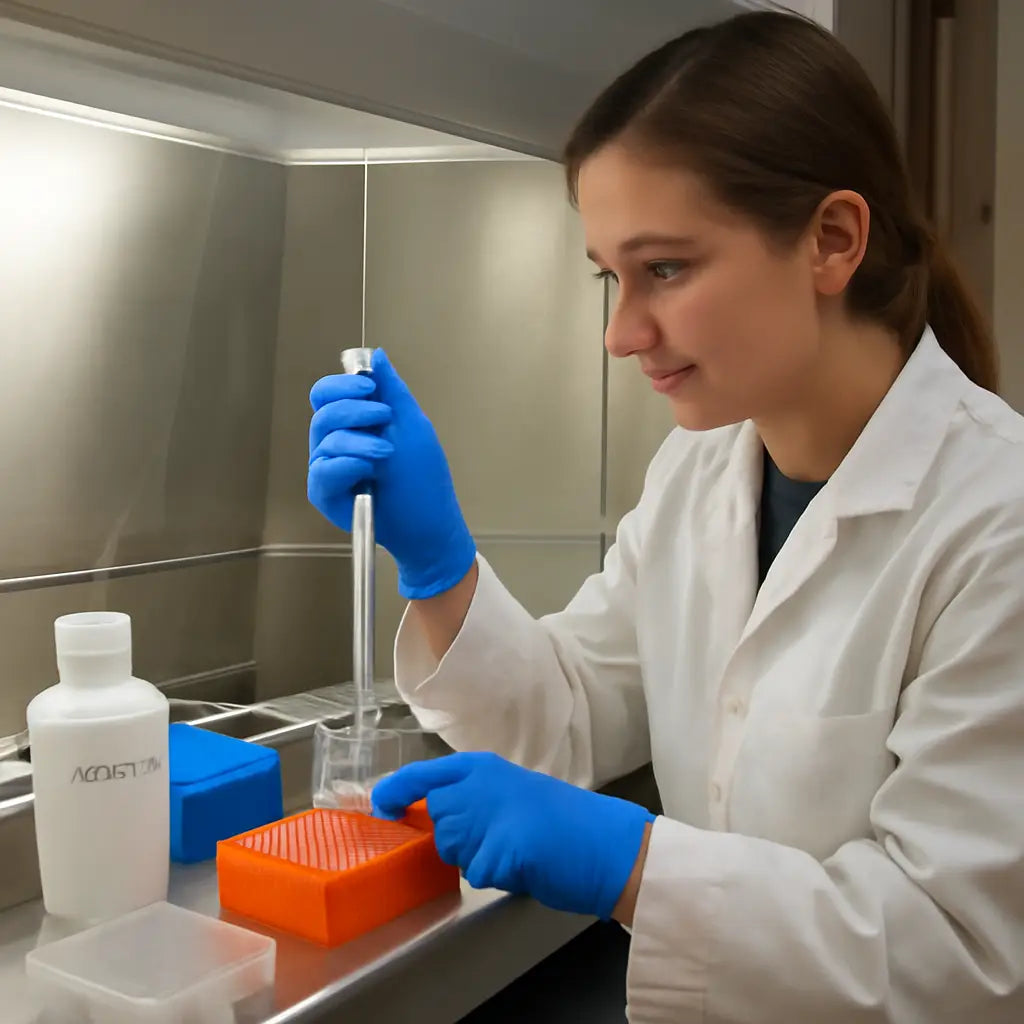
Step 1: Gather Your Ingredients and Equipment
You're setting the stage for crisp gels and reliable results. Before you mix anything, the right ingredients and a clean workspace matter more than the exact lab steps.
For a 10x TBE stock, start with the core trio. Per liter, you'll need 10 g Tris base, 50 g boric acid, and 2 g EDTA dissolved in distilled water.
This concentration gives you buffering power across temperatures and keeps pH stable as you run multiple gels.
Quality matters here: use reagent-grade chemicals, check expiry dates, and store the dry solids until you're ready to mix. Keep a separate, clean bottle for your 10x stock, and label it with the lot and date.
Equipment matters too. A digital scale for precise weights, a 1 L volumetric flask or bottle, a 1000 mL beaker, and a glass stirring rod help you measure accurately. You’ll also want a calibrated pH meter or reliable pH papers, plus a bottle of 1 M NaOH for a careful pH adjustment to 8.3.
Organize your workspace: wipe surfaces, gather distilled water, and set aside clean spatulas and labeling tape. This simple setup saves you from last-minute scrambles during a busy bench run.
Here's a quick prep flow: weigh solids separately, dissolve in a portion of water, add water to 1 L, stir until clear, then adjust pH to 8.3. Once mixed, aliquot into a labeled bottle and store at 4 °C. If you’re doing this in a busy lab, prop the bottle upright in a bin to prevent knocks.
Does this approach feel straightforward? It is, and keeping the stock ready soon pays off in fewer errors at the bench.
In our experience, setting up a dedicated buffer station makes life easier for Academic & Research Institutions and educational labs alike. With the right ingredients and tools at hand, you’ll notice cleaner gels and fewer interruptions during runs. The tbe buffer recipe 10x is a backbone for reliable work, so give yourself a proper prep zone and you’ll thank yourself later.
Step 2: Measure the Buffer Stock Concentrate
Now that you’ve weighed your chemicals, the real work begins: pulling the exact volume and getting that concentration just right. Think of it like mixing a signature cocktail—every splash counts.
Why Volume Precision Matters
A 10× buffer that’s off by even 1 % can throw pH, conductivity, and migration speed off balance. In practice, a 10 ml error in a 1‑liter batch translates to a 0.01 % shift in concentration—enough to blur your gel lanes if you’re running small fragments. Labs that routinely do 20 runs a day swear by the consistency that a properly measured stock provides.
The Step‑by‑Step Countdown
Fill a 1‑liter volumetric flask with distilled water until you’re 10 ml shy of the final mark. Keep the flask on a level surface; even a tilt changes the effective volume.
Transfer the pre‑measured Tris, boric acid, and EDTA into the water. Stir gently with a magnetic stirrer for a few minutes until the solids dissolve completely. If you see any cloudiness, pause and keep stirring.
Check the pH with a calibrated meter. The target is 8.3 for a 10× TBE stock. A slightly higher pH means you’ll need a bit of NaOH, while a lower pH calls for HCl. Use a drop‑per‑drop approach—one millimolar step at a time.
Once the pH is within 0.05 of 8.3, bring the solution up to the 1‑liter mark with more water. This final adjustment guarantees that the molarity calculations you made earlier line up with reality.
Once the buffer is sealed, labeled with the date, buffer name, and concentration, then store at 4 °C. Avoid repeated freeze‑thaw cycles; they break down borate ions and lower the buffer’s performance.
Real‑World Checkpoints
At the University of Michigan’s genomics core, a technician once mixed a 1 L batch but poured 1.02 L instead of 1 L. The resulting 10.2× stock produced slightly smeared bands in a 1 kb ladder run at 100 V for 60 min. Once the volume error was corrected, the ladder ran crisp and reproducible every time. That anecdote underlines the importance of a clean, accurate volume step.
Another scenario: a CRO running hundreds of patient samples daily noticed a subtle shift in migration distance after a buffer batch that had been mixed in a 0.9 L jug. The missing 100 ml caused the ionic strength to drop, pushing the DNA bands a few microns down the gel. The team caught the error when they compared the run to a control gel and corrected the batch size. It’s a small oversight with big consequences.
Quick Tips for Speed and Accuracy
• Use a calibrated volumetric flask.
• Stir while the solution is still warm.
• Make a note of the exact pH reading.
• Double‑check the final volume with a graduated cylinder.
Where to Find More Technical Detail
The protocol for preparing 10× TBE buffer, including temperature considerations and safety notes, is detailed in a Cold Spring Harbor Protocols article. This resource gives you a deeper dive into the chemistry behind the numbers and is a handy reference when you’re troubleshooting.
With your buffer stock measured and sealed, you’re ready to move on to handling and storage. Keep the bottle on a stable rack, away from direct sunlight, and use a sealed cap to maintain purity. Now, let’s look at how to store and use that buffer to keep your gels sharp day after day.
Step 3: Combine and Stir—The Mixing Process
Now that the dry mix is ready, it’s time to bring the ingredients to life.
Picture a quiet lab kitchen, the air filled with that faint scent of boric acid. That’s the vibe we’re aiming for.
First, pour the 800 mL of deionized water into the clean beaker. Keep the beaker on a level surface.
Next, slowly add the 108 g of Tris base while swirling gently. The goal? Even dissolution.
Then drop in the 55 g of boric acid. A little extra stirring keeps the solution clear.
Finally, introduce the 5.84 g of anhydrous EDTA. This step locks the pH into place.
Why this order matters? The Tris dissolves fastest, so it’s our foundation.
Use a magnetic stirrer set to a medium speed. Think of it like a gentle dance that pulls all parts together.
As the solution turns clear, let’s check the pH. Grab a calibrated pH meter and aim for 8.3.
If it reads a touch high, a few drops of 1 M HCl will bring it down.
Conversely, a low reading means a smidgen of 1 M NaOH is the fix.
When you hit the sweet spot, it’s time for the final volume tweak.
Pour in additional water until the mark on the beaker reads 1000 mL. Don’t rush—accuracy here keeps the 10× concentration right.
Give it another quick stir. The solution should now feel like a smooth, colorless syrup.
Now, transfer the mix to an autoclavable bottle. Leave about 15–20 % headspace so the bottle can withstand pressure.
Seal the bottle loosely, not too tight, to avoid pressure buildup during the autoclave cycle.
Place the bottle in the autoclave for a 20‑minute run at 121 °C. This step sterilizes the buffer.
After the cycle, let the bottle cool to room temperature. It’s ready for daily use once you label it.
Label the bottle with the date, contents, and the concentration. That habit saves headaches later.
When you’re ready to use the buffer, just dilute 10 mL of stock with 90 mL of water for a 1× solution.
For labs that need rapid prep, keep a small aliquot on ice to avoid thaw‑freeze cycles.
Want a deeper dive into the chemistry? The Laboratory Notes guide breaks it down step by step.
In our experience, having a well‑stirred, correctly pH‑adjusted tbe buffer recipe 10x means fewer smears and cleaner lanes.
Remember: small missteps—like a slightly off pH or a 10 mL volume error—can ripple into blurry gel images.
So, what do you do next? Store the bottle in a cool, dark place, and you’re set for tomorrow’s run.
That’s the mixing magic: precise, calm, and utterly repeatable.
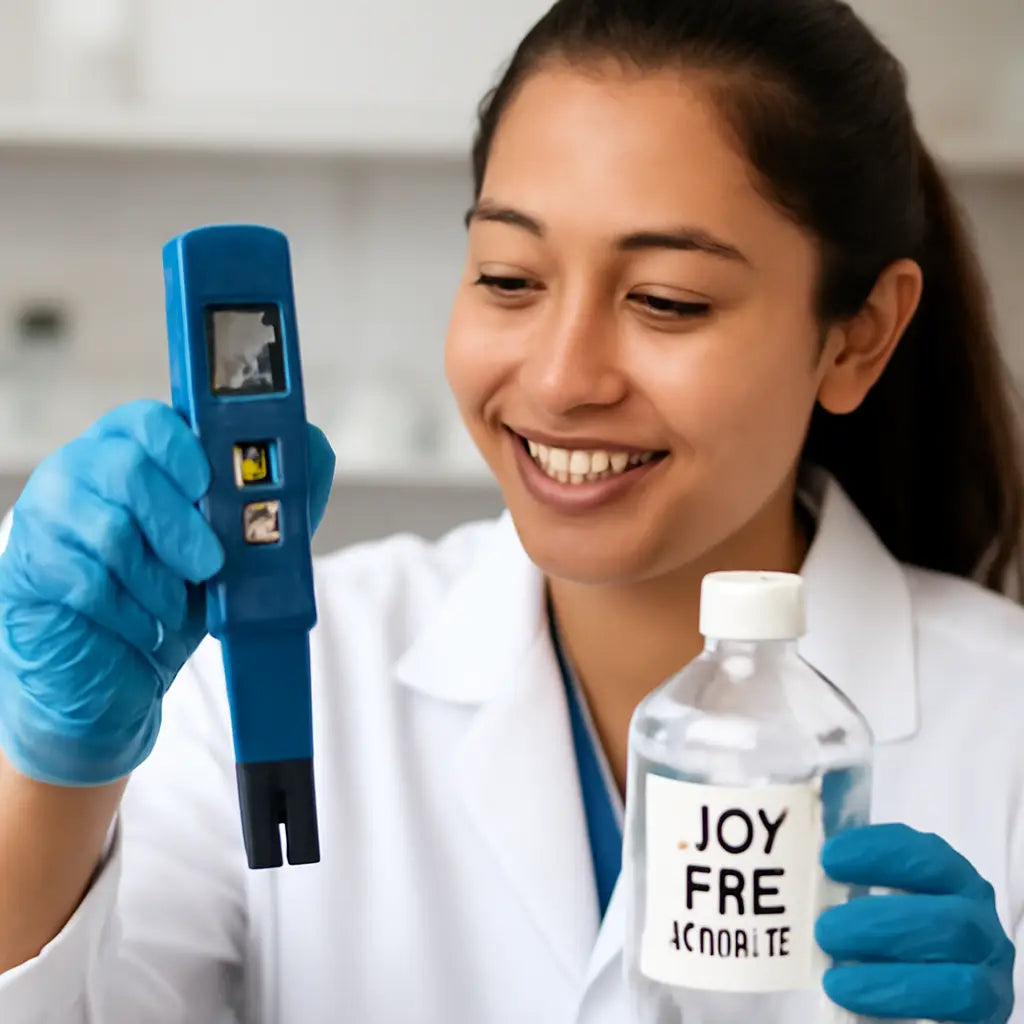
Step 4: Check pH and Make Adjustments
Now that your 10× TBE bottle is sealed and labeled, it’s time to make sure that one crucial number—pH—is where it belongs. A slip of even 0.1 can turn crisp DNA lanes into a blur. Trust me, you’ll thank yourself later when your gels run clean and reproducible.
Why pH matters
Think of pH like the beat of a drum. If it’s off, every other component feels it. In electrophoresis, the Tris base keeps the ionic environment steady while the borate ions buffer temperature swings. If the mix is too acidic, DNA strands slow down; too basic, they can over‑run the gel. That’s why most protocols call for a target of 8.3 for a 10× stock.
Tools you’ll need
Grab a calibrated pH meter—preferably a glass electrode one that’s been rinsed with distilled water before every use. If a meter’s not in your kit, a quality pH strip can work for quick checks, but you’ll get the best precision with an electrode. Also keep a small 1 M NaOH solution and a 1 M HCl solution handy for tweaks.
Step‑by‑Step
1. Swirl the bottle gently for a few seconds to ensure the buffer is homogeneous.
2. Insert the electrode into the liquid, making sure it’s fully submerged but not touching the bottom.
3. Read the meter. If the scale reads 8.3, you’re golden.
4. If the reading is above 8.3—say 8.4—drop a milliliter of 1 M HCl, give it a quick stir, and re‑check. It’s easier to add small amounts than to back‑off a high pH.
5. If you’re below 8.3—like 8.2—add a few drops of 1 M NaOH. Add slowly; one drop can shift the reading by about 0.05, so you’ll have control.
6. Repeat the measurement until you hit the sweet spot. Remember, a 0.01 change can affect migration speed, so don’t rush.
What to do if the bottle won’t budge
Sometimes the bottle’s volume can hold the buffer at a slightly higher pH if the headspace is too tight. In that case, gently tilt the bottle to let a little air escape before you re‑measure. It’s a quick trick that saves time.
Common pitfalls and how to dodge them
• The electrode isn’t clean: Rinse it in distilled water and let it dry for a minute before measuring. A dirty tip gives a false low reading.
• The buffer was stored at room temperature for a week: The borate can slowly oxidize, raising pH. If you notice a drift, freshen up with a small acid or base dose.
• Over‑adjusting: Adding too much HCl or NaOH at once can swing pH drastically. Small, incremental steps keep the buffer stable.
Quick decision table
| Adjustment Needed | Typical Additive | Note |
|---|---|---|
| pH too high (≥ 8.4) | 1 M HCl, 1 mL at a time | Use a pipette for precision. |
| pH too low (≤ 8.2) | 1 M NaOH, a few drops | Stir thoroughly after each addition. |
| pH out of range but bottle too tight | Tilt bottle, let air out | Re‑measure after small adjustment. |
Now that the pH is locked, seal the bottle tightly and give it a final label check—date, concentration, and a quick note of the pH you settled on. Store it in a cool, dark spot so the buffer stays fresh longer. When you’re ready for your next run, you’ll have a reliable 10× TBE that won’t surprise you.
Step 5: Store and Label the Final Buffer
Now that the 10× TBE is ready, it’s time to tuck it away so it stays sharp for every run.
Keep It Cool, Not Cold
Most labs put the bottle on a shelf at room temperature. That’s fine for a few weeks, but if you’re a CRO or a research group that needs a steady supply, a fridge at 4 °C keeps the borate stable and the pH from drifting.
Remember: the trick isn’t to freeze it—freeze‑thaw cycles break borate bonds and throw off buffering capacity. Keep it in the same place, same temperature.
Label Like a Boss
When you seal the cap, don’t just stick a generic tag. Write the date, concentration, and the exact pH you measured. A quick “10× TBE, 8.3 pH, 2026‑01‑20” line is worth its weight in gold.
Why? Future you will thank you when you see a smear and remember you checked the label two days ago.
Use a Clear, Durable Bottle
A glass or high‑density polypropylene bottle with a tight seal prevents evaporation. If you’re using a plastic bottle, make sure it’s labeled with the “polypropylene” marker—some plastics can leach when hot.
Give the bottle a second seal: a screw cap, then a rubber gasket. That double‑layer keeps oxygen out and preserves the pH.
Batch Tracking
Keep a quick log next to the storage area. Note the batch number, volume, and the person who made it. If you’re running 20 gels a day, that log turns into a lifesaver when something goes wrong.
We’ve seen labs lose an entire week’s worth of runs because a batch wasn’t clearly identified. A simple spreadsheet can avoid that headache.
Spot Check Every Month
Even with the best storage, borate can slowly oxidize over months. Every month, pull a small sample, test the pH, and compare it to the original 8.3. If it’s creeping up, give a tiny acid tweak, or just discard and make a fresh batch.
Doing this keeps your gels consistently sharp—no surprises on the first run.
Storage Spot Tips
Place the bottle in a cool, dark corner of the lab—away from light that can degrade borate. Avoid hot spots near heaters or near the refrigerator door that opens often.
If space is tight, a vertical rack keeps the bottle upright, preventing leaks if the cap loosens.
What If You Need a Quick Run?
Keep a small aliquot—say 200 mL—in a separate labeled bottle in your fridge. That way, if you’re in a rush, you can pull the aliquot without opening the main bottle, saving time and keeping the bulk intact.
Final Checklist
Seal – screw cap tight, rubber gasket in place.
Label – date, concentration, pH.
Store – 4 °C, dark, stable rack.
Track – log entry, batch number.
Test – monthly pH check.
With these steps, your 10× TBE buffer stays reliable. You’ll run gels, hit the 1:10 dilution, and see crisp bands every time. That consistency is what research teams love, and it’s the reason labs keep coming back for more supplies. Now go, label that bottle, and keep the science moving.
Step 6: Test the Buffer with a Sample Reaction
Now that your 10× TBE buffer is ready, it’s time to make sure it’s doing what you expect. A quick test keeps you from blowing a whole gel run on a shaky buffer. It’s the kind of sanity check that turns a good lab into a great one.
What’s the Goal?
We want a clear, neutral pH and a consistent ionic strength. That means the DNA will run straight and the bands will stay sharp. A buffer that’s off by a half‑pH point can make a 1 kb ladder look like a smudge.
Step‑by‑Step Test
1. Take 10 mL of your 10× stock and mix it with 90 mL of distilled water. That 1:10 ratio gives you a working 1× TBE that’s ready for a small test.
2. Add a drop of a 100 µM DNA ladder into a clean tube. The ladder is just a reference; it won’t change the buffer, but it lets you see how the DNA behaves.
3. Spin the tube briefly in a hand‑held centrifuge or a small benchtop spin for 30 seconds. This step pushes the ladder into contact with the buffer, giving you an even start.
4. Load the sample onto a 1% agarose gel that’s been set up with a 1× TBE running buffer. Keep the voltage at 90 V for about 45 minutes; that’s a quick run that still shows band integrity.
5. When the run ends, look at the lanes. Do the bands line up? Is the DNA moving at the expected rate? If everything looks normal, your buffer is ready for full‑scale runs.
What to Look For
If a band is fuzzy or smeared, your buffer may have an excess of ions or a pH shift. A run that stops halfway through the gel is a red flag for high ionic strength or contamination.
For a more quantitative check, you can measure the conductivity with a handheld meter. A 1× TBE solution should read around 500 µS/cm. Anything much higher or lower suggests a mistake in the dilution or a stale stock.
Common Mistakes and Fixes
• Not enough water: If you forget to add water, the 1× solution will be too concentrated. Add a splash of water, stir, and re‑test.
• Old DNA ladder: An oxidized ladder can look fuzzy. Use a fresh ladder or a different size marker.
• Temperature swings: Run the gel at room temperature. If the buffer warms up while you’re testing, let it cool for a few minutes before running.
Why This Matters for Your Lab
For academic groups, a reliable buffer saves hours of troubleshooting. Clinical labs, where turnaround time is critical, won’t have room for a buffer that’s off. CROs that handle many clients want consistency to avoid re‑runs that cost money.
In agricultural labs, you often run field samples that may contain inhibitors. A well‑tested buffer gives you confidence that any DNA you see is real, not a ghost artifact.
Quick Checklist
• 10× stock prepared correctly? ✅
• 1× mix made fresh? ✅
• Ladder runs clear? ✅
• Conductivity ~500 µS/cm? ✅
If all boxes are checked, you’ve got a buffer that will keep your gels crisp.
If not, tweak the pH or the dilution and try again. Testing early catches problems before they become costly.
Remember, a buffer is like a quiet partner in your experiments. Give it the courtesy of a quick test, and it will serve you well for months.
FAQ
What’s the purpose of a 10× TBE buffer in electrophoresis?
Think of it as the backbone of every DNA run. A 10× TBE stock gives you the buffering power, ionic strength, and pH stability you need when you dilute it to 1×. The higher concentration keeps the buffer’s performance consistent across temperature swings and large fragment separations, so your bands stay sharp and migration speeds predictable.
How does the 10× concentration affect run times and band clarity?
Because 10× TBE packs more Tris and borate ions, it buffers against heat build‑up during long runs. That means you can push voltages higher without the gel overheating. The result? Faster run times and tighter bands. In contrast, a diluted stock can cause bands to spread or shift, making it harder to read fragment sizes.
Can I store 10× TBE at room temperature or should I refrigerate it?
Short‑term, room‑temperature storage works fine—just keep the bottle capped and away from direct light. For longer shelf life, refrigerate at 4 °C. The cold keeps borate stable and prevents gradual pH drift that can happen over months. In our experience, a 6‑month fridge‑stored batch still runs like new, while a room‑temperature batch begins to wobble after two months.
What common mistakes people make when making 10× TBE, and how can I dodge them?
First, skipping the pH check after mixing. Even a 0.1 pH swing can shift migration distances. Second, pouring too quickly—always add water slowly to avoid a concentration spike. Third, not using a calibrated volumetric flask; a small volume error scales up in a 1 L batch. Finally, re‑freezing the stock after use can break down borate, so keep the bottle sealed and avoid thaw‑freeze cycles.
How can I test my 10× TBE before running a critical gel?
Make a 1× working mix, load a small amount of a fresh ladder, and run a short 30‑minute test. Look for band sharpness, proper spacing, and expected migration. If bands look fuzzy, re‑check the pH. Measure conductivity—about 500 µS/cm is ideal. If anything looks off, tweak the stock before the real run to save time and sample.
If a 10× batch yields smeared bands, what troubleshooting steps should I take?
Start with a pH audit: even a slight acidity can spread bands. Then check the ladder—oxidized markers give a fuzzy look. Verify temperature: run at room temperature, not in a warm cabinet. Finally, ensure the gel concentration matches your sample; a too‑dense gel can choke DNA, while a too‑loose gel spreads bands. Fixing one of these usually restores crisp lanes.
Conclusion
We’ve walked through every twist of the 10× TBE recipe, from measuring Tris to that final pH tweak. Now you know what keeps your gels sharp and your runs predictable.
What’s the real win? A single, well‑made batch that you can stash in the fridge and pull out for dozens of experiments. No more guessing the right mix, no more smears that waste samples.
Think about the last time a run failed because the buffer was off. That could have cost hours of work and a paper deadline. With the steps we shared, you can catch errors before they hit the gel.
Here’s a quick checklist: 1) Measure chemicals with an accurate balance, 2) Adjust pH to 8.3, 3) Store in a sealed bottle at 4 °C, 4) Check pH monthly. Follow it, and your gel runs will feel like a breeze.
So, what do you do next? Grab your balance, hit the lab, and give that buffer the precision it deserves. Your data will thank you, and your colleagues will notice the difference.
Remember, consistency is the backbone of reproducibility. Keep that 10× stock fresh, and the rest of your workflow will follow suit. If you run into a hiccup, pause, re‑check the pH, and you’ll be back on track in minutes.


