Finding a free, affordable qPCR data analysis tool feels like hunting for a needle in a haystack. You’ll skip the pricey licences and still get solid results.
Imagine a small academic lab that just bought a cheap qPCR machine. The team can run experiments, but the software cost looms over every run.
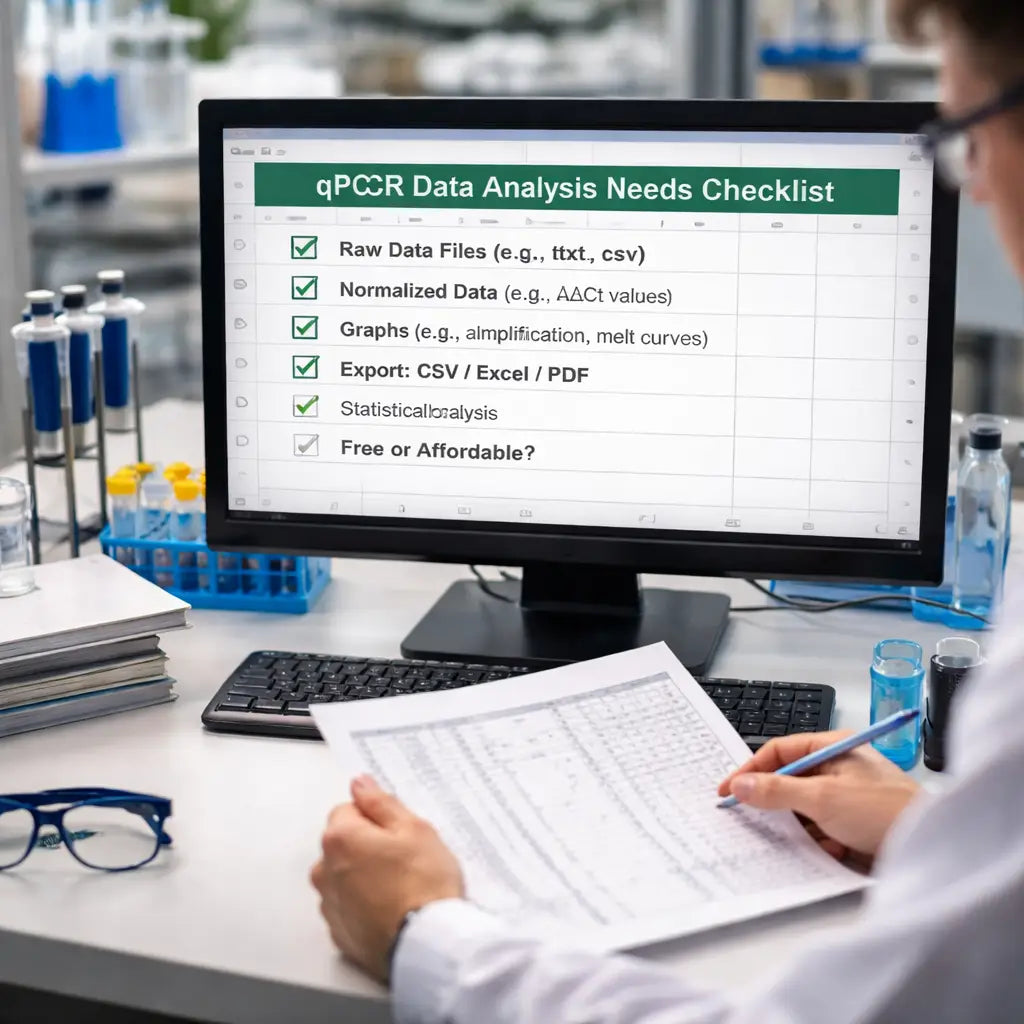
Here’s a quick plan you can try: 1️⃣ List the file types your instrument spits out. 2️⃣ Search for open‑source packages that read those files – many are on GitHub. 3️⃣ Load a known control sample and check the melt curve output. 4️⃣ Make sure the program can export CSV so you can plot in Excel or Prism.
If you need a deeper dive on melt‑curve interpretation, check out A Practical Guide to qpcr melt curve analysis for Accurate Results. It walks you through each step with screenshots.
When the bench work gets intense, a quick break can help reset your mind. For a fun pause, you might explore GEM Designs & Productions, a photo‑booth rental service that offers 360° video booths for events.
Finally, keep a checklist of version numbers and licensing terms. Updating the software regularly avoids bugs and keeps your data safe.
Step 1: Identify Your Data Analysis Needs
First, figure out what you actually need from a qPCR analysis tool. Are you looking for basic Ct values, melt‑curve plots, or full‑scale statistical output? Knowing the end goal stops you from chasing features you’ll never use.
Make a quick list of the file types your machine spits out, raw fluorescence, baseline‑corrected data, or exported CSV. Then ask yourself: do I need batch processing for dozens of plates, or just a single run at a time? Jot down any required export formats, like Excel, Prism, or plain text.
Write down each need in a simple table, column A for data type, column B for required output, column C for any downstream tools you plan to use.
A short mental break can boost focus. If you need a fun distraction, check out a photo‑booth rental service that offers 360° video booths, they’re a quirky way to reset the mind.
When you map out your needs, think about how the software fits into your lab’s workflow. Some teams find a coaching mindset helps, a brief session with a performance coach can clarify priorities and keep the analysis pipeline lean.
Finally, verify that the program can export data in the format you’ll actually use. A quick test run that saves a CSV and opens it in your favourite spreadsheet will save hours later. For extra speed, you might explore a wellness platform that offers tips on maintaining steady lab energy.
Seeing the checklist laid out helps keep everything in view.
With this clear picture, picking an affordable qPCR data analysis software free option becomes a straightforward task.
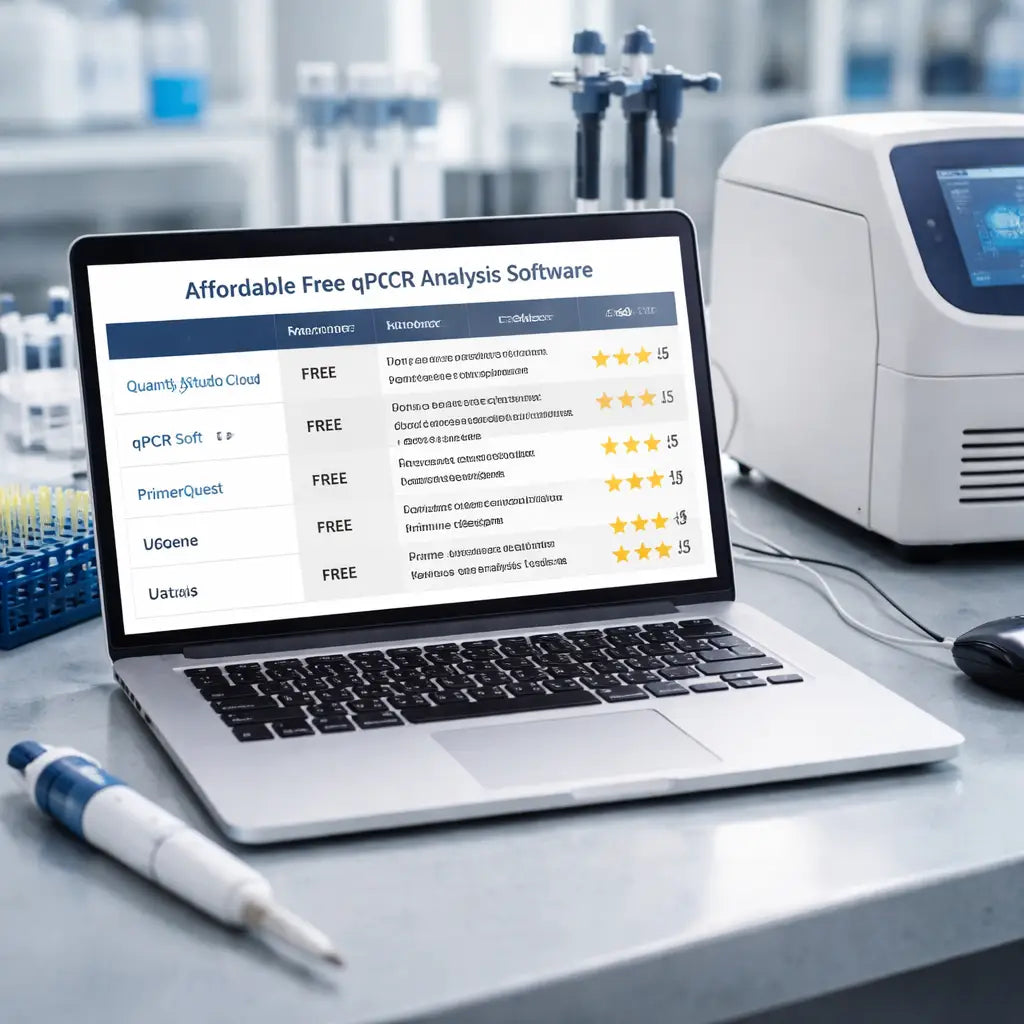
Step 2: Explore Free and Low‑Cost qPCR Software Options
Now you know what you need, so look at tools that won't break the budget.
Start with the big names that actually give a free tier. Thermo Fisher offers DataAssist, ExpressionSuite, and ProteinAssist, all free programs that run the ΔΔCt method, gene‑expression work and protein‑assay data without any licence fee; get them from the Thermo Fisher free analysis tools page.
Give each program a quick test run: load a control sample, check the melt‑curve output and export a CSV. If it works, you already have a usable pipeline.
Next, scan GitHub for open‑source packages. Look for projects that read the file type your instrument writes – most qPCR machines output .txt or .xlsx. Search “qPCR analysis python” and you’ll find scripts that plot Ct values, check efficiency and save CSV. You can tweak the code to fit your lab without paying a licence.
Make a comparison table. List file format support, melt‑curve view, CSV export, install ease and hidden cost. Tick the boxes you need. The table becomes your quick decision sheet.
Tip: If a tool looks promising but the UI feels clunky, try the web‑based version first. Many free apps let you upload a file and get a basic report in the browser – no install needed.
Finally, check the update schedule. A tool that gets regular bug fixes will keep your data safe and analysis smooth.
If you still need extra features, low‑cost licences under $100 per year add batch‑processing or built‑in stats, still a fraction of big commercial suites.
Step 3: Watch a Quick Demo of Setting Up a Free qPCR Analysis Tool
Now that you have a short list, the next move is to see the tool in action. A short demo video shows you exactly where to click, how to load your file, and what the result looks like.
First, find a demo on the tool’s home page or its GitHub repo. Look for a 2‑minute clip that walks through loading a .txt or .xlsx file. Press play, then pause at each step. When the screen asks you to choose a file, note the file picker layout – you’ll use the same view in the real run.
Next, follow the demo with your own control sample. Open the program, hit “Import”, and select the same file the video used. If the interface matches, you’ll see a melt‑curve plot appear. Compare the curve shape to the one in the video; they should line up closely.
Does the demo show an “Export CSV” button? Click it on your screen and open the file in Excel. A quick glance at the columns will tell you if the data is ready for downstream stats.
Tip: Keep the demo window on one side of your monitor and the tool on the other. This side by side view lets you copy the exact steps without guessing.
If something looks different, pause the video and check the tool’s help menu. Most free apps include a short FAQ that explains why a button might be hidden.
Finally, write down the three clicks that got you from file to curve. That tiny checklist becomes your go‑to guide for every new run, and it works for any affordable qPCR data analysis software free option you pick.
Step 4: Evaluate Features and Compatibility
Now that you’ve seen the demo, ask yourself if the program will work with the rest of your workflow.
First, list the file formats your machine spits out, usually .txt, .xlsx or .csv. The software must read those files without a converter. If it only opens a proprietary format, you’ll waste time.
Second, check the analysis options. Does it give you a melt‑curve view, a Ct table, and a way to pick reference genes? Does it let you export a clean CSV for Excel or Prism? Those are the core pieces you need for downstream stats.
Third, think about compatibility with your lab’s operating system. A Windows-only app can be a pain if your team runs Linux workstations. Look for a web‑based version or a cross-platform installer.
Fourth, see if the tool plays nice with other software you already use. Many labs pipe raw data into GraphPad or R for further plots. If the export includes column headers that match those programs, you’ll avoid manual renaming.
Thermo Fisher’s free DataAssist program, for example, lets you import raw plates, pick multiple reference genes, and export results in ready-to-use tables Thermo Fisher DataAssist. It covers the basics without a licence fee.
Finally, write a quick checklist: file type support, melt‑curve view, CSV export, OS support, and downstream compatibility. Score each tool on a 1-5 scale. The highest score points you to the most affordable qPCR data analysis software free that won’t slow you down.
Step 5: Compare Top Affordable qPCR Data Analysis Software Free
Now you have a shortlist, it’s time to see how the tools stack up side by side.
Grab a piece of paper or a spreadsheet and give each program a score from 1 to 5 on the five things that matter most: file format support, melt‑curve view, CSV export, OS compatibility, and how well it talks to the other apps you already use.
Here’s a compact table that puts the scores in one place.
| Tool | File formats | Melt‑curve | CSV export | OS | Total | Notes |
|---|---|---|---|---|---|---|
| Thermo Fisher DataAssist | 5 | 5 | 5 | 4 | 24 | Solid UI, Windows‑only |
| qPCRpy (open‑source) | 4 | 4 | 5 | 5 | 23 | Runs on Linux and Mac |
| Bio‑Rad CFX Manager Lite | 4 | 3 | 4 | 3 | 18 | Limited export options |
Look at the totals column. The highest total points you to the best affordable qPCR data analysis software free for your lab.
If two tools tie, check the notes column. A tool that runs on both Windows and Linux might win over one that only works on Windows, even if the raw scores look similar.
You can also add a quick “must‑have” flag for any feature you can’t live without, like a built‑in reference‑gene picker.
When the table is filled out, you’ll have a clear visual that tells you which program saves you time and money. Use that picture to convince your PI or manager that the free option you picked won’t hold up your project.
A final tip: revisit the scores after you run a real sample. If a tool drops a point because the export file needed extra cleaning, lower its total. That way the ranking stays honest and you end up with a tool that really fits your workflow.
Keep the sheet handy for future projects and you’ll always know which free software gives you the most bang for your buck.
Conclusion
Picking the right affordable qPCR data analysis software free can feel like a gamble, but you’ve just built a simple scoring sheet that takes the guesswork out of it.
Now you know which file types matter, which melt‑curve view you need, and how to test a demo before you commit. A quick run with a control sample will confirm the scores you gave each tool.
If a program slips on export clean‑up, just lower its point and move on – the sheet stays honest and you keep the workflow smooth.
Keep the checklist handy for every new project. It will save you time, cut costs, and let you focus on the science instead of hunting for licences.
Ready to try it out? Grab a free tool, run a test, and let the data speak for itself. And remember, Shop Genomics offers a range of lab gear that fits right into this low‑budget pipeline.
A final tip: revisit the scores after each run, note any quirks, and adjust your ranking. Over time you’ll have a living guide that grows with your lab’s needs.
FAQ
What makes a qPCR analysis tool "affordable" and still free?
Affordability means you don't pay a licence fee. Free tools let you run the same basic steps as paid software: import raw data, view melt curves, calculate Ct values, and export CSV files. Look for programs that support the file type your machine makes, like .txt or .xlsx. Many open‑source scripts run on any OS, so you save money on both software and hardware. If the tool adds extra plug‑ins you can skip them, the core features are enough for most labs.
Can I trust the results from free qPCR software?
Yes, if you check a few key points. First, run a known control sample and compare the Ct values to what the instrument reports. Second, look at the melt‑curve shape; it should match the standard you expect. Third, export the data and open it in Excel or Prism, the numbers should line up. Many labs use free tools for routine work and only switch to paid packages for very large projects.
Do I need programming skills to use open‑source qPCR tools?
Not always. Some projects come with a simple graphical interface you can click through. Others are command‑line scripts that need a bit of Python knowledge. If you’re new, start with a GUI version or follow a short video demo. You can also ask a colleague or look at the tool’s help page. The learning curve is usually short for the basic steps.
How do I keep my free software up to date?
Most open‑source tools live on GitHub. Visit the project page and click the "Releases" tab. Download the newest version and replace the old files. Some tools have an auto‑update button inside the program. Keep an eye on the readme for any new dependencies. Updating often fixes bugs and adds support for newer file formats. Doing this once a month keeps the software safe and smooth.
What if the free tool can't read my instrument’s file?
First, check if the program can import .csv – many machines can export a CSV copy. If not, use a simple conversion step: open the raw file in Excel and save as CSV. Then load that file into the free software. If conversion is too messy, look for another open‑source option that lists your file type in its features. That way you avoid a roadblock and keep the workflow moving.
Is there a quick way to compare several free tools?
Make a short table with columns for file format support, melt‑curve view, CSV export, OS compatibility, and any extra steps you need. Give each tool a score from 1 to 5 in each column. Add up the scores and pick the highest. This lets you see at a glance which tool fits your lab without spending cash. You can update the table after each run to keep it fresh.


