
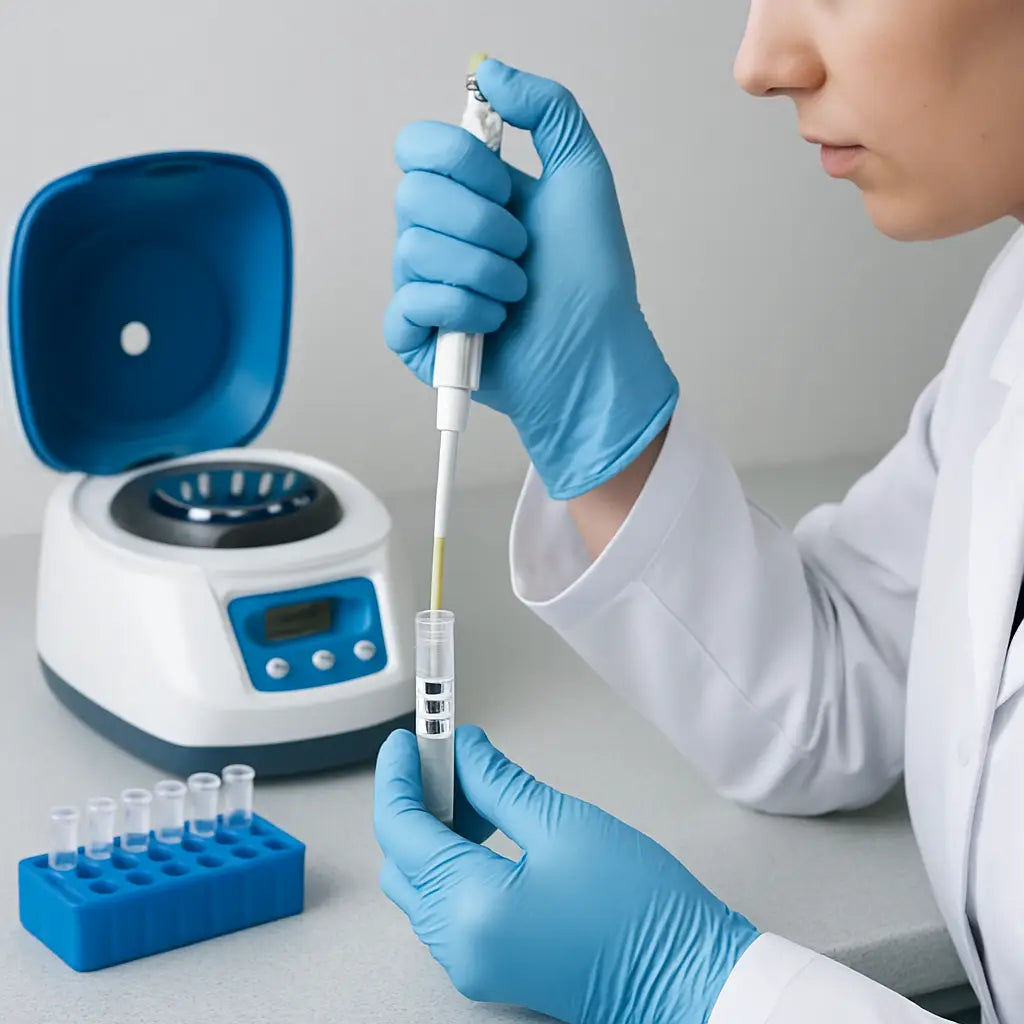
Picture yourself in the lab, pipette in hand, staring at that tiny tube and wondering why the reaction sometimes fizzles out.
The truth is, every successful PCR starts with the right mix of components, each playing a very specific role.
First up, the DNA template – it’s the piece of genetic material you actually want to copy, whether it’s a bacterial plasmid or a patient’s biopsy.
Next come the primers, those short DNA strands that hug the template’s start and end points, telling the polymerase exactly where to begin and stop.
Then there’s the DNA polymerase, the workhorse enzyme that stitches nucleotides together. In most modern protocols we reach for a hot‑start Taq or a high‑fidelity version to keep nonspecific amplification at bay.
Don’t forget the dNTPs – the building blocks (A, T, C, G) the polymerase uses. Too little and the reaction stalls; too much can increase background noise.
Magnesium ions (usually MgCl₂) act like a catalyst, helping the polymerase bind the template and the dNTPs. Their concentration is a fine‑tuning knob that can make or break your yield.
The buffer provides the right pH and ionic strength, often containing K⁺ and sometimes additives like BSA to improve performance with tricky samples.
If you’re running many cycles, a stable thermal profile matters, but a well‑balanced master mix saves you from constantly tweaking the program.
At Shop Genomics we see labs of all sizes wrestling with these ingredients, and the biggest wins come from understanding how each piece interacts, not just dumping them together.
So, before you set up your next experiment, take a moment to check each component: is the template pure enough? Are the primers designed for the right melting temperature? Is your polymerase suited for the amplicon length?
By giving each ingredient its proper attention, you’ll cut down on failed runs, save reagents, and get that clean, crisp band you’ve been chasing. Ready to demystify the mix?
TL;DR
Understanding each PCR component—from template DNA and primers to polymerase, dNTPs, magnesium ions, and buffer—lets you fine‑tune reactions and avoid wasted reagents.
Apply this insight, and you’ll consistently generate clean, crisp bands, saving time and money across academic labs, biotech firms, and clinical research today, still across all your labs.
Step 1: DNA Template – The Starting Material
Imagine you just pulled a tiny pellet of genomic DNA out of a spin‑column and it’s sitting there, glistening under the lab light. That little piece is the whole reason your PCR will ever work – it’s the blueprint you’re trying to copy.
First thing’s first: purity matters more than you think. Even a whisper of protein or leftover phenol can throw the polymerase off its game. In our experience at Shop Genomics, labs that rinse their columns with the recommended ethanol wash and let the silica dry for a minute or two see dramatically cleaner bands.
But what about concentration? Too much template can overload the reaction, leading to smearing, while too little makes the signal disappear into the noise. A quick spectrophotometer read (or a rapid fluorometer from XLR8well) lets you hit that sweet spot – usually 1–10 ng per 25 µL reaction for most targets.
Now, think about the source. Are you working with a high‑copy plasmid, a low‑copy bacterial chromosome, or a precious human biopsy? Each scenario demands a different handling approach. For plasmids, a simple miniprep gives you a clean, supercoiled template that amplifies effortlessly. For genomic DNA, you might need a gentle lysis buffer to keep the fragments long enough for your downstream application.
Once you have your template, it’s a good idea to check integrity on a low‑percentage agarose gel. Seeing a single, high‑molecular‑weight band tells you the DNA isn’t fragmented – and that’s the foundation for a crisp PCR product.
So, how do you actually set it up? Here’s a quick checklist:
- Measure concentration with a nanodrop or fluorometer.
- Confirm purity (A260/280 ~1.8, A260/230 >2.0).
- Run a 0.8% agarose gel to verify integrity.
- Aliquot enough for your master mix and store the rest at –20 °C.
Need a visual refresher on how the template fits into the whole PCR workflow? Check out this short video that walks through each step from extraction to amplification.
Notice how the video emphasizes gentle handling of the DNA – that’s the same advice we give when you’re prepping your master mix.
If you’re looking for a tool to fine‑tune the annealing step after you’ve got your template, our guide on how to use a PCR annealing temperature calculator walks you through the numbers, so you don’t waste cycles on trial‑and‑error.
When you’re ready to share your results or create a teaching video, consider partnering with Clear Source Media. They specialize in turning lab protocols into engaging visual stories, which can be a game‑changer for grant applications or internal training.
And for the students or early‑career researchers reading this, you might be planning a move abroad. StudyInFocus helps you navigate German university programs where you’ll get hands‑on experience with PCR and other molecular techniques.
Bottom line: treat your DNA template like the VIP guest it is. Clean it, quantify it, verify it, and store it right. Your downstream PCR will thank you with sharp, reproducible bands.
Step 2: Primers – Targeted Short Sequences
Now that your template is clean and quantified, the next piece that decides whether you see a bright band or a blank lane is the primer. Those tiny, single‑stranded DNA fragments are the GPS coordinates that tell the polymerase where to start and stop copying.
Ever felt that moment of doubt when a PCR run comes up empty and you wonder if you simply chose the wrong pair? You're not alone. In our experience, a mis‑designed primer is the #1 cause of wasted reagents in academic labs and CROs alike.
What makes a good primer?
First, length matters. Aim for 18–25 nucleotides – long enough to bind specifically, short enough to melt cleanly. Think of it like a lock: too few teeth and anything can turn; too many and the key gets stuck.
Second, melting temperature (Tm) should be similar for both forward and reverse primers, usually 58‑62 °C. If one primer melts at 55 °C and its partner at 68 °C, the reaction will favour the lower‑Tm primer and you’ll get uneven amplification.
Third, avoid runs of a single base (like “AAAA”) and keep GC content around 40‑60 %. Too much GC can create stubborn secondary structures, too little can make the primer fall off in the early cycles.
And don’t forget specificity. A quick BLAST search against your target organism’s genome can spot off‑target matches before you even order the oligos.
Design checklist – a quick‑hit guide
- Length: 18‑25 nt
- Tm: 58‑62 °C, ΔTm < 2 °C
- GC %: 40‑60 %
- No 3′‑end runs of > 3 identical bases
- Avoid hairpins or dimers (ΔG > ‑6 kcal/mol)
- Check for SNPs in your target region
- Run a BLAST or in‑silico PCR to confirm uniqueness
Sounds like a lot, but most of these checks are built into free online calculators. If you’re comfortable with a spreadsheet, you can even plug the basic formula for Tm (2 × (A+T) + 4 × (G+C)) and get a ballpark number in seconds.
So, what should you actually do with this checklist? Here’s a step‑by‑step routine you can run right after you’ve quantified your template.
- Paste your target sequence into an online primer design tool.
- Set the desired amplicon length (usually 100‑800 bp for routine PCR).
- Apply the filter criteria from the checklist above.
- Export the top three candidate pairs.
- Order the oligos from a reputable supplier – many labs use the same vendor that ships our PCR kits, which speeds up delivery.
Once the primers arrive, give them a quick quality check. Most suppliers provide a purity report; look for “HPLC‑purified” if you’re working with GC‑rich templates or long amplicons.
And here’s a little trick we love: before you add the primers to a full master mix, run a 5 µL “test” PCR with a gradient of annealing temperatures. That way you can see the sweet spot where you get a single, strong band.
Below is a short video that walks through a typical primer‑design workflow, from inputting your sequence to interpreting the output. It’s a handy visual refresher if you’ve ever felt stuck at the design stage.
After you’ve nailed the design, the next step is to optimise the annealing temperature in your PCR program. That’s where the calculator in our next guide comes in handy – but that’s a story for the following section.
Step 3: DNA Polymerase – The Enzyme that Builds DNA
Alright, you’ve got a clean template and a perfect primer pair. The next piece that actually does the heavy lifting is the DNA polymerase. Think of it as the construction crew that lays down each brick (nucleotide) according to the blueprint you just set up.
Ever wondered why some PCR runs finish with a thick, bright band while others end up looking like a faint smudge? More often than not, the answer lies in the polymerase you chose and how you treat it.
What does DNA polymerase actually do?
In plain language, polymerase reads the template strand and adds matching nucleotides one by one, extending the new strand from the primer’s 3' end. It’s a repeat‑and‑repeat process that happens millions of times during a typical 30‑cycle PCR.
Because it works at high temperatures, the enzyme needs to be stable enough not to fall apart when the thermal cycler hits 95 °C. That’s why most labs reach for a “hot‑start” version – the enzyme is inactive until the first denaturation step, which dramatically cuts down on background noise.
Choosing the Right Polymerase
Not every polymerase is created equal. Here’s a quick decision tree you can run through before you click “add to cart”.
- Do you need high fidelity (few errors) for cloning or sequencing? Go for a proofreading enzyme like Phusion or Q5.
- Is your target GC‑rich or longer than 2 kb? Pick a high‑processivity, GC‑friendly blend.
- Working with a messy clinical sample? A hot‑start Taq with inhibitor‑tolerant additives can save you a lot of headaches.
In our experience, most academic labs start with a reliable hot‑start Taq for routine amplicons and only switch to a high‑fidelity mix when the downstream application demands it.
Hot‑Start vs. Standard Polymerase
Standard Taq is like a worker who shows up early and starts fiddling around before the site is ready – you get nonspecific products. Hot‑start polymerases stay “asleep” until the first high‑temp step, so they only start copying when the template is truly denatured.
So, which one should you pick? If you’re troubleshooting a stubborn reaction, swapping a standard Taq for a hot‑start version is often the fastest fix.
Optimising Polymerase Concentration
Too much enzyme can increase background and waste reagents; too little, and the reaction stalls. A good rule of thumb is to start with the manufacturer’s recommended units per 50 µL (usually 0.5–2 U) and then adjust in 0.25 U increments.
Here’s a simple three‑step checklist:
- Set up a master mix using the suggested amount.
- Run a parallel test with half the enzyme amount.
- Compare band intensity – if the lower amount gives a clean band, stick with it; if not, try the higher end.
This little titration can shave off a few dollars per run, especially for high‑throughput CROs.
Buffer Compatibility
Polymerases come with their own proprietary buffers, and mixing buffers can ruin performance. Always use the buffer that ships with the enzyme, or follow the exact formulation on the datasheet.
One tip we’ve seen work: add a small amount of BSA (0.1 mg/mL) to the buffer when working with plant extracts. It helps the polymerase stay soluble and reduces inhibition from phenolic compounds.
Quick Reference Table
| Feature | Typical Choice | When to Use |
|---|---|---|
| Fidelity | Proofreading (e.g., Phusion, Q5) | Cloning, sequencing, mutagenesis |
| Hot‑Start | Hot‑start Taq | High‑background reactions, clinical samples |
| GC‑Rich Templates | GC‑enhanced blend | Templates >60% GC or >2 kb amplicons |
Remember, the polymerase is just one piece of the puzzle, but getting it right can turn a vague smear into a crystal‑clear band. Does this feel like a lot? Take it one step at a time – choose the enzyme, set the right concentration, and let the thermal cycler do the rest.
Next up, we’ll dive into fine‑tuning the annealing temperature so the primers and polymerase can dance together without tripping over each other.
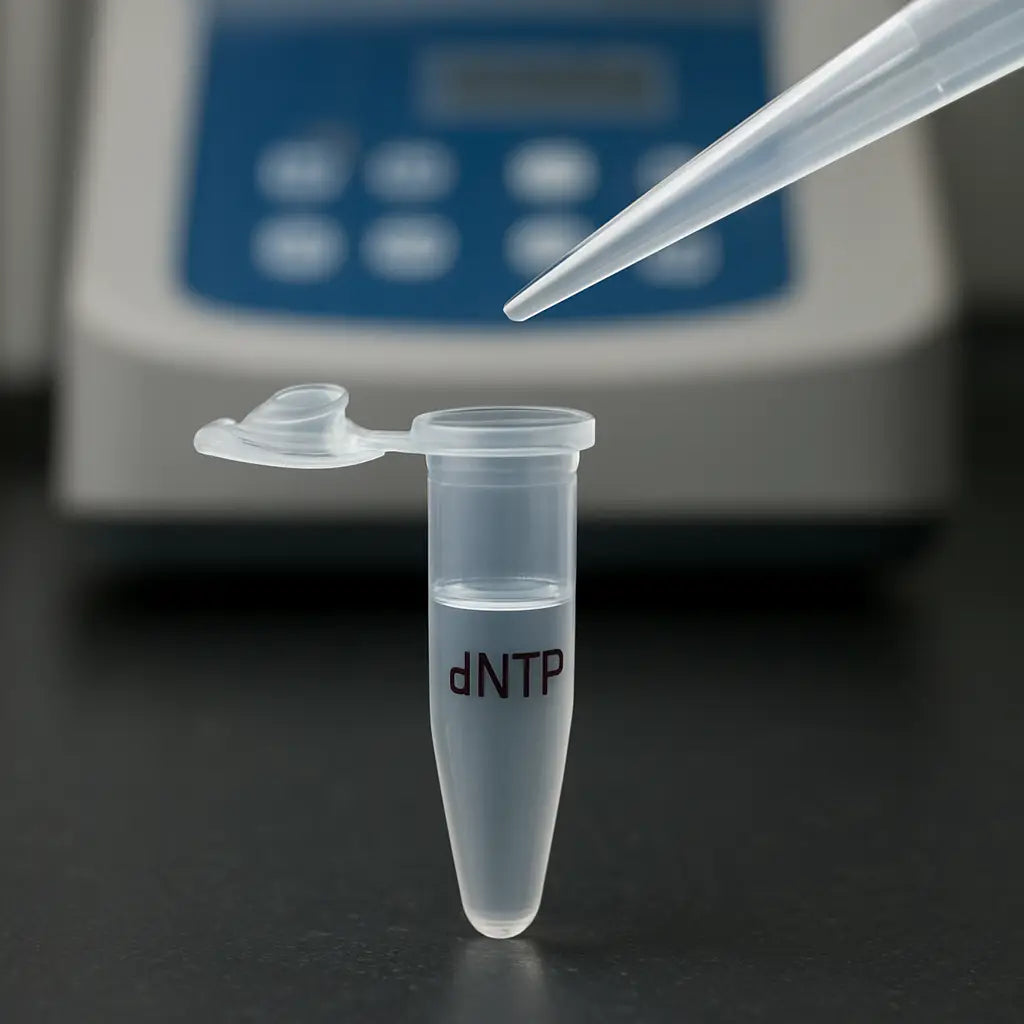
Step 4: dNTPs – The Building Blocks
Okay, you’ve got template, primers, polymerase – now it’s time to talk about the tiny molecules that actually become the new DNA strand: the dNTPs.
dNTP stands for deoxynucleotide triphosphate, and there are four of them – dATP, dTTP, dCTP, and dGTP. Think of them as LEGO bricks that the polymerase snaps together, one base at a time.
Why the right amount matters
If you pour too few bricks into a construction set, the building will collapse. In PCR, low dNTP concentrations cause the reaction to stall early, giving you faint or missing bands.
On the flip side, loading the tube with a mountain of dNTPs isn’t a free lunch. In the mix can raise the ionic strength of the mix, which in turn can increase background noise and even promote mis‑incorporation.
In our experience working with academic labs and CROs, a final concentration of 200 µM each (so 800 µM total) is the sweet spot for most standard protocols.
How to set up your dNTP mix
1. Grab a 10 mM stock of each dNTP – most suppliers sell a ready‑made 10 mM “mix” that contains equal parts of the four bases.
2. For a 50 µL PCR, add 1 µL of the 10 mM mix. That gives you 200 µM of each nucleotide, which is what the enzyme expects.
3. If you’re using a high‑fidelity polymerase that recommends 400 µM total, simply double the volume to 2 µL.
4. Mix gently, avoid bubbles, and keep the stock on ice if you’re not using it right away.
Special cases you might run into
What if you’re amplifying a very GC‑rich region? Some protocols suggest adding a small excess of dGTP and dCTP (up to 250 µM each) to help the polymerase push through the strong bonding.
Working with low‑input DNA, such as single‑cell extracts, can also benefit from a slight bump in dNTP concentration. The extra nucleotides give the polymerase a buffer against stochastic depletion.
But be careful: raising the total dNTP pool above 1 mM can start to inhibit some hot‑start enzymes. Always check the enzyme datasheet before you go overboard.
Quick checklist before you hit “Start”
- Are you using a 10 mM dNTP mix or individual stocks? Make sure the math adds up.
- Did you adjust the volume for a 25 µL versus a 50 µL reaction?
- Is your polymerase’s recommended dNTP range respected?
- Did you label the tube clearly? It’s easy to mix up dNTPs with dUTP or other modifiers.
That last tip might sound trivial, but we’ve seen labs waste an entire run because they accidentally added a dUTP‑containing mix meant for USER cloning.
And remember, the dNTPs are the only component that actually becomes part of the amplified product. If they’re off, everything else you’ve fine‑tuned – buffer, Mg²⁺, annealing temperature – will fall flat.
So, before you close the lid on your PCR tube, give those four little building blocks a quick sanity check. A few seconds now can save you an afternoon of re‑running.
Keep your dNTP stock on ice and avoid repeated freeze‑thaw cycles; aliquot into small tubes so each use is a fresh thaw. This simple habit keeps the nucleotides stable for months and prevents the dreaded “no‑product” failures.
Next up, we’ll look at magnesium ions – the catalyst that helps the polymerase grip both template and dNTPs. Stay tuned.
Step 5: Buffer & MgCl₂ – Creating the Right Environment
Alright, you’ve double‑checked your template, primers, polymerase, and dNTPs – now it’s time to set the stage. The buffer and magnesium chloride are the silent directors that tell everything else how to behave.
Why the buffer matters
Think of the buffer as the room temperature for your reaction. It keeps the pH steady (usually around 8.3 for Taq‑based mixes) and supplies the ions that let the polymerase grip the DNA. If the pH drifts, you’ll see weak bands or a complete flop.
Most commercial master mixes ship with a pre‑made buffer, but when you build your own mix you have to decide on the right components: Tris‑HCl for pH, KCl or (NH4)2SO4 for ionic strength, and sometimes additives like BSA or betaine.
So, what should you actually do? Here’s a quick “buffer‑checklist” you can run before you pour a single microlitre.
- Confirm the buffer’s pH at room temperature – a quick pH strip does the trick.
- Make sure the salt concentration matches the polymerase’s datasheet (usually 50‑80 mM KCl).
- If you’re amplifying GC‑rich templates, add 1 M betaine or 5 % DMSO to the buffer.
Does this sound like a lot? In practice you only tweak one or two variables at a time, and you’ll see the difference on the next gel.
Magnesium: the catalyst you can’t ignore
Magnesium ions (Mg²⁺) are the real workhorse. They sit in the enzyme’s active site and help the polymerase bind both the template and the dNTPs. Too little Mg²⁺ and the reaction stalls; too much and you get a mess of non‑specific products.
Most kits recommend a final MgCl₂ concentration of 1.5–2.5 mM. The sweet spot depends on three things:
- Template complexity: Crude extracts often need a bit more magnesium to overcome inhibitors.
- Primer Tm: Higher‑Tm primers can tolerate slightly higher Mg²⁺ because they bind more tightly.
- Polymerase type: Hot‑start enzymes sometimes work best with 1.5 mM, while standard Taq likes 2.0 mM.
In our experience working with academic labs and CROs, a simple titration saves a lot of time. Set up three 25 µL reactions side‑by‑side: one with 1.5 mM, one with 2.0 mM, and one with 2.5 mM MgCl₂. Run the PCR and compare band intensity. The middle condition is usually the winner, but the data tells you.
Here’s a practical tip: always add MgCl₂ after you’ve mixed the buffer and dNTPs, but before the polymerase. That way you avoid any accidental precipitation that can happen when Mg²⁺ meets high‑concentration dNTPs.
Putting buffer and MgCl₂ together
Now that you know each piece, let’s stitch them into a master mix. Follow these steps for a 50 µL reaction:
- Prepare a 10× buffer stock (e.g., 100 mM Tris‑HCl pH 8.8, 500 mM KCl, 10 mM (NH4)2SO4).
- Aliquot 5 µL of the 10× buffer into each tube.
- Add 1 µL of 50 mM MgCl₂ to reach the desired final concentration (adjust volume for 1.5‑2.5 mM).
- Include any optional additives (0.1 mg/mL BSA, 5 % DMSO, or 1 M betaine) now.
- Top up with nuclease‑free water to 40 µL, then add your dNTP mix, primers, template, and polymerase as the last step.
Mix gently – a few flicks of the tube are enough. Avoid vortexing; you don’t want to shear the DNA or denature the enzyme.
And don’t forget to label the tube clearly. A tiny “Mg‑2.0 mM” sticker saves you from a night of re‑running because you accidentally used the MgCl₂ stock meant for a different protocol.
Real‑world example
One biotech startup was struggling with a 1.8 kb amplicon from a plant genome. Their initial runs showed a faint smear. After checking the buffer pH (it was 7.9) and raising MgCl₂ from 1.5 mM to 2.2 mM, the band sharpened dramatically. The fix cost less than a single enzyme tube.
That story illustrates how a tiny tweak in the environment can turn a frustrating failure into a clean result.
So, what’s the next move?
Take a moment now to write down the buffer composition you’re using, note the MgCl₂ concentration, and plan a quick titration if you haven’t already. A few extra minutes in the prep stage will pay off in the gel‑reading stage.
When you’re ready, the next step is to fine‑tune the annealing temperature – the point where primers and polymerase finally meet and dance. Stay tuned for the next guide.
Conclusion
We've walked through every piece of the PCR puzzle—from the template that starts the story to the buffer that keeps everything happy. Knowing how each component works lets you troubleshoot before you even load the machine.
What to remember
Pick a clean DNA template, design primers that match in length and Tm, and trust a hot‑start polymerase to stay quiet until the first melt. Keep dNTPs at 200 µM each and dial in MgCl₂ between 1.5‑2.0 mM for most labs.
In our experience, a quick checklist saved a biotech startup hours of re‑runs: write down buffer pH, label MgCl₂ concentration, and run a three‑point Mg²⁺ titration. The result? Clear bands and fewer wasted reagents.
So, what’s the next step for you? Grab a notebook, jot the exact recipe you used today, and tweak one variable at a time. That habit turns guesswork into data‑driven optimisation.
When you’ve nailed the basics, the annealing‑temperature calculator on Shop Genomics can help you fine‑tune the final dance between primers and polymerase. A few minutes now will pay off in every downstream experiment.
Remember, PCR is a recipe you can perfect. With each component understood, you’ll spend less time troubleshooting and more time discovering.
Keep this guide bookmarked; the next time you set up a reaction, the checklist will be right there.
FAQ
What are the essential PCR components and their functions?
In a typical PCR you need a DNA template, a pair of primers, a DNA polymerase, dNTPs, a buffer, and magnesium ions. The template provides the genetic code you want to copy. Primers mark the start and end points for the polymerase. The enzyme stitches new strands together using the dNTP building blocks. The buffer keeps pH stable, and Mg²⁺ acts as a catalyst that helps the polymerase bind both template and nucleotides.
How much template DNA should I use for a reliable reaction?
Too much or too little can wreck the run. For most academic labs, 0.1–1 ng of pure plasmid DNA in a 50 µL reaction works well. Clinical samples often need 5–50 ng because the DNA is more fragmented. Always check purity (260/280 ≈ 1.8) before you pipette. A quick test‑gel of a diluted sample lets you see if the DNA is intact, saving you a failed PCR later.
Why does primer design matter so much?
Primers are the GPS for the polymerase. If their length, GC content, or melting temperature (Tm) are off, you’ll get weak or nonspecific bands. Aim for 18–25 bases, a Tm of 58‑62 °C, and a GC% of 40‑60. Run a BLAST search to make sure they don’t match other regions in the genome. A short gradient PCR can reveal the sweet spot before you commit to a full‑scale experiment.
When should I choose a hot‑start polymerase over a regular Taq?
Hot‑start enzymes stay inactive until the first denaturation step, which cuts down on background noise. They’re a lifesaver when you’re working with messy clinical extracts or when you see a lot of primer‑dimer smears. Regular Taq can be fine for simple bacterial plasmids, but most biotech startups and CROs prefer hot‑start to boost reproducibility.
What’s the right dNTP concentration and why does it matter?
Standard protocols call for 200 µM of each dNTP in the final mix. This gives the polymerase enough building blocks without raising ionic strength too much. If you bump the total above 1 mM, some hot‑start enzymes lose activity. For high‑GC targets you can add a little extra dGTP and dCTP (up to 250 µM) to help the polymerase push through the stronger bonds.
How do I optimise magnesium ion concentration?
Mg²⁺ is the catalyst that makes the whole reaction click. Most kits suggest 1.5–2.5 mM MgCl₂. Start with 2.0 mM, then set up a three‑point titration (1.5, 2.0, 2.5 mM) if you get weak bands or a smear. Keep in mind that crude extracts often need a touch more magnesium to overcome inhibitors, while high‑fidelity enzymes sometimes prefer the lower end.
What’s a quick checklist before I start the PCR?
1️⃣ Verify template purity and concentration.
2️⃣ Confirm primer length, Tm, and specificity.
3️⃣ Use the polymerase‑specific buffer and add MgCl₂ last.
4️⃣ Set dNTPs to 200 µM each.
5️⃣ Label every tube – a missed Mg²⁺ label costs a run.
6️⃣ Run a tiny 5 µL test PCR with a temperature gradient.
Following these steps turns guesswork into a repeatable workflow, whether you’re in an academic lab, a biotech startup, or a clinical diagnostics centre.
Additional Resources
Looking for a quick cheat‑sheet after you’ve mastered the basics? Grab our printable PDF that maps each pcr component to its ideal concentration and a one‑sentence reminder of what it actually does.
Need a deeper dive into how magnesium ions interact with dNTPs? Check out the detailed whitepaper on metal‑ion chemistry that we host in the resource hub – it breaks down the chemistry in plain language without drowning you in equations.
For anyone who loves tinkering, the interactive master‑mix builder on our site lets you plug in your enzyme, template amount and desired amplicon size, then spits out the exact volumes you need. It’s the kind of tool that saves a busy CRO a few minutes per run.
And if you’re still unsure about primer design, the step‑by‑step tutorial on annealing‑temperature calculators walks you through a real‑world example, from raw sequence to final PCR program.
Finally, our community forum is a place where academic labs, clinical teams and biotech startups swap troubleshooting stories about pcr components and their functions – you might just find the exact tip that turns a faint smear into a crisp band.


