
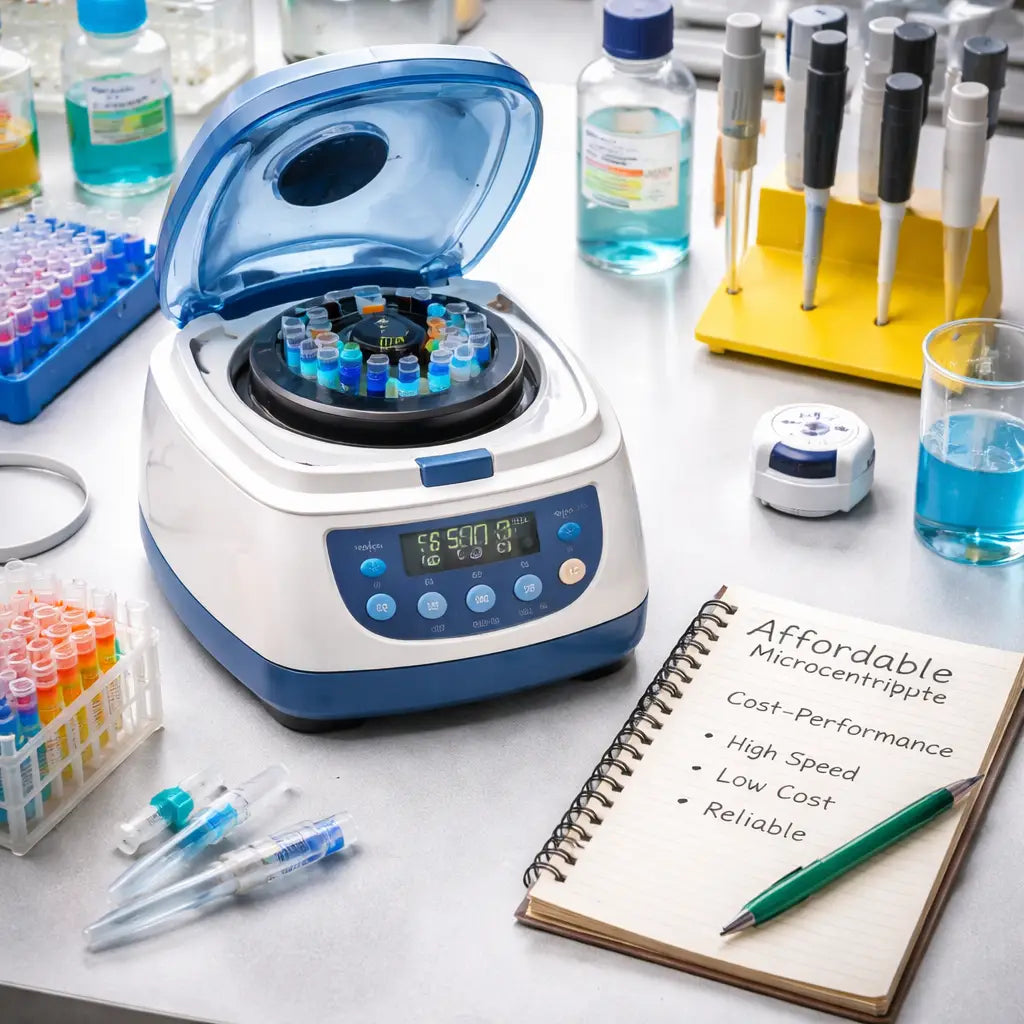
Finding an affordable microcentrifuge for labs can feel like hunting for a tiny needle in a huge stack of pricey gear.
Most labs—whether at a university, a biotech startup, or a clinical research unit—need a reliable spin tool that won’t break the budget. You want something that spins fast, fits on a bench, and stays quiet while you’re juggling samples.
One practical way to start is to list the must‑haves: a clear LCD display, a safety lock, and interchangeable adapters for tubes of different sizes. Next, compare a few models side by side and note the price per rpm. Many teams find that buying from a specialist e‑commerce platform saves both time and cash.
For a quick look at top picks that balance cost and performance, check out our Best Budget Microcentrifuge for Teaching Labs. It breaks down specs, shows real‑world use cases, and even flags hidden fees.
After you pick a model, set it up in three easy steps: (1) calibrate the speed with a test tube, (2) run a short spin to confirm balance, and (3) label the maintenance schedule so you never miss a service.
Doing this right means you spend less on repairs and more on the science that matters.
Step 1: Define Your Lab’s Needs
Before you click "add to cart," you need a clear picture of what your bench actually requires. Think about the types of samples you spin, the tube sizes you use, and how often you run a batch.
Start with a quick list. Ask yourself: do I need a LCD read‑out, a safety lock, or a quick‑change rotor? Do I run 12 × 50 ml tubes or just the standard 1.5 ml micro‑tubes? Write down each must‑have and each nice‑to‑have. This simple list will stop you from buying features you never use.
Next, match those needs to budget limits. Many labs find that a model under $300 can still hit 14 000 rpm, which is enough for most DNA prep. If you need higher speeds, look for a unit that lets you upgrade the motor later instead of paying for a top‑tier model now.
Tip: check out XLR8Well for a quick price comparison tool that lets you filter by speed, tube size, and price range. It’s a handy way to see which options sit in your cost window.
Another good resource is Velio, which offers a short guide on how to size a centrifuge for different workloads. Their checklist can help you confirm you haven’t missed a hidden cost like extra adapters.
Finally, explore Open Claw Lab’s blog for a short video walkthrough on setting up a new microcentrifuge. Seeing the steps in action can reveal setup quirks before the box even arrives.
Once you have a list, a price cap, and a couple of trusted reference sites, you’ll be ready to move to step two: comparing specs side by side.
Step 2: Compare Cost and Performance
Now that you know what you need, it’s time to see how price lines up with what the machine actually does.
Start with the max speed. Write down the rpm or RCF each model promises. Then pull the sticker price. Divide the price by the max rpm – you get a simple cost‑per‑speed number. A unit that costs $300 and hits 12,000 rpm gives $0.025 per rpm, while a $900 model that reaches 15,000 rpm costs $0.06 per rpm. The lower number usually means better bang for your buck.
Next, add the features that matter to you. If you need cold spins, a refrigerated unit will add $200‑$300. If you only run room‑temp samples, skip that extra cost. Look at motor type: brushless motors cost a bit more up front but they cut down on maintenance, which saves money later.
Here’s a quick three‑step checklist you can copy:
- Write max rpm / RCF.
- Calculate cost‑per‑rpm.
- Add $ for any must‑have extras (cooling, digital display, warranty).
Imagine a teaching lab that runs 20 PCR prep spins a day. A $250 mini centrifuge at 5,000 rpm works fine and saves $650 compared to a $900 high‑speed model they don’t need. The saved cash can buy extra pipette tips.
For a more detailed price table, see the range offered by Scilogex benchtop centrifuges, which lists models from $240 up to $5,400 and speeds from 2,000 to 15,000 rpm. That data lets you spot the sweet spot for your budget.
Now you have a clear way to weigh cost against real performance, so you can pick the unit that fits your work and your wallet.
Step 3: Set Up and Calibrate Your Unit
Got your affordable microcentrifuge for labs? Great. Let’s get it ready to spin.
Unbox and position
Take off the cardboard. Keep the foam pads. They protect the motor. Put the unit on a flat, sturdy bench. Make sure there’s at least a few inches of space on each side so you can reach the lid.
Plug it in and power up
Check the voltage label. Connect the cord to a grounded outlet. Flip the power switch. Most models run a quick self‑check; you’ll hear a soft beep when they’re good to go.
Balance a test tube
Fill a 1.5 mL tube with water. Weigh it on a small scale. Find another tube that matches the weight. Place the two tubes opposite each other in the rotor. If you only have one tube, fill a second with the same amount of water or use a balance weight.
Calibrate speed
Load a calibration tube or a small tube of water. Set the display to the speed you need, say 5,000 rpm. Run a short spin of 10 seconds. Watch the digital read‑out. If it shows a different number, adjust the calibration knob or menu until the read‑out matches the target. A quick tip: do this with the lid closed and the rotor empty after the first spin to confirm the reading.
Write down the final settings in a lab notebook. Label the unit with the date of calibration. Repeat the check every three months to keep accuracy.
For more detail on calibration best practices, see the complete guide on microcentrifuge setup.
Step 4: Maintenance and Troubleshooting Checklist
A cheap microcentrifuge can stay reliable for years if you treat it right. Small habits now save big headaches later.
Routine visual check
Every week glance at the rotor, lid and adapters. Look for cracks, corrosion or loose screws. If anything looks off, stop the unit.
Cleaning routine
Wipe the exterior with a lint‑free cloth dampened in mild soap. Avoid harsh chemicals that can eat away plastic parts. Clean the lid seal and rotor slots with a soft brush.
Keep a log next to the machine. Note the date, who cleaned it and any odd sounds you heard. A quick note helps track patterns.
Calibration and balance
Run a short 5‑second spin with a water tube every month. Check the displayed rpm against the target. If it drifts, recalibrate as shown in Step 3.
Balance the tubes each time you load. Unbalanced loads cause vibration and wear down bearings faster.
Troubleshooting quick fixes
If the unit hums louder than usual, pause and check for debris in the vent. Clear any dust with a compressed‑air can.
Unexpected stops? Make sure the power cord is fully seated and the outlet is grounded. Reset the safety lock and try again.
For deeper issues, refer to a professional service at least once a year. The lab‑supply blog suggests a yearly service to catch metal fatigue early.
Read more about proper upkeep on lab‑centrifuge maintenance tips.
Quick reference table
| Task | Frequency | Key note |
|---|---|---|
| Visual rotor check | Weekly | Stop use if cracks appear |
| Exterior wipe | Weekly | Use mild soap, no harsh chemicals |
| Calibration spin | Monthly | Match displayed rpm to target |
Stick to this checklist and your affordable microcentrifuge for labs will keep humming along without costly repairs.
Step 5: Find Reliable Suppliers and Deals
Finding a good supplier can feel like a wild hunt.
Start with a clear price band. Many labs snag a solid unit for under $1,000 when they look at used gear.
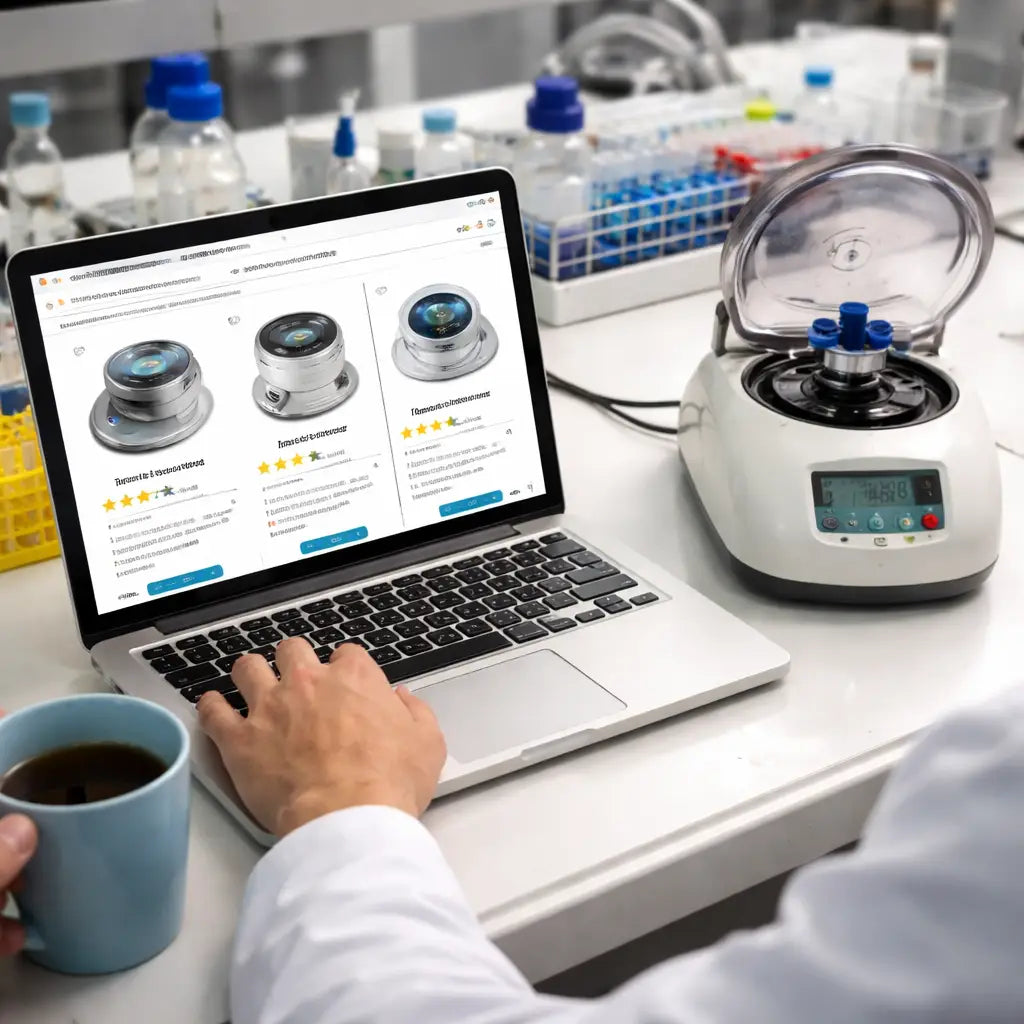
So, where do you look? Trusted marketplaces that focus on lab equipment usually vet sellers and show warranty info.
Use a dedicated lab marketplace
A quick search on the LabX microcentrifuge listings lets you filter by price, condition, and brand. You can see photos, read seller notes, and compare specs side by side.
Check the seller rating. A rating above four stars and several recent sales usually means the seller is reliable.
Ask for a short video of the unit running. A real world spin shows you that the motor still works and the lid locks tight.
Ask for test data or calibration proof
Good sellers will share the last calibration certificate. That saves you time later and shows the unit was cared for.
If you buy a batch, ask for a bulk discount. Many vendors cut 5‑10% off when you order two or more.
Don’t forget to compare shipping costs. Free shipping can swing the total price by a few hundred dollars.
Shop Genomics also curates affordable models and offers easy returns, so you have a safety net if the unit arrives with a problem.
Local distributors can also be a good source. Call a few nearby labs and ask where they bought their centrifuge. A phone call may land you a better price or a trade‑in deal.
Make sure the return policy covers at least 30 days.
Finally, write down the exact model, price, and warranty before you hit buy. A simple note helps you stay on budget and avoid surprise fees.
Conclusion
By now you’ve walked through every step needed to snag an affordable microcentrifuge for labs without breaking the budget.
You know how to list your must‑haves, run a quick cost‑per‑rpm check, and set up the unit so it spins true. You also have a maintenance cheat sheet that catches problems before they turn costly.
Remember to ask for a short video of the motor running, a recent calibration certificate, and a clear return policy. Those tiny pieces of proof can save you hours of hassle and dollars down the line.
When you’re ready to buy, platforms like Shop Genomics make it easy to compare prices, get free shipping on bulk orders, and enjoy an easy return if the unit arrives with an issue.
Take the checklist, pick the model that fits your bench, and get back to the science that matters.
FAQ
How can I tell if an affordable microcentrifuge is reliable?
First, ask the seller for a short video of the motor running. Look for steady spins and no wobble. Next, check the calibration certificate – it should show the last date the speed was measured. Finally, read any reviews that mention long‑term use. If the unit passes these checks, you’ll feel more sure it won’t quit on you.
What speed do I really need for most lab protocols?
Typical PCR prep or DNA extraction runs need about 12,000 rpm, which gives roughly 20,000 × g. If you only spin small tubes for quick pelleting, 5,000 rpm may be enough. Match the max rpm to the highest speed your protocols ask for, then choose a model that reaches that number without a big price jump.
How do I keep the unit running with low maintenance?
Wipe the outside with a soft, damp cloth after each use. Keep the vent clear of dust – a quick blow of compressed air helps. Run a short 5‑second spin with a water tube each month to check the read‑out. If the rpm drifts, recalibrate following the steps in the user guide.
Is it safe to buy a used microcentrifuge for my lab?
Yes, if you follow a few steps. Ask for the last service record and a current calibration report. Verify the rotor shows no cracks or wear. Test the unit with a video or in‑person spin before you pay. Many labs find a gently used model saves a lot of cash while still performing well.
What should I look for in the warranty and return policy?
Look for at least a 12‑month warranty that covers the motor and rotor. Make sure the seller offers a 30‑day return window with a full refund if the unit arrives damaged or doesn’t match the description. Clear terms help you avoid hidden costs later.
Can I get free shipping on bulk orders for microcentrifuges?
Platforms like Shop Genomics often waive shipping fees when you order two or more units. Check the checkout page for a bulk‑discount option. Free shipping can cut several hundred dollars off the total, which is a nice boost for any budget‑tight lab.


