
Finding a cheap PCR cleanup kit that actually works feels like hunting for a needle in a haystack.
Most labs waste money on pricey kits that give only marginal gains. You end up with leftover salts, low yields, and a dent in the budget.
What if you could grab a kit that cleans your PCR products reliably without breaking the bank? That's what an affordable PCR cleanup kit for research promises.
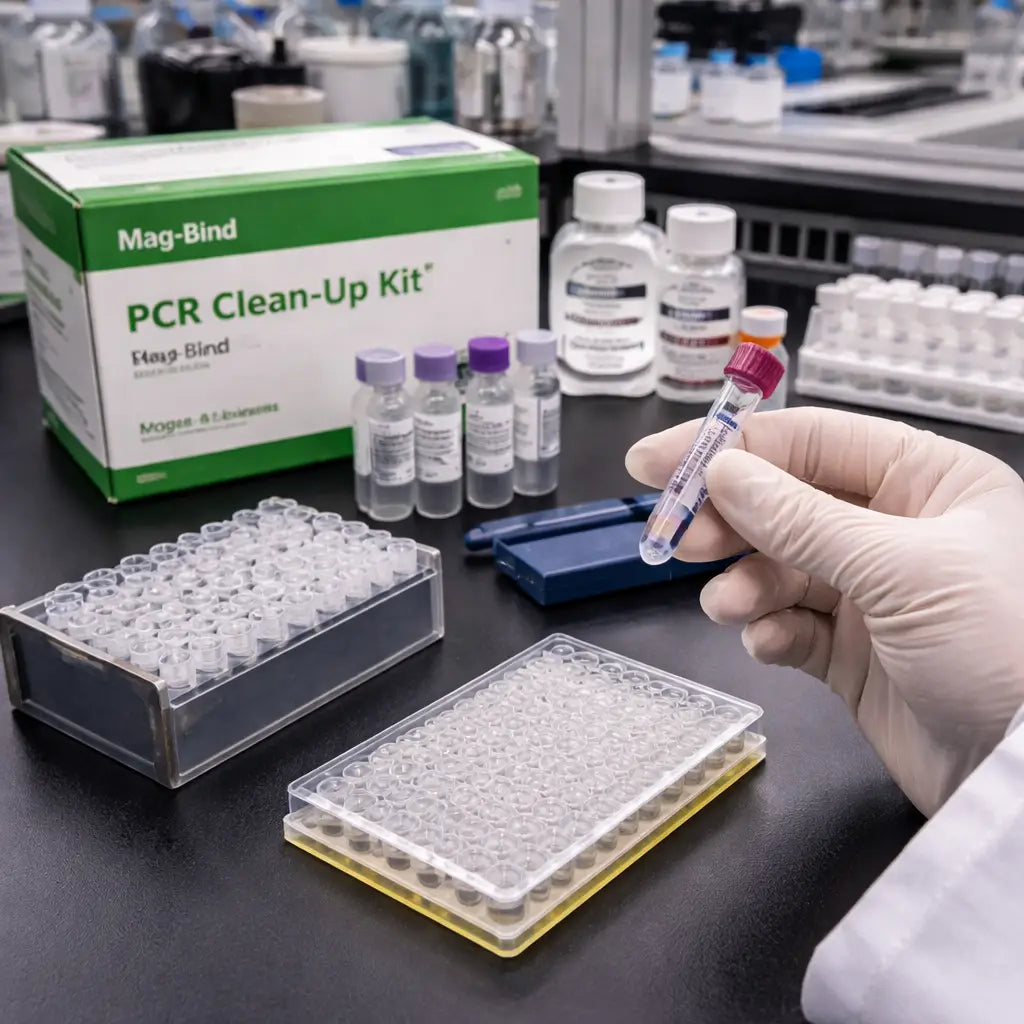
First, check the binding chemistry. Magnetic bead‑based kits are popular because they need only a magnet and a few washes. They work in 96‑well plates, so you can process dozens of samples fast.
Second, look at the elution volume. A smaller volume means higher concentration for downstream steps like sequencing. Many kits let you elute in 20‑30 µL, which is plenty for most labs.
Third, compare the price per reaction. A good rule is to aim for under $0.50 per sample if you run many plates each week.
For a quick comparison, see How to Choose an Affordable Magnetic Bead Purification Kit for Your Lab. The guide walks you through cost, performance, and tips for getting the most out of each kit.
Imagine you run a medium‑size university lab. You need to clean 96 reactions every month. Using a budget‑friendly kit saves you thousands annually, letting you buy a better thermocycler or fund a student project.
Don't forget the small details that keep the workflow smooth. Label each tube clearly, store beads at the right temperature, and use fresh ethanol washes. Accurate labeling can be a hassle, so consider a service like JiffyPrintOnline - Keeping your Business in Business. Affordable Custom and Pre-Designed Business Forms for cheap, custom lab labels.
By focusing on chemistry, cost, and practical steps, you can pick an affordable PCR cleanup kit that fits your research budget and delivers clean DNA ready for the next experiment.
Step 1: Identify Your PCR Cleanup Needs
Before you buy a kit, think about what you actually need to clean. Are you pulling a few dozen samples a week or running 96‑well plates every month? Your volume, speed, and budget all shape the choice.
Start with the type of DNA you have. If you’re amplifying long fragments, you’ll want a kit that keeps those pieces intact. For short amplicons, a simpler bead‑based method works fine and saves cash.
Next, look at the elution volume. Smaller volumes give you a higher concentration for downstream steps like sequencing. Most affordable kits let you elute in 20‑30 µL, which is plenty for most labs.
Ask yourself how many reactions you run in a day. If you need a fast, hands‑free workflow, a magnetic‑bead kit that works in 96‑well plates can keep up. If you’re on a shoestring budget, compare the price per reaction – aim for under $0.50 per sample when you’re processing plates weekly.
Finally, check the storage needs. Beads that stay stable at room temperature save freezer space. And think about labeling – clear labels cut down mistakes. A simple label printer can be a lifesaver for busy labs.
Step 2: Compare Popular Affordable PCR Cleanup Kits
Now that you know what you need, it's time to line up the kits that actually work and stay cheap.
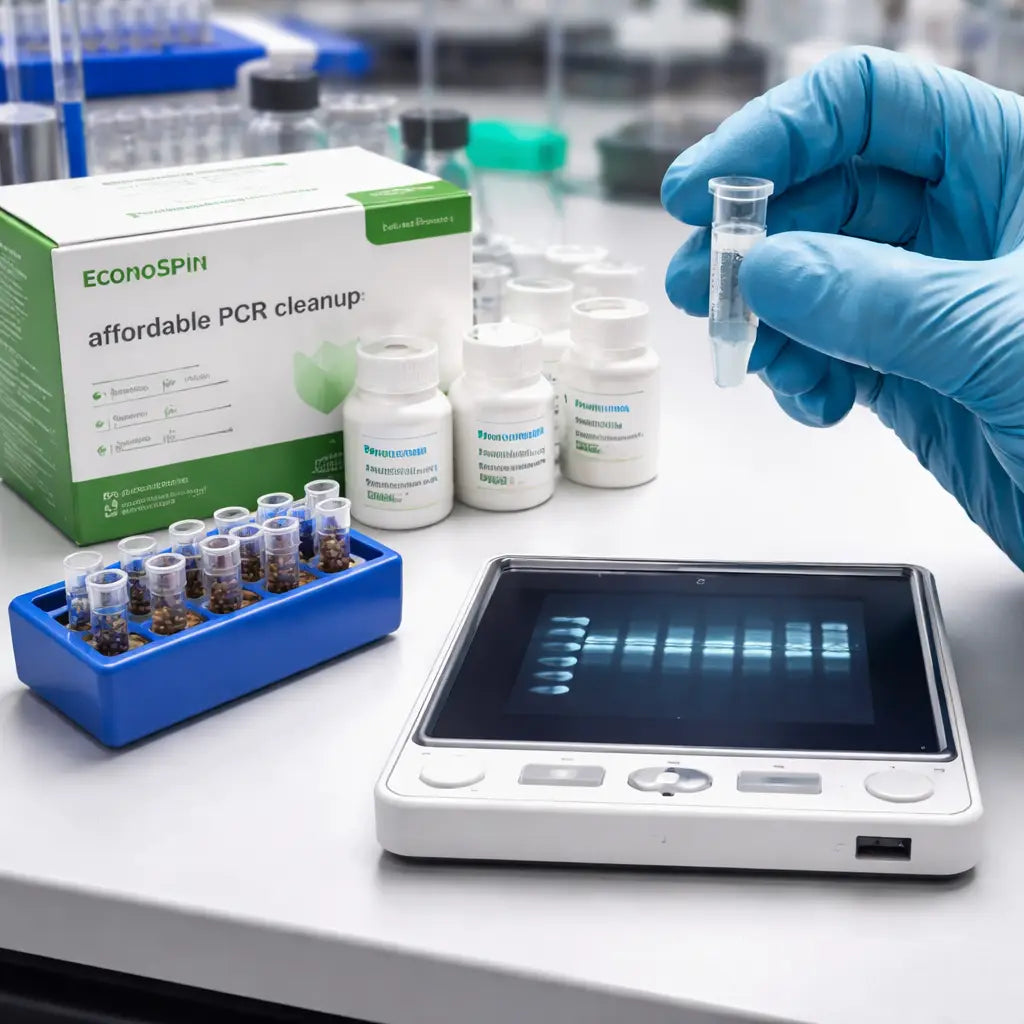
Below are three kits many labs keep in their fridge. They all use magnetic beads, so you only need a stand and a few washes.
Look at price per reaction first. If your budget is tight, a kit under $0.50 will let you run dozens of plates without breaking the bank.
Next, check elution volume. Smaller volumes give you a tighter DNA prep for sequencing, but you might need a bit more if you plan downstream cloning.
Finally, think about plate format. A 96‑well compatible kit saves you pipette time and fits most high‑throughput rigs.
You can also glance at the protocol length. A kit that finishes in two washes saves you time and reduces pipette errors. Many researchers also check the bead recovery rate, which tells you how much DNA sticks to the beads after each spin.
Remember to read the user manual for any special wash buffer ratios.
For more detail on how bead chemistry affects yield, read our guide on creating an accurate PCR master mix.
| Kit | Price per reaction | Elution volume | 96‑well ready |
|---|---|---|---|
| Kit A | $0.45 | 25 µL | Yes |
| Kit B | $0.48 | 30 µL | Yes |
| Kit C | $0.38 | 20 µL | No (single tube) |
Pick the kit that hits your top three must‑haves. Write the name on a sticky note, add it to your order list, and you’ll stop hunting for the next cheap option.
When you compare the three, weigh the price against the elution size and whether the kit fits your plate. If you run many 96‑well plates, Kit A or B may be worth the few extra cents for the convenience. If you only need occasional clean‑ups, Kit C saves money but requires tube work.
Tip: keep the bead suspension at 4 °C and give it a quick vortex before each use.
A quick test run with a control PCR helps you spot any loss before you process a full plate.
Step 3: Use the Kit - Protocol Tips and Video Guide
Grab the kit, spin the tubes, and watch the beads pull DNA onto their surface. A quick vortex of the bead suspension before you start makes the beads mix evenly.
First, add the binding buffer to your PCR mix. The ratio is usually one part buffer to five parts sample - check the kit sheet for the exact numbers. Mix gently; a few gentle taps are enough.
Next, drop the magnetic beads in. Let them sit for 2-3 minutes so the DNA can stick. Then pull the tube to the side of the magnet. The liquid clears in seconds.
Now wash. Use 70% ethanol twice. Keep the wash time short - 30 seconds each. Watch the liquid turn clear; that means the salts are gone.
Finally, elute. Add the elution buffer or water, wait 1 minute, and pull the magnet again. The DNA flows into the clear supernatant. Transfer to a fresh tube and you’re ready for downstream steps.
Tip: run a small control PCR alongside your first batch. If the band looks strong, the cleanup worked. If it’s faint, double-check bead recovery and wash times.
Need a visual walk-through? Check out the RT-PCR step-by-step guide for a short video that shows the same magnet-pull technique in action.
When you finish, label the eluate clearly and store it at -20°C. Clean the magnet with 70% ethanol before the next run. A tidy bench saves you time and avoids cross-contamination.
If you see cloudy supernatant, the beads may not have fully released. Give the eluate a gentle spin for 30 seconds, then pull the magnet again. If the yield is low, try increasing the bead volume by 10% or extending the binding time by another minute. Small tweaks often fix the problem.
Step 4: Validate Results and Maximize Savings
Now that you’ve pulled the DNA out, the first thing to do is make sure it actually works. A quick check on a small gel or a fast qPCR run will tell you if the cleanup kept the sample clean enough for downstream steps.
If the band looks bright and sharp, you’re good. If it’s faint or smeared, look back at the bead recovery – maybe the wash was too short or the bead mix settled.
One easy way to save money is to reuse the magnetic beads when the protocol allows. Rinse them in 70% ethanol, let them dry, and store them at 4 °C for the next batch. This can cut your per‑reaction cost by a few cents without hurting performance.
Another tip: batch your clean‑ups. Running 96 wells at once lets you use a single magnet and reduces pipette errors. Just be sure to label each tube clearly so you don’t mix up samples later.
Need a quick way to check if your PCR conditions are spot on? Try the PCR annealing temperature calculator to fine‑tune your primers before you even start the cleanup.
Before you store the eluate, measure its concentration with a cheap spectrophotometer or a NanoDrop. If the yield is higher than you need, you can dilute it and still keep enough for sequencing. Using the smallest reliable elution volume (often 20 µL) saves reagent and gives a tighter sample for downstream steps.
Finally, write down what worked and what didn’t in a short notebook. Those notes become your cheat sheet for the next run, helping you keep yields high and costs low.
Conclusion
You've seen how a cheap PCR cleanup kit can give clean DNA without blowing your budget.
Pick a kit that matches your fragment size, fits your plate or tube workflow, and stays under a few cents per reaction. A quick test with a control PCR will tell you if the beads bind well and the elution is pure.
Track the cost per microgram and jot down any tweaks – lower elution volume, a touch more beads, or reusing stored beads. Over a few weeks that log becomes a shortcut to cutting waste.
Remember, many labs find that sticking to the basics – magnetic beads, fresh ethanol, and a short dry step – keeps results steady.
If you need a reliable, affordable PCR cleanup kit for research, Shop Genomics lists options that meet these criteria and ships with free returns.
Give the checklist a run, note the numbers, and let the savings speak for themselves.
FAQ
What should I look for in an affordable PCR cleanup kit for research?
First, check the bead chemistry. It needs to bind both short and long fragments without pulling salts. Next, look at the elution volume to 20‑30 µL works for most downstream steps. Then, compare the price per reaction; under $0.50 is a good target. Finally, make sure the kit fits the plates or tubes you already own. A kit that ticks these boxes will give clean DNA without draining your grant.
How can I quickly verify a cheap kit works before ordering a large batch?
Run a small control PCR and follow the kit’s protocol. After elution, load a tiny drop on a 1 % agarose gel. One bright band at the expected size means the DNA is clean. Measure the concentration with a NanoDrop or fluorometer; 80 % recovery or higher is a solid sign. If the band is faint or the yield is low, try a second wash before you place a big order.
Is it safe to reuse magnetic beads from an affordable kit?
Yes, you can store the beads at 4 °C in a sealed bag and reuse them for a few runs. Before each reuse, give them a quick spin to pull out any residual liquid and let them equilibrate to room temperature. Check the binding efficiency on a test PCR; if the yield stays steady, the beads are still active. After many cycles, you may notice a drop, so replace them when performance slips.
What are common reasons for low DNA yield and how do I fix them?
Low yield often comes from using too little bead mix or old ethanol. Try increasing the bead‑to‑sample ratio to 2.0× and use fresh 70 % ethanol. Make sure the magnetic pull time is long enough for viscous samples, a few extra seconds can help. Finally, cut the elution volume only as far as you need for downstream work; too small can trap DNA on the beads.


