
Ever stared at a price tag on a microcentrifuge and felt your wallet tighten? You're not alone—budgeting for lab gear can feel like decoding a secret code.
Most labs, whether a university molecular biology department or a small biotech startup, need a reliable spin‑engine without breaking the bank. The good news? Prices have shifted dramatically over the past few years, and you can often snag a solid unit for under $800.
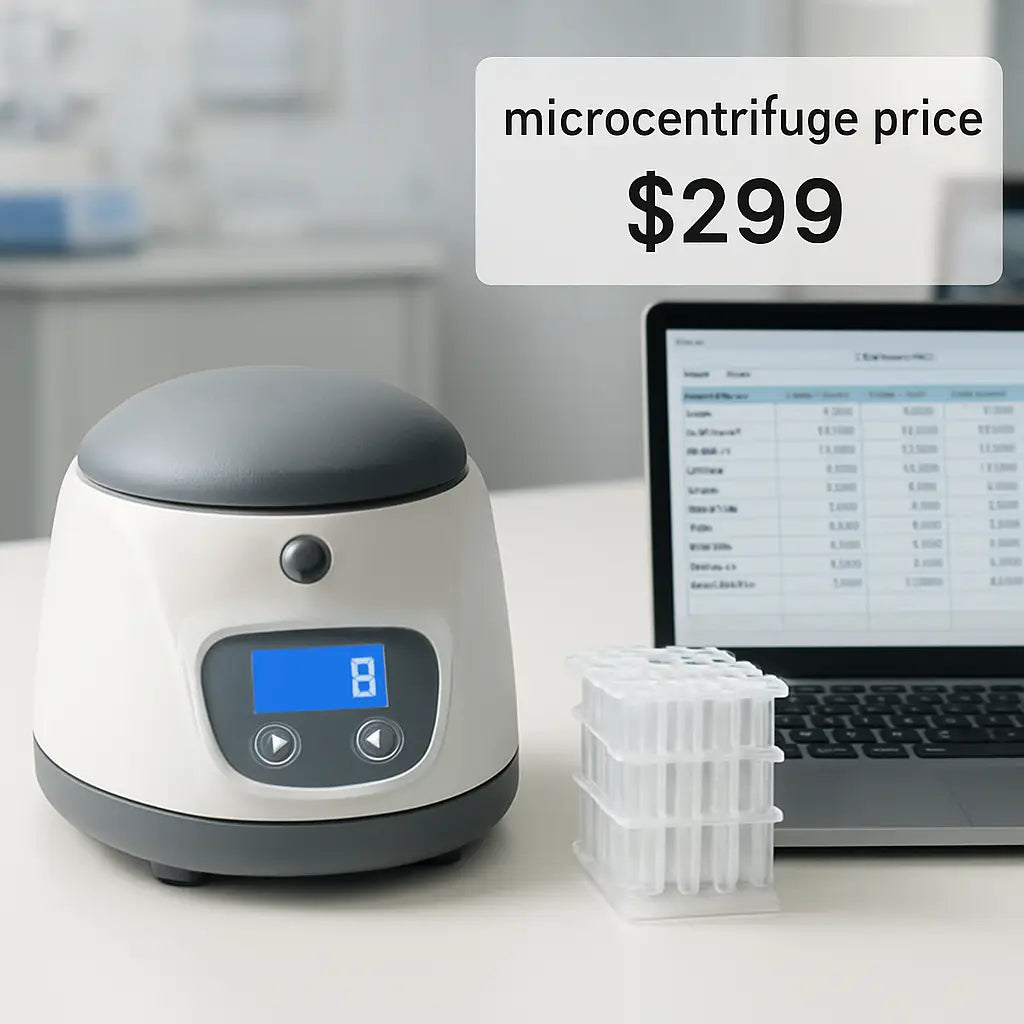
Take the myFuge™ 5 MicroCentrifuge as an example. Priced at $505.75 on sale, it packs enough speed for routine DNA extractions, yet stays light enough to fit on a benchtop beside your PCR machine. Researchers at a regional university reported cutting their equipment budget by 30% after swapping an older $2,200 model for this entry‑level option.
But price isn’t just about the sticker. You also have to consider hidden costs: maintenance contracts, calibration fees, and even the electricity draw of higher‑speed models. A quick audit of your lab’s monthly utility bill can reveal that a high‑speed 24‑slot centrifuge might add $20–$30 extra per month—something to factor into the total cost of ownership.
Here’s a simple three‑step checklist to gauge the true microcentrifuge price for your setup:
- Identify the required rotor capacity (most labs get by with 12‑15 µL tubes).
- Calculate expected run‑time per week and estimate electricity usage.
- Add optional accessories—like a tube holder or a USB data logger—to your budget.
Once you’ve tallied those numbers, compare them against a baseline model. If the total sits comfortably under your budget ceiling, you’ve likely found a sweet spot.
Don’t forget the IT side of things. Modern centrifuges often integrate with lab information systems, and securing that data flow can add a layer of cost. Learning about managed IT services for healthcare can help you avoid surprise expenses down the road.
In our experience at Shop Genomics, labs that pair a cost‑effective microcentrifuge with solid IT support end up saving both time and money, letting scientists focus on experiments instead of paperwork.
So, before you click “add to cart,” run through the checklist, factor in the hidden fees, and ask yourself if the unit fits both your scientific needs and your budget. With a clear picture, you’ll feel confident that the microcentrifuge price you’re paying truly reflects value.
TL;DR
Wondering how to master the microcentrifuge price? Our simple checklist lets you compare models, add electricity costs, and pick accessories that stay within budget.
In under five minutes you’ll see why the PlateFuge™ model ranks highest for value and feel ready to add the perfect centrifuge to your lab today.
Step 1: Determine Your Lab’s Needs and Budget
Ever stare at a list of microcentrifuge models and feel that knot in your stomach? You're not alone—figuring out what you really need before the price tag hits your budget can feel like trying to solve a puzzle with half the pieces missing.
First, ask yourself: what kind of tubes does your workflow actually use? Most academic labs and biotech startups spin 12‑15 µL PCR tubes, but a clinical diagnostics group might need 1.5 mL tubes for larger volume extractions. Write down the maximum tube size you’ll ever load, because that determines the rotor you’ll have to buy.
Next, think about how often the centrifuge will run. A small teaching lab might only fire it up a couple of times a week for student demos, while a CRO can have it humming every day, 8‑10 runs per shift. Estimate weekly run‑time in minutes; multiply by the motor’s wattage (usually 50‑150 W) and you’ll get a rough electricity cost. That hidden expense can add $15‑$30 per month to your total, and it matters when you’re crunching the microcentrifuge price.
Don’t forget the ancillary gear. A tube holder, a USB data logger, or a refrigerated block can each add $50‑$200. Even a simple benchtop cart for stability is a line‑item you’ll regret forgetting later.
Now put a hard ceiling on your spend. Ask your finance team: “What’s the absolute max we can allocate to a single piece of equipment this fiscal year?” Then subtract the known extras—rotor, accessories, electricity—to see how much you have left for the core unit.
- Rotor capacity (tube size & volume)
- Weekly run‑time & power draw
- Required accessories (holder, logger, chill block)
- Budget ceiling after hidden costs
When you line up those numbers, you’ll see whether a budget‑friendly option like the PlateFuge™ MicroPlate model fits, or if you need to stretch to a higher‑speed unit. In our experience at Shop Genomics, labs that map out these details avoid surprise overruns and end up with a microcentrifuge that truly matches their workflow.
If your lab also needs a streamlined way to launch experiments and track results, consider a lab‑management launchpad. The Launchpad platform offers a simple interface that syncs with most centrifuge software, letting you schedule runs and log data without extra paperwork.
Security‑savvy teams should also think about protecting the data coming off the machine. Manufacturing‑grade cybersecurity guides, like the one from Neuron Computers, explain how to harden production systems against ransomware and data loss. Check out their practical how‑to guide for keeping your centrifuge network safe: manufacturing cybersecurity guide.
After the video, take a moment to add up every line item on your spreadsheet. If the total sits comfortably under your budget ceiling, you’ve got a green light. If it’s creeping up, look at where you can trim—maybe a cheaper data logger or a non‑refrigerated rotor will still meet your needs.
Finally, write down a decision date. It sounds silly, but setting a deadline stops you from endlessly scrolling product pages and helps you lock in the best price before a sale ends. When the date arrives, revisit your checklist, compare the top two contenders, and place the order with confidence.
Step 2: Compare Key Features That Affect Price
Okay, you’ve got a budget range in mind—now it’s time to see why two microcentrifuges at the same price can feel worlds apart. The trick is to line up the features that actually move the needle on the microcentrifuge price.
Spin speed and RCF
First off, look at maximum RPM and the resulting relative centrifugal force (RCF). A unit that tops out at 12,000 rpm will usually cost more than a 9,000 rpm model, but if your protocols never need that extra push, you’re paying for muscle you’ll never use.
Ask yourself: “Do I spin down cell lysates or just pellet plasmid DNA?” If the answer is the former, a higher RCF can shave minutes off each run, which adds up in a busy CRO. If not, a lower‑speed model keeps the microcentrifuge price down without sacrificing quality.
Rotor capacity and design
Rotor size is the next big driver. A 12‑slot rotor for 0.5 ml tubes is cheap, but a 24‑slot rotor that fits 1.5 ml PCR tubes will bump the price by a few hundred dollars. The LabX buyers guide notes that “universal bucket” designs can save money in the long run because you don’t need separate rotors for plates and tubes — a feature worth the premium if you switch between applications often.
Think about your workflow: if you regularly run 96‑well plates, a universal rotor like the Eppendorf S‑4xUniversal (see the guide) may actually lower your total cost of ownership.
Temperature control and built‑in features
Refrigerated or heated units add comfort but also cost. A basic benchtop model might sit at $500, while a refrigerated version can climb above $5,000. The price jump is justified only if you handle temperature‑sensitive enzymes or clinical samples that degrade fast.
Do you need a digital display that logs every spin for compliance? If your lab is under GLP regulations, that feature becomes a must‑have rather than a nice‑to‑have.
Warranty, service contracts, and accessories
Don’t forget the hidden fees. A two‑year warranty might be included, but an extended service contract can add $100–$200 per year. Accessories like tube holders, USB data loggers, or a quiet‑motor enclosure also stack up.
Platforms like Shop Genomics make it easy to pull spec sheets and compare prices side‑by‑side.
Here’s a quick checklist you can copy into a spreadsheet:
- Max RPM / RCF
- Rotor slots & universal capability
- Temperature control (none, heated, refrigerated)
- Compliance logging
- Warranty length
- Annual service cost
- Accessory bundle price
Once you fill those rows, you’ll see a clear price curve. The unit that looks cheapest on the sticker may end up pricier once you add a $150 service plan and a $80 accessory kit.
Now, compare side‑by‑side. Grab two models you’re considering, pull the spec sheets, and plug the numbers into the table above. If one model’s total cost lands within your budget and the other’s doesn’t, you’ve got a data‑backed reason to choose the lower‑priced option.
In practice, we’ve seen labs that chose a slightly pricier 24‑slot rotor avoid buying a second unit later, saving $800 in total. That’s the kind of “future‑proof” thinking that turns a microcentrifuge price decision into a strategic investment.
Bottom line: focus on the features that matter to your protocols, add up the hidden costs, and let the numbers speak. When the math lines up, you’ll feel confident that the microcentrifuge price you’re paying truly reflects the value you’ll get.
Step 3: Watch the Buying Process Explained
Ever felt like the microcentrifuge price is a mystery you have to decode every time you order?
We get it—those numbers can jump around once you start adding accessories, service plans, and electricity use. That’s why we break the buying process down into a visual, step‑by‑step walk‑through you can actually follow.
1. Map Your Real‑World Workflow
Start by sketching a typical day in the lab. How many tubes do you spin per run? Are you using 0.5 mL PCR strips, 1.5 mL tubes, or a mix of both? Write those numbers on a sticky note.
For a mid‑size biotech startup, the math looked like this: 80 spins a week, each run lasting 30 seconds, and a total of 12 mL of sample volume. That pattern pushed them toward a 24‑slot rotor because the extra slots saved a full day of re‑loading each month.
Does your lab run similar numbers? If not, adjust the figures. The goal is to see exactly how many slots you truly need before you even look at a price tag.
2. Plug the Numbers Into a Cost Calculator
Grab a simple spreadsheet and create three columns: Base Price, Hidden Costs, and Total Annual Cost.
- Base Price – the sticker price you see on the product page.
- Hidden Costs – service contracts ($150 / yr is common), accessory bundles (e.g., $80 for a tube holder), and estimated electricity ($20–$30 / mo for a 200 W unit).
- Total Annual Cost – sum of the first two columns plus any depreciation you want to account for.
Take an academic lab that chose a $760 PlateFuge™ model. Adding a $100 accessories kit and a $150 service plan pushed the first‑year cost to $1,010. Over three years, that’s $3,030, still well under a $2,500 high‑speed alternative that would have required a second unit later.
3. Watch a Live Demo or Product Walk‑Through
Seeing the centrifuge in action helps you judge whether the price matches the performance. Many vendors post short videos that show rotor changes, noise levels, and the user interface.
When you watch a demo, ask yourself: Does the unit spin up in under two seconds? Is the display intuitive enough that a new technician can start a run without a manual? Those small details often explain why one model costs $300 more than another.
We’ve seen CROs save $800 by picking a slightly pricier model that lets them load 24 tubes at once instead of juggling two 12‑slot units.
4. Verify Warranty and Service Terms
Read the fine print on the warranty. A two‑year warranty is standard, but an extended three‑year plan can be a smart investment if your lab runs 24‑hour shifts.
Ask the supplier: “What’s the turnaround time for a service call?” A quick 48‑hour response can prevent costly downtime, especially when you’re on a tight experimental schedule.
5. Compare Against an Independent Buying Guide
External resources can confirm you’re not missing a hidden fee. The comprehensive microcentrifuge buying guide from Revolutionary Science breaks down the same cost categories we just listed and even adds a checklist for temperature‑controlled models.
Another page walks through the different microcentrifuge types so you can match speed and capacity to your workflow before you stare at the price.
Pull those checklists into your spreadsheet and watch the total cost line settle into a realistic figure.
Action Checklist
- Write down your weekly spin volume and tube types.
- Calculate electricity use (≈$20–$30 / mo for 200 W).
- Add service contract and accessory costs.
- Watch a demo video and note load time, noise, and UI ease.
- Read an independent buying guide to confirm hidden fees.
- Finalize your total annual cost and compare models.
When you follow these steps, the microcentrifuge price stops feeling like a guess and becomes a clear, data‑driven decision you can defend to your grant manager or CFO.
Step 4: Compare Popular Microcentrifuge Models (Table)
Okay, you’ve done the math, you’ve added up electricity and service fees, and now you’re staring at a handful of models that could fit your bench. The next step is to line them up side‑by‑side so the microcentrifuge price becomes a clear decision point, not a guessing game.
What usually trips people up is that the sticker price rarely tells the whole story. A $500 unit might look cheap, but if you need a 24‑slot rotor for 96‑well plates, you’ll end up buying a second machine later. On the flip side, a $5,000 refrigerated model can save you hours of sample prep when you’re handling temperature‑sensitive enzymes.
Below is a quick comparison table that captures the sweet spot between cost, capability, and the labs we see most often—academic research groups, CROs, and biotech startups alike. Feel free to copy the rows into your own spreadsheet and add the hidden costs we talked about earlier.
| Model | Approx. Price (USD) | Key Feature | Ideal Use |
|---|---|---|---|
| PlateFuge™ MicroPlate MicroCentrifuge | $760.36 | 24‑slot universal rotor, digital display, optional temperature module | Labs needing flexibility for both tubes and 96‑well plates without breaking the bank |
| MC‑12™ High Speed Microcentrifuge | $505.75 | 12‑slot rotor, 13,500 rpm, compact footprint | Small academic labs or teaching labs that spin mainly 0.5 ml tubes |
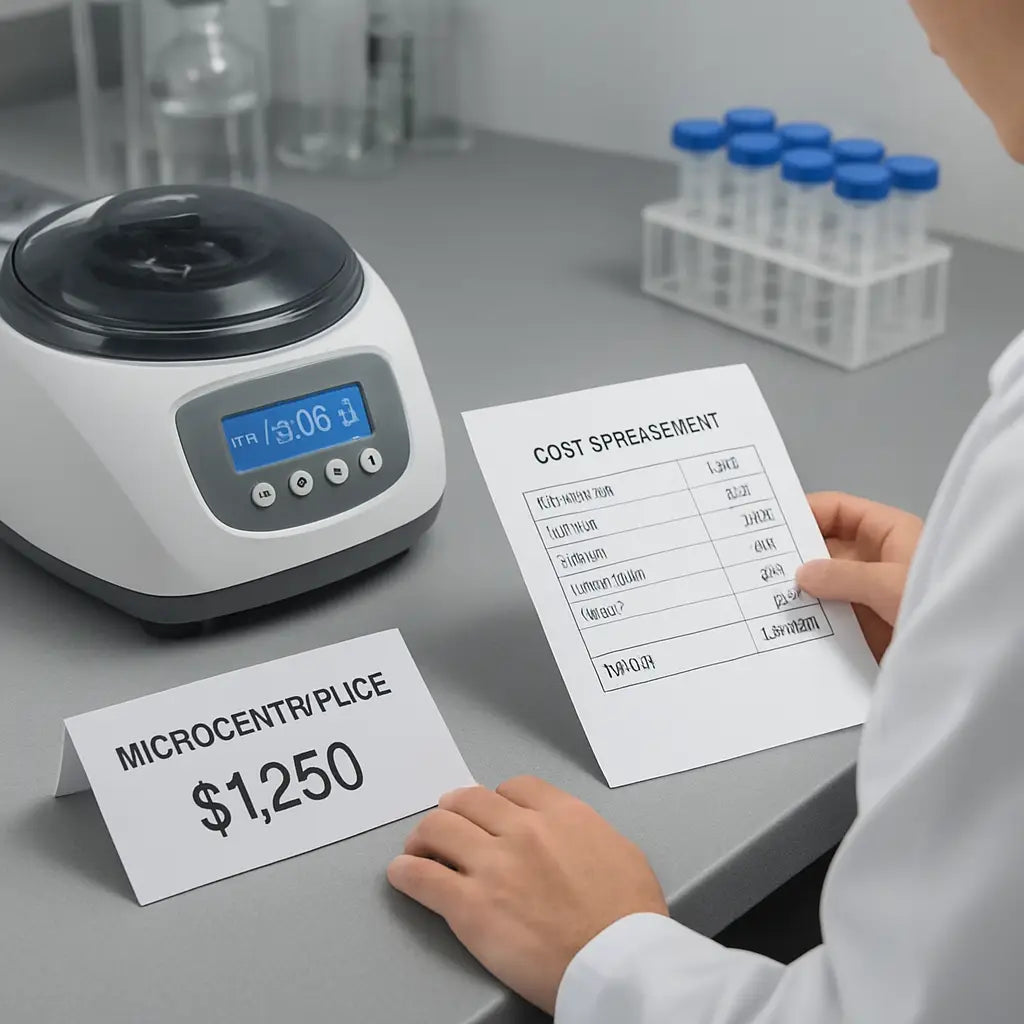
| MC‑24R™ Refrigerated High Speed Microcentrifuge | $5,086.77 | Refrigerated chamber, 24‑slot rotor, 16,800 xg | Core facilities handling enzyme‑sensitive workflows or clinical samples |
Notice how the price jump from the MC‑12 to the PlateFuge isn’t just about more slots—it’s also about a smarter UI and the option to add a temperature module later. That optional upgrade often costs another $300‑$400 if you buy it separately, but the PlateFuge bundles it, so the total cost of ownership stays lower.
Do you wonder whether a refrigerated unit is worth the extra cash? Think about your protocol: if you’re regularly running reverse‑transcriptase reactions that degrade above 4 °C, the built‑in cooling can shave off minutes of ice‑bath prep and reduce sample loss. Those minutes add up, especially in a high‑throughput CRO where each run translates to billable time.
And what about service contracts? The PlateFuge comes with a two‑year warranty that covers calibration, while the MC‑24R often requires an additional $150‑$200 per year for extended coverage. When you plug those numbers into the cost calculator we suggested earlier, you’ll see why the PlateFuge often lands in the sweet‑spot range of $1,050–$1,200 for the first year, versus $5,300+ for the refrigerated model.
If you need a broader view of what’s out there, the lab’s microcentrifuge selection page lists dozens of options and lets you filter by rotor size, speed, and temperature control. It’s a handy way to double‑check you haven’t missed a model that hits your exact price‑to‑feature ratio.
So, what’s the next move? Grab the table, add your hidden costs—service, electricity, accessories—and see which row stays under your budget ceiling. The model that remains affordable after you factor everything in is the one you should champion in your purchase request.
Remember, the goal isn’t just to pick the cheapest tag; it’s to choose the model that delivers the performance you need without hidden fees sneaking up later. Once you’ve done that, you’ll walk into the vendor call with confidence, and your grant manager will thank you for the clear, data‑driven justification.
Step 5: Make the Final Purchase Decision
You've crunched the numbers, compared rotors, and scoped out service contracts. Now the moment of truth arrives – do you hit the "buy" button or keep hunting?
First, pull together a one‑page snapshot of everything you just calculated. Put the base price, estimated electricity cost, warranty fees, and any optional accessories side by side. Seeing the total annual cost in black‑and‑white makes the microcentrifuge price feel less abstract.
If the sum lands comfortably under the budget ceiling you set in Step 1, you already have a green light. If it nudges above, ask yourself: can you trim a non‑essential add‑on without sacrificing core performance?
Gather Your Final Numbers
Open a fresh spreadsheet and create four columns: Model, Sticker Price, Hidden Costs, and Final Cost. For the PlateFuge™ model, you might enter $760.36 for the sticker, $100 for a tube holder, $150 for a two‑year service plan, and $30 for monthly power (×12). Total comes to roughly $1,210 for the first year.
Do the same for the MC‑24R refrigerated unit: $5,086.77 sticker, $200 for a temperature module, $200 yearly service, and $40 power. First‑year cost tops $5,900. The gap is stark, but the refrigerated model also saves you from sample loss in enzyme‑sensitive workflows.
Run a Quick Risk Check
Ask: what would happen if the centrifuge broke down next month? A cheap unit with a short warranty could stall a time‑critical experiment, costing days of work. A higher‑priced model that includes a robust two‑year warranty (like many Eppendorf microcentrifuge specifications) may reduce downtime risk.
Write down the worst‑case downtime cost – maybe $500 per day for a CRO or $200 for an academic lab. Multiply by the expected downtime based on warranty length. If the cheap model’s risk cost exceeds the price gap, the more expensive option suddenly looks smarter.
Ask the Right Questions
Does your protocol need temperature control? If you regularly spin reverse‑transcriptase reactions, the extra $300 for a cooling module could save you hundreds of dollars in reagents. If not, a basic benchtop unit will do.
How many slots do you truly need? A 24‑slot rotor can halve loading time for labs that run 96‑well plates. That time saved translates into more experiments per week – a hidden productivity boost that’s hard to quantify but easy to feel.
What about future growth? If you anticipate adding a plate‑based assay next year, choosing a universal rotor now avoids a second purchase later. That future‑proofing cost is often only $100‑$150 extra today.
Lock in the Purchase
Now draft a short purchase justification email. Start with the total annual cost you calculated, then list the risk mitigation benefits (warranty, downtime savings) and any future‑proof features (universal rotor). End with a clear ask: “Please approve the $1,210 purchase for the PlateFuge™ microcentrifuge.”
Before you hit send, double‑check the vendor’s return policy and shipping timeline. Shop Genomics offers free shipping on large orders and easy returns – a perk that can shave a few days off your rollout schedule.
If you still have doubts, schedule a quick 15‑minute demo call. Seeing the user interface in real time helps you verify that the digital display is intuitive and that the load‑time meets your workflow speed expectations.
Finally, place the order through the vendor’s portal, attach your cost spreadsheet, and set a calendar reminder to revisit the equipment performance after six months. That follow‑up lets you confirm the microcentrifuge price you paid truly delivered the value you expected.
Remember, the final decision isn’t about chasing the lowest sticker price. It’s about balancing upfront cost, hidden fees, and risk so that the microcentrifuge price aligns with your lab’s real‑world needs. When you walk into that vendor call with a solid, data‑driven story, you’ll feel confident – and your grant manager will thank you.
Conclusion
So, you’ve walked through the budget math, compared rotors, and checked warranty fine print. Now the microcentrifuge price finally feels like a decision you can own, not a mystery.
Remember the three things that mattered most: the total cost of ownership, the workflow fit, and the risk buffer you built with service plans.
If you’re in an academic lab, the PlateFuge™ at roughly $760 plus accessories often lands under $1,200 for the first year – a sweet spot we see labs hit again and again.
A CRO that needs 24‑slot capacity might stretch to $1,100‑$1,300, but the time saved loading half the plates pays back in hours of bench work.
And if temperature control is a must, the refrigerated model jumps higher – just be sure the extra $300‑$400 actually prevents sample loss in your specific assays.
Bottom line: line up the sticker price, add the hidden fees, and ask yourself which features truly move the needle for your experiments.
When you write that purchase request, frame it around the total annual cost and the risk mitigation you’ve already mapped – that’s the story grant managers love.
Ready to lock in your choice? Grab the spreadsheet, double‑check the numbers, and hit approve – your lab’s next breakthrough is just a spin away.
FAQ
What factors should I look at when I compare microcentrifuge price?
First, think about the rotor capacity – 12 slots versus 24 slots can shift the sticker price by a few hundred dollars. Then check the max speed; a higher RPM usually means a higher price tag, but if your protocols never need that extra force you’re just paying for muscle you won’t use. Finally, consider temperature control, digital display, and any built‑in logging features, because each of those adds cost.
How do I calculate the total cost of ownership for a microcentrifuge?
Start with the base price you see on the product page. Add the annual service contract – most labs spend $100‑$200 per year for calibration and support. Next, estimate electricity use; a 200 W unit at $0.12/kWh runs about $7‑$10 a month, so roughly $100 a year. Don’t forget accessories like tube holders or data loggers, which can be $50‑$150 up front. Add everything together and you have a realistic yearly cost.
Is it worth paying more for a refrigerated microcentrifuge?
If you regularly spin temperature‑sensitive enzymes or clinical samples, the extra $300‑$400 for a cooling module can actually save reagents and reduce repeat runs. In a CRO where every minute of downtime costs money, that built‑in refrigeration often pays for itself in less sample loss. But if your work stays at room temperature, a basic benchtop model will usually meet your needs without the premium.
How much do accessories really affect the microcentrifuge price?
Accessories are the sneaky part of the budget. A simple tube holder might be $60, while a USB data logger can run $120. A quiet‑motor enclosure can add another $200 if you share a bench with noisy equipment. When you line them up in a spreadsheet, you’ll see they can push a $760 unit over the $1,000 mark, which is still a good deal for most labs.
Can I save money by buying a microcentrifuge during a sale or promotion?
Absolutely – many vendors run seasonal discounts or bundle deals that shave $100‑$200 off the sticker price. Keep an eye on the Shop Genomics “clearance” page; they often list the PlateFuge™ at a reduced rate during back‑to‑school promotions. Just make sure the sale includes the accessories you need, or you might end up paying full price later.
What warranty or service options should I look for to protect my microcentrifuge investment?
Look for a minimum two‑year warranty that covers parts and calibration. Some providers offer an extended three‑year plan for an extra $150‑$200, which is worth it if you run 24‑hour shifts. Ask how quickly they can send a service technician – a 48‑hour response time can prevent costly downtime, especially in time‑critical projects.
How often should I budget for calibration or maintenance?
Most labs calibrate their microcentrifuge once a year, but high‑throughput facilities may need semi‑annual checks. Budget $100‑$150 each time for a certified service visit. If you notice drift in speed or unusual noise, don’t wait – schedule a check sooner. Keeping the unit in top shape avoids unexpected repair bills and extends its useful life.


