
Ever wonder why the lab’s work area feels like a stage for safety and precision? One day, a research assistant accidentally splashed a reagent onto the bench, and the chaos that followed made the entire room feel like a crime scene. That moment is the spark that pushes every scientist to ask: how do I keep my experiments clean and my team safe?
We’re not just talking about equipment; we’re talking about the rhythm of a lab’s heartbeat. In the right hands, a biosafety cabinet or a laminar flow hood can transform a cluttered bench into a clean, controlled oasis where data sings instead of whispers.
The difference? Think of a biosafety cabinet as a guarded, air‑filtered vault that protects both the researcher and the sample. A laminar flow hood, meanwhile, is more like a high‑speed wind tunnel that sweeps away airborne particles but leaves the operator exposed to the environment.
In a university genetics lab, a technician might use the cabinet’s HEPA‑filtered airflow to keep a plasmid prep sterile, while a clinical diagnostics team might rely on a laminar hood to prevent contamination when handling patient samples. Each setup has a distinct workflow that fits the team’s mission.
Choosing the right one is like picking the right tool for a job. Start by mapping the risks: Are you working with aerosol‑producing reagents? Is the bench a high‑traffic area? Then ask: Do you need the extra containment the cabinet offers, or is the airflow from the hood enough for your experiments?
If the decision feels as confusing as a double‑blind experiment, remember that a single cabinet can often serve multiple roles. For instance, the NSF Certified 6 Ft Class II Type A2 Biosafety Cabinet is designed to handle everything from small‑scale extractions to full‑scale cloning runs, giving labs flexibility without sacrificing safety.
And once you’ve chosen the right equipment, don’t forget the paperwork that keeps the whole process tidy. Labels and safety signage are critical, especially when multiple users share a cabinet or hood. You can easily get durable, lab‑grade labels from JiffyPrintOnline, ensuring every sample stays trackable from start to finish.
TL;DR
Short, a biosafety cabinet vs laminar flow hood boils down to containment: cabinets shield samples, while hoods keep the air clean but leave you exposed. Choose the right model by weighing your lab’s workflow: if you need full containment, pick a cabinet; for routine, aerosol‑free work, a hood may suffice.
Core 1: Understanding the Basics of Biosafety Cabinets and Laminar Flow Hoods
Now let’s dig into the heart of the matter: biosafety cabinets versus laminar flow hoods. We’ve already sketched the high‑level idea, but the real value lies in the details that shape day‑to‑day lab practice. Grab a coffee, and let’s break it down.
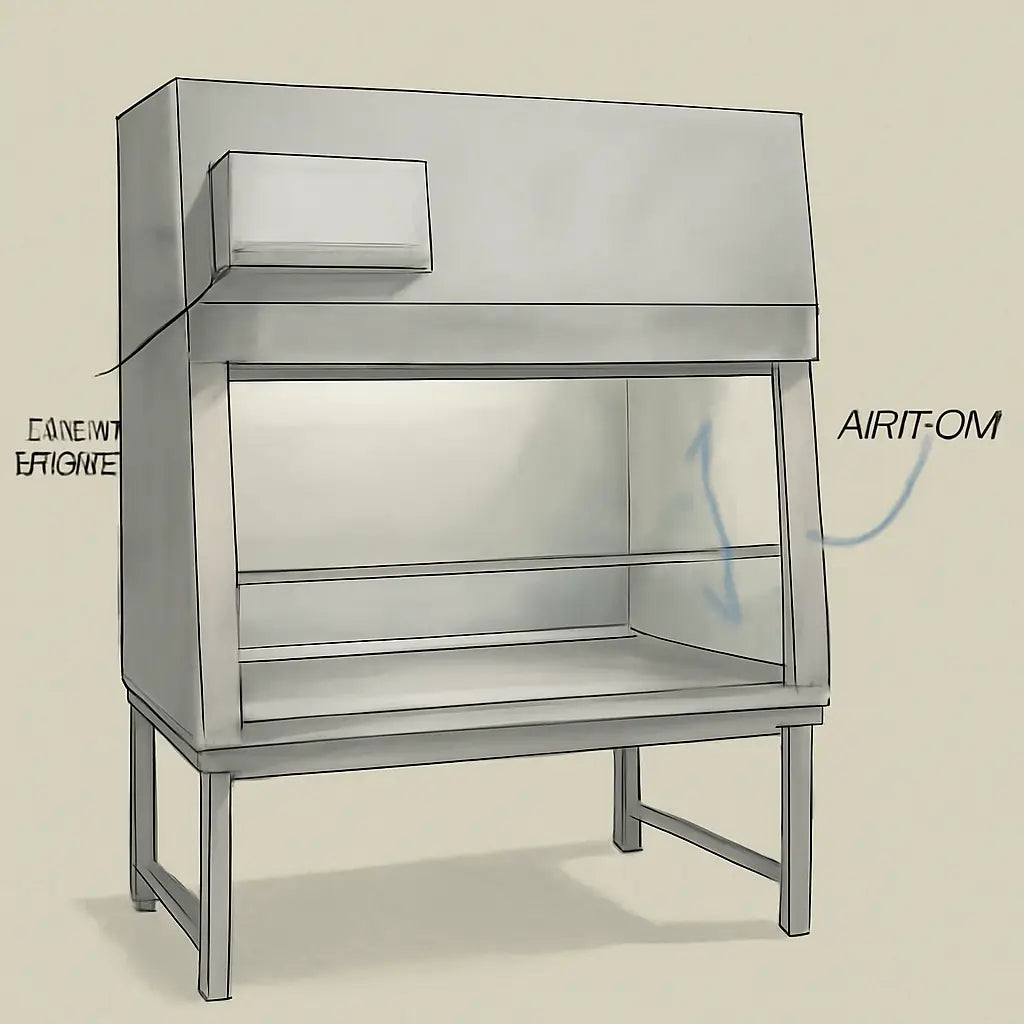
A biosafety cabinet is a self‑contained chamber that protects both the sample and the operator by filtering the air through a HEPA filter before it even leaves the front of the unit. The airflow pushes air outward, creating a barrier against aerosols that could be generated during pipetting or mixing. Think of it as a personal, moving laboratory that keeps the work clean and you safe.
Laminar flow hoods, on the other hand, are open‑front cabinets that pull in room air, filter it, and blow it across the work surface in a steady stream. Because the operator stands in front of the flow, their hands and instruments are exposed to the ambient air, so proper technique and cleanliness are crucial. They’re great for aerosol‑free tasks like cell plating or sterile pipette changes.
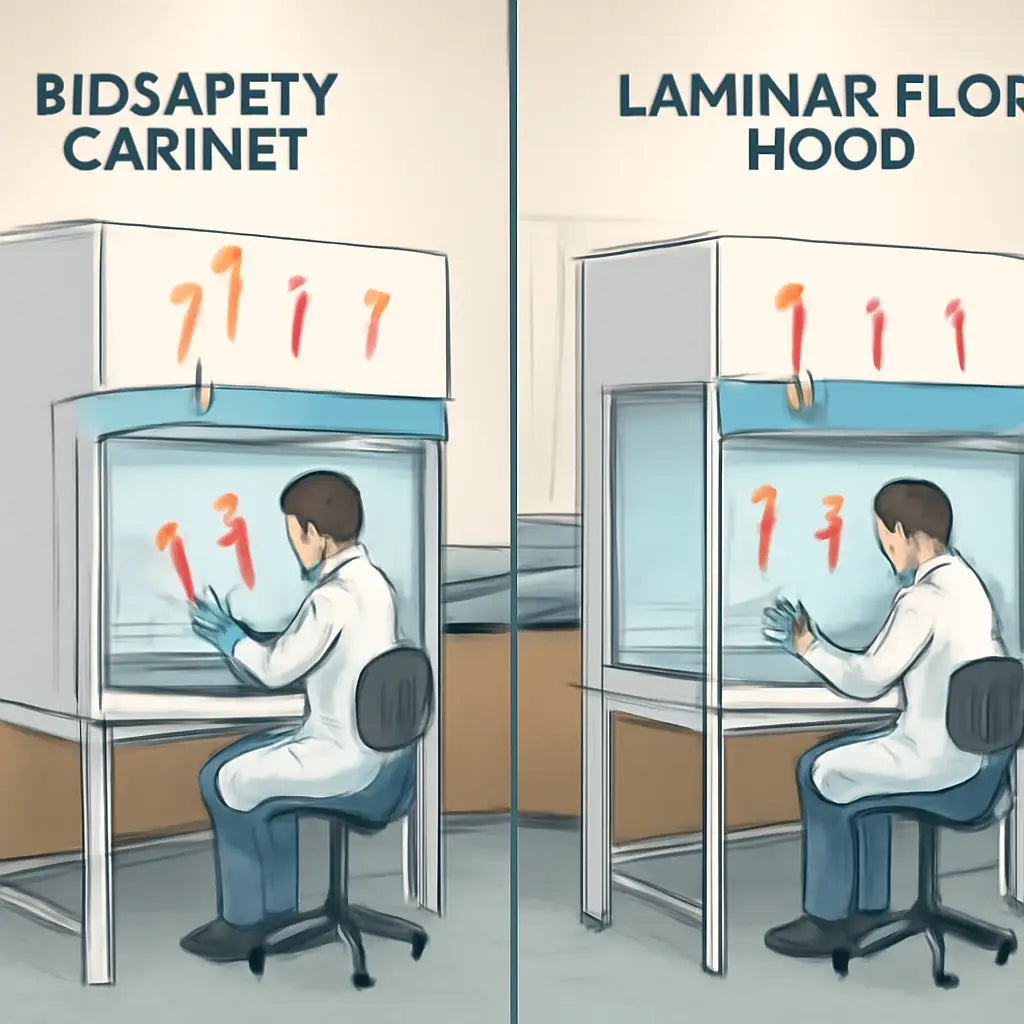
The big difference is containment: cabinets shield both you and your sample, while hoods only protect the sample and rely on you to keep the work area clean. If the work involves potentially infectious aerosols, a cabinet is the safety net you need. If you’re doing routine sterile work in a clean room, a hood can be a cost‑effective alternative.
When deciding, ask two quick questions: Are you generating aerosols? Is the bench a high‑traffic area? If the answer is yes to either, lean toward a cabinet. If both are no, a laminar hood can save you space and money while still giving you a clean airflow.
In an academic genetics lab, a technician might use a Class II, Type A2 cabinet to keep a plasmid prep sterile, while a clinician in a diagnostics setting might rely on a Class I, Type A hood to avoid contaminating patient samples. The workflow dictates the airflow pattern you need.
Clinical labs often balance two goals: protecting staff and keeping samples uncontaminated. That’s why many clinical settings prefer a Class II, Type B cabinet, which provides extra protection against bio‑hazardous aerosols while still giving you a clean air stream for work.
Once you’ve chosen a model, the next step is labeling. Lab‑grade labels help you track reagents, dates, and safety warnings. For example, JiffyPrintOnline offers durable, lab‑grade labels that can survive a cabinet’s high‑flow environment and resist chemicals.
If you’re looking for a more custom approach, AlfaPics provides high‑resolution printable labels that can be personalized with batch numbers or QR codes. Their software lets you design directly on the web and print on the fly, which is handy for on‑the‑spot documentation.
Now, if you’re curious to see these units in action, here’s a quick tour of a Class II, Type A2 cabinet in a real lab setting. The video walks you through the airflow, the sash, and the key maintenance points.
After watching the demo, you might notice how the cabinet’s sash opens smoothly and how the airflow is visible as a faint curtain of air. That’s the visual cue that the HEPA filter is doing its job.
With the visual in mind, the next decision point is maintenance. A cabinet needs regular HEPA filter checks, airflow verification, and sash calibration. A laminar hood, while simpler, still requires airflow checks and filter replacement, but the schedule is usually less intense.
For contract research organizations, the choice often boils down to throughput versus safety. If you’re processing dozens of samples a day, a high‑capacity cabinet that handles multiple vials at once saves time. If the risk profile is low, a laminar hood can be a lean, cost‑efficient alternative.
So, what’s the takeaway? Pick the cabinet or hood that matches your workflow, your risk tolerance, and your maintenance capacity. And don’t forget—labels matter. Whether you choose JiffyPrintOnline, AlfaPics, or Bloocow for high‑quality prints, solid labeling keeps your data clean and your experiments safe.
Core 2: How to Select the Right Cabinet or Hood for Your Lab
Choosing between a biosafety cabinet vs laminar flow hood isn’t a guesswork exercise. It’s a practical decision about safety, workflow, and what you can actually sustain long‑term in your space.
Let’s make this simple. Start by mapping your tasks, then decide which tool keeps those tasks clean and safe without slowing you down.
Step 1: Map the tasks and risks
Write down the core bench activities for the next 6–12 months. Are you handling aerosols, cell culture, or delicate nucleic acid work? If aerosols or potentially infectious materials are on the table, a biosafety cabinet (BSC) is usually the safer bet. If you’re mostly pipetting reagents on a clean surface, a laminar flow hood can be sufficient.
Ask yourself: does the work require protection for the operator, the sample, or the lab environment? This helps decide containment versus surface cleanliness from the start.
Step 2: Define containment needs clearly
Containment isn’t optional—it’s part of risk control. For aerosol‑producing tasks, Class II BSCs give you containment and filtered exhaust. For routine, low‑risk handling, you might lean toward a LFH to keep the immediate workspace clean, but you’ll want to ensure your workflow minimizes operator exposure.
In our experience with academic and industry labs, blending tasks across cabinets and hoods is common. You might run plasmid preps inside a BSC and perform non‑aseptic transfers on a LFH, keeping containment where it truly matters.
Step 3: Understand airflow, filtration, and exhaust
Airflow direction matters a lot. BSCs pull air from the front, pass it through HEPA filters, and exhaust to the outside or through a dedicated recirculation path. LFHs push filtered air across the work surface and then exhaust into the room. This difference affects placement, room ventilation, and how you manage room air quality.
For deeper details on how filtration and exhaust choices affect safety, see the Esco guide on biosafety cabinets and laminar flow hoods.
Esco guide to Biosafety Cabinets and Laminar Flow Hoods.And if you want a broader buying perspective on laminar flow hoods, Designer Units provides practical insights on selection and setup. Designer Units: The Ultimate Guide to Choosing the Best Laminar Flow Hood.
Step 4: Space, layout, and integration
Measure your bench space, doorways, and nearby equipment. A BSC needs clearance in front for safe access and for servicing, plus proper exhaust routing. LFHs need to be placed where room air drafts won’t disturb the airflow, and where you can still access the workspace without stepping over others.
Think about traffic patterns. In busy labs, you’ll want clear paths to minimize cross‑flow and contamination risk. If space is tight, a smaller Class II cabinet or a compact LFH might be the right fit—and you can scale later as projects grow.
Step 5: maintenance, certification, and lifecycle costs
Don’t overlook ongoing costs. BSCs often require annual performance testing and occasional filter changes; LFHs need regular filter checks and duct work maintenance. Plan for yearly certs, replacement HEPA filters, and routine servicing so the unit stays reliable long‑term.
From a practical standpoint, think total cost of ownership, not just the purchase price. A cabinet that prevents contamination but requires frequent repairs can end up slower and more expensive over a project cycle.
Step 6: a lean 2‑column decision framework
- Risk level of tasks: high (a cabinet) vs low to moderate (a hood)
- Containment vs cleanliness needs: do you need to shield the operator and samples, or is surface cleanliness enough?
- Workflow fit: can you integrate the chosen equipment cleanly into your team’s routine?
- Maintenance burden: is certification and filter replacement manageable with your current staff?
For many labs, the answer isn’t a single tool but a pragmatic pairing—reserve containment for high‑risk steps and keep routine work efficient with a LFH when appropriate. It’s about designing a workflow that protects people and samples without slowing discovery.
So, what should you do next? Start with Task 1: list the tasks, Task 2: rank risk, Task 3: sketch your space. Then compare options against your real constraints rather than a best‑case fantasy. With the right cabinet or hood in place, you’ll reduce contamination risk and keep researchers focused on what they do best—pushing science forward.
If you’d like more concrete examples or options, we’re happy to help translate these ideas into a setup that fits your lab’s size and budget. And platforms like Shop Genomics make this easier by offering a range of biosafety cabinets and laminar flow hoods to match different workflows.
Core 3: Comparing Performance Metrics and Standards
When you’re stuck staring at a cabinet and a hood, the first thing that pops into your head is speed, cost, and how clean the air feels. But those are just the surface. The real difference? It’s in the airflow, filtration, and the way each unit keeps your samples—and you—safe.
Airflow Speed vs. Cleanroom Class
Think of a laminar flow hood like a gentle wind that blows away dust. It’s fast enough to keep particles from settling but it doesn’t push air away from you.
In practice, the lab uses an ISO Class 3 zone for the hood and an ISO Class 5 zone for the cabinet. That means the cabinet can keep airborne particles down to 0.1 µm, while the hood is great for routine work where you don’t need full containment.
Filter Efficiency and Lifespan
Both use HEPA, but the cabinet’s filters handle both incoming and outgoing air, so they’re rated at 99.99 % at 0.3 µm. Hoods use a single set of filters, so they’re often ULPA for higher cleanliness in certain workflows.
Maintenance Burden
Maintenance is a silent killer of uptime. A cabinet’s yearly performance test and annual HEPA replacement can cost $300–$500 in labor, plus the filter itself. If your lab runs 24 h a day, that extra test can add up.
Real‑world example: A biotech startup
A small biotech lab was building a viral vector in a Class II cabinet. They switched to a laminar hood for routine media preparation. After three months, the cabinet’s HEPA filter hit 95 % efficiency. The startup noticed a spike in contaminant readings and moved the plasmid prep back to the cabinet. The lesson? Even if a hood is “clean enough,” the cabinet’s exhaust protects the entire room and the operator.
Energy and Noise
Hoods often run a quieter motor but consume more energy because they’re always moving large volumes of air across the work surface. Cabinets can enter a low‑power “standby” mode when no one’s inside, cutting consumption by 50–70 %.
What About the Numbers?
If you’re comparing a Class II Type A2 cabinet to a vertical laminar hood, look at these numbers:
- Cabinet: 200 CFM air velocity, 99.99 % HEPA, negative pressure of 10 mm H₂O.
- Hood: 250 CFM, 99.999 % ULPA, no pressure differential.
Checklist for Decision‑Making
- Identify the type of work: aerosol‑generating vs. non‑hazardous.
- Measure room particle count; if >5 µm/cm², lean toward a cabinet.
- Calculate maintenance cost per month.
- Factor in energy savings from standby mode.
After you run through this list, you’ll have a clear picture of which unit fits your workflow without breaking the bank.
Why Shop Genomics Helps
We’ve seen many labs choose the wrong cabinet and spend months troubleshooting airflow issues. That’s why we recommend starting with a quick audit—measure your room, list your tasks, and then match that data to the specs above. If you need a cabinet that balances cost and performance, the NSF‑Certified 6 Ft Class II Type A2 cabinet we offer is a solid pick.
Still unsure? Check out the LabX guide for a deep dive into each model’s specs and real‑world performance data. LabX guide breaks down the pros and cons of the top cabinets and hoods.
So, what’s the final takeaway? Pick the cabinet if you need a full‑containment bubble that protects you, your samples, and the room. Opt for a laminar hood if your work is low‑risk and you’re looking for speed and lower maintenance. Either way, aligning the unit with your real tasks saves time, money, and the frustration of unexpected contamination.
Core 4: Cost, Maintenance, and Operating Costs
When you’re budgeting for a new lab fixture, the shiny price tag isn’t the whole story. The real work starts once the cabinet or hood sits on the bench, and that’s where maintenance, energy, and downtime add up.
1. The Full Cost Picture
Think of the purchase price as just the tip of the iceberg. Below the surface you’ll find recurring costs that can eclipse the initial outlay if you’re not careful.
What’s the breakdown? It’s a mix of certification, filter replacement, energy bills, and, yes, the occasional repair. We’ve seen labs that thought they were saving money until a filter failed and a whole day of experiments slipped away.
2. Certification & Performance Testing
Every biosafety cabinet needs a yearly performance test to prove it still meets its airflow and HEPA standards. A Class II Type A2 might cost $400–$600 for the test, plus the technician’s time.
Laminar flow hoods usually have a similar schedule, but because they don’t exhaust filtered air, the test focuses on airflow speed and particle counts. Missing a test can mean a compliance audit and potential fines.
3. Filters: The Heart of the System
Filters are the most visible maintenance item. For a Class II cabinet, 70% of air is recirculated, so you’ll need a new HEPA filter roughly every 12–18 months. A typical filter can run $80–$120.
LFHs use a single set of filters that usually last longer, but they’re still a $100–$150 investment each cycle. If you’re juggling multiple units, those costs stack fast.
4. Energy & Standby Mode
One of the biggest hidden expenses is electricity. A BSC pulls a lot of air, but most models hit a standby mode when idle, cutting power by 50–70%. If your lab runs 24/7, that standby savings can reach $300–$500 a year.
LFHs, on the other hand, keep a constant airflow and tend to be less efficient. The difference can add a few hundred dollars per unit to your annual bill.
5. Repairs & Unexpected Downtime
Even the best cabinets can hit a snag: a leaking seal, a failed motor, or a corrupted sensor. Repairs can cost $200–$800 depending on the part and the technician’s travel time.
When a cabinet is down, you’re not just losing power – you’re losing a day’s worth of experiments. For a CRO, that could mean delayed client reports.
6. Putting It All Together: A Quick Calculator
Take a quick mental audit: purchase $1,200 + certification $500 + filters $150 + energy $300 + repair cushion $200. That’s $2,350 in the first year, and roughly $1,800 annually after the initial purchase. Compare that to an LFH, and you’ll see the numbers shift but the principle stays the same.
7. How to Keep Costs in Check
Here are three tactics that cut expenses without cutting safety:
• Schedule a quarterly filter check – catch wear early and avoid pricey replacements.
• Keep a spare HEPA on hand – you’ll save on shipping time and avoid downtime.
• Train your team to recognize airflow issues – early warning keeps repairs small and predictable.
8. Real-World Example
A mid‑size university lab started with a single Class II cabinet for CRISPR work. By the second year, the filter cycle cost had ballooned, and an unplanned motor repair delayed a key grant submission. After shifting to a hybrid setup – using a Class II for high‑risk steps and an LFH for routine media prep – they trimmed annual maintenance by 30% while keeping compliance intact.
What’s the takeaway? The right mix of cabinet and hood, coupled with a proactive maintenance plan, lets you keep your budget—and your science—on track.
To dig deeper into the technical specs that impact cost, check out Ossila’s overview of safety cabinets and laminar flow hoods Ossila’s guide to safety cabinets.
| Cost Item | Typical Frequency | Estimated Cost per Unit |
|---|---|---|
| Initial Purchase | One‑time | $1,200–$2,500 |
| Annual Certification | Yearly | $400–$600 |
| Filter Replacement | Every 12–18 months | $80–$150 |
| Energy (standby vs constant) | Yearly | $200–$500 |
| Repairs & Parts | Variable | $200–$800 |
Core 5: Real‑World Lab Scenarios and Use Cases
Picture a quiet corner of a university lab. A technician is swirling a viral stock in a Class II cabinet, while next to her a researcher prepares a quick DNA cleanup in a laminar hood. That side‑by‑side view isn’t just a visual trick – it’s a roadmap for every lab that wants to juggle cost, safety, and speed.
High‑Risk Workloads
When you’re working with recombinant viruses, the instinct is to put everything in a sealed cabinet. That’s exactly what a Class II offers: filtered exhaust, negative pressure, and a barrier that keeps the room safe. In a biotech startup that was scaling up a viral vector, the cabinet saved the team from a potential contamination incident that could have cost months of work.
But what if the same team also needs to mix media for cell culture? The cabinet’s volume can be a bottleneck. In that case, a laminar hood becomes the hero for routine steps, letting the technicians keep the flow fast without pulling the cabinet into constant operation.
Routine, Low‑Risk Tasks
Think about a clinical diagnostics lab that needs to open a vial of patient serum and dilute it. The sample is low‑risk, and the operator’s main concern is keeping the fluid clean. In an agricultural research station, a field scientist might set up a portable hood in the greenhouse to filter dust while extracting plant DNA. The portability and lower footprint make the laminar hood a practical fit for those on‑the‑go projects.
Hybrid Setups that Save Money
One of the smartest strategies we’ve seen is a hybrid layout: a single Class II cabinet for aerosol‑heavy or high‑risk steps, paired with one or two laminar hoods for everyday prep. A mid‑size university lab used this model to cut annual maintenance by 30%. They still met all safety standards but freed up bench space and energy.
Similarly, a pharmaceutical CRO that handles both clinical samples and cell line work uses a cabinet for the former and a hood for the latter. The split keeps the budget in line while ensuring compliance with regulatory agencies.
Practical Checklist for Your Lab
Start by mapping every activity on a chart. Ask yourself: does the step produce aerosols? Is the sample hazardous? If the answer is yes, the cabinet is your go‑to. If no, a hood is likely enough.
Next, consider bench space. Cabinets need more clearance, especially for maintenance. Hoods can fit in tighter spots and are easier to relocate when the lab layout changes.
Finally, run a cost comparison. Include filter replacement, certification, and energy. A cabinet’s higher upfront cost can be offset by lower filter turnover and the ability to run it on standby mode when idle.
Actionable Takeaway
Don’t treat the cabinet and hood as a single choice. Treat them as complementary tools that fit specific parts of your workflow. By aligning each unit with the right task, you keep safety high, costs low, and the lab humming smoothly.
If you’re still unsure, run a quick pilot on a single bench. Set up a cabinet for one high‑risk reaction and a hood for the rest. Track time, filter swaps, and energy use for a month. The numbers will speak louder than any guide.
Core 6: Tips for Safe Operation and Troubleshooting Common Issues
We all know that a biosafety cabinet or laminar flow hood is only as safe as the care you give it. A small hiccup—like a clogged filter or a loose sash—can turn a routine prep into a risk. The good news? Most problems are simple to spot and fix if you know where to look.
First, treat your workspace like a living system. That means checking the air flow, the filters, and the user controls on a regular schedule. If you’re in a university lab, set a monthly reminder in your calendar. If you’re a CRO handling dozens of samples a day, a weekly quick‑check can catch drift before it becomes a hazard.
Step 1: Visual & Tactile Checks
Grab a tissue and hold it near the intake. A healthy cabinet will pull it in smoothly. If the paper barely moves, the fan or motor is underperforming. Don’t ignore a quiet fan; it could be a sign of a worn‑out belt or a clogged pre‑filter. The same rule applies to laminar hoods—if the airflow feels weak, it’s time to look under the hood.
While you’re there, feel the sash. It should glide with a gentle click. A stiff or rattling sash usually means the counterbalance cable needs a quick lubricate or a new tension setting. A loose seal around the sash can let contaminated air escape, so tightening it is a quick fix that adds safety.
Step 2: Filter Hygiene
Filters are the heart of both units. In a Class II cabinet, the HEPA filter traps 99.99% of 0.3‑µm particles. In a laminar hood, the main HEPA does the same but there’s also a pre‑filter that catches the big stuff. Replace the pre‑filter every 3–6 months; the HEPA itself lasts 12–18 months depending on usage. Use the manufacturer’s replacement chart—most vendors list the exact part number.
If the filter appears dusty or swollen, replace it immediately. A clogged filter forces the fan to work harder, raising energy costs and potentially triggering a safety alarm. In our experience, labs that schedule filter swaps every 9 months see a 15% drop in unplanned downtime.
Step 3: Alarm & Sensor Checks
All certified cabinets and hoods have a battery‑powered alarm panel that warns you of pressure loss, temperature spikes, or a fan failure. Turn the unit on, let it run, and listen for any beeping. If the panel shows a red light, consult the troubleshooting guide—often the issue is a loose electrical connection or a dirty sensor. A quick wipe with a lint‑free cloth can bring the alarm back to green.
For laminar hoods, the flow meter on the side is your friend. If the reading drops below the rated CFM, it’s a sign of a blockage or a failing fan. A simple airflow meter test can pinpoint whether the issue is in the fan or the filter.
Step 4: Documentation & Certification
Keep a log of every check—filter changes, alarm tests, and airflow measurements. Not only does this help you spot trends, but it also satisfies regulatory audits. In many institutions, the lab manager requires a certified performance test every year. If you’re using a Qualia‑certified cabinet, their guide on common biosafety cabinet issues lists the exact steps to prepare for that test.
When you’re troubleshooting a laminar hood, the Synrui article on how to fix a non‑working hood provides a step‑by‑step flow chart that even a new technician can follow. A quick reference like that saves time and keeps the hood running safely.
Quick‑Check Checklist
- Is the sash sliding smoothly and sealed?
- Is the airflow pulling/ pushing at the rated CFM?
- Are all filters clean and replaced on schedule?
- Did the alarm panel show any errors?
- Did the airflow meter read within ±10% of specifications?
Use this checklist at the start of every shift. It’s only a few minutes, but it saves hours of troubleshooting later.
So, what’s the biggest takeaway? A regular, structured maintenance routine is cheaper—and safer—than fixing a failure after the fact. Treat your cabinet and hood like any critical piece of lab equipment: they deserve a routine care plan, clear documentation, and a team that knows the steps to keep them running smoothly.
FAQ
What’s the main difference between a biosafety cabinet and a laminar flow hood?
A biosafety cabinet pulls air from the front, pushes it out after filtering, and keeps the operator safe with negative pressure. A laminar hood just pushes filtered air over the work surface, leaving the operator exposed. The cabinet is like a bubble; the hood is a fan‑blown curtain. So the choice depends on how much protection you need.
When should I choose a biosafety cabinet over a laminar hood?
If you’re working with aerosols, viruses, or any material that can splash, a biosafety cabinet is the safe bet. For routine pipetting of harmless reagents, a laminar hood does the job and saves money. Think of it like choosing between a hard hat for a construction site and a simple dust mask for a clean‑room job. Match the risk, not the budget.
Can a laminar hood protect the operator?
A laminar hood doesn’t shield you; it only keeps the sample clean. The airflow moves from the hood into the room, so you can breathe in the same air the hood is pushing out. That means if you’re handling a pathogen, you’re exposed. A biosafety cabinet, on the other hand, creates negative pressure, pulling air into a filter and keeping the operator safe.
Which unit is cheaper to maintain?
Maintenance cost varies by use. A biosafety cabinet needs an annual performance test and a filter change roughly every year, plus occasional motor checks. A laminar hood has fewer components but still needs filter replacement every 6–12 months. In terms of money, the cabinet usually costs more upfront, but its filter lifespan can offset that if you run it continuously. The hood is cheaper to start but can add up if you replace filters often.
How often do I need to replace filters in each?
Filters in a biosafety cabinet are the heart of safety. For a Class II Type A2, replace the HEPA filter every 12–18 months; pre‑filters every 6 months. Laminar hoods use one HEPA that can last 18–24 months, and a pre‑filter every 6 months. Keeping a spare on hand helps avoid downtime—just pull the new filter in when the old one looks dusty.
What about noise and energy consumption?
Noise is a big deal for long projects. Laminar hoods run a quieter motor but keep a constant airflow, so they can be louder overall. Biosafety cabinets have a fan that turns off when the sash is closed, so they’re usually quieter in idle mode. Energy‑wise, a cabinet in standby saves 50–70% of the power it uses when it’s running, which can cut yearly bills.
Where can I get a reliable cabinet for my lab?
If you’re looking for a reliable, NSF‑certified cabinet that fits a tight lab space, check out our 2‑ft or 3‑ft Class II cabinets. They’re designed for academic labs, CROs, and biotech startups. For laminar hoods, we stock models that keep the flow steady and the footprint small, so you can keep your bench efficient without breaking the bank.
Conclusion
We’ve walked through the nitty‑gritty of a biosafety cabinet versus a laminar flow hood, and it’s clear the right choice depends on risk, space, and budget.
For labs that handle aerosols or infectious material, the cabinet’s negative pressure and filtered exhaust create a protective bubble. It’s a bit heavier on upfront cost, but the long‑term savings from fewer spills, lower downtime, and the ability to stay in standby mode often pay off.
On the flip side, when you’re pipetting reagents or doing routine cell‑media prep, a laminar hood can get the job done faster and with less maintenance. It’s a lighter footprint and usually quieter, making it a natural fit for tight classrooms or teaching labs.
What’s the sweet spot? Most of the time, a hybrid setup does best: keep one cabinet for the high‑risk steps and a hood for everyday work. That mix keeps safety high, costs low, and workflow smooth.
So, what should you do next? Map each task to its risk level, check your space and power budget, and then choose the unit that fits that map. If you’re still stuck, a quick pilot on one bench can reveal the real impact before you commit a full budget.
In short, the biosafety cabinet vs laminar flow hood debate boils down to matching the tool to the task. Pick the right one, keep a spare filter handy, and you’ll keep your lab running safely and efficiently for years.


