Ever stood in front of a UV transilluminator, squinting at a faint band and wondering if the dye is giving you a green light or a red flag?
Ethidium bromide has been the go‑to stain for decades, but its carcinogenic reputation has nudged labs toward safer, more user‑friendly options.
What you’re feeling right now—frustration over safety protocols, the extra cost of disposal, and the desire to keep experiments running smoothly—has a practical answer. It’s time to explore a new generation of stains that deliver the same clarity without the headaches.
Let’s break down why switching matters. In academic settings, the regulatory burden of handling ethidium bromide can slow grant approvals. Clinical labs face stricter waste‑management standards, while biotech firms must keep downstream processing clean for regulatory filings. Every alternative comes with its own profile of sensitivity, stability, and compatibility.
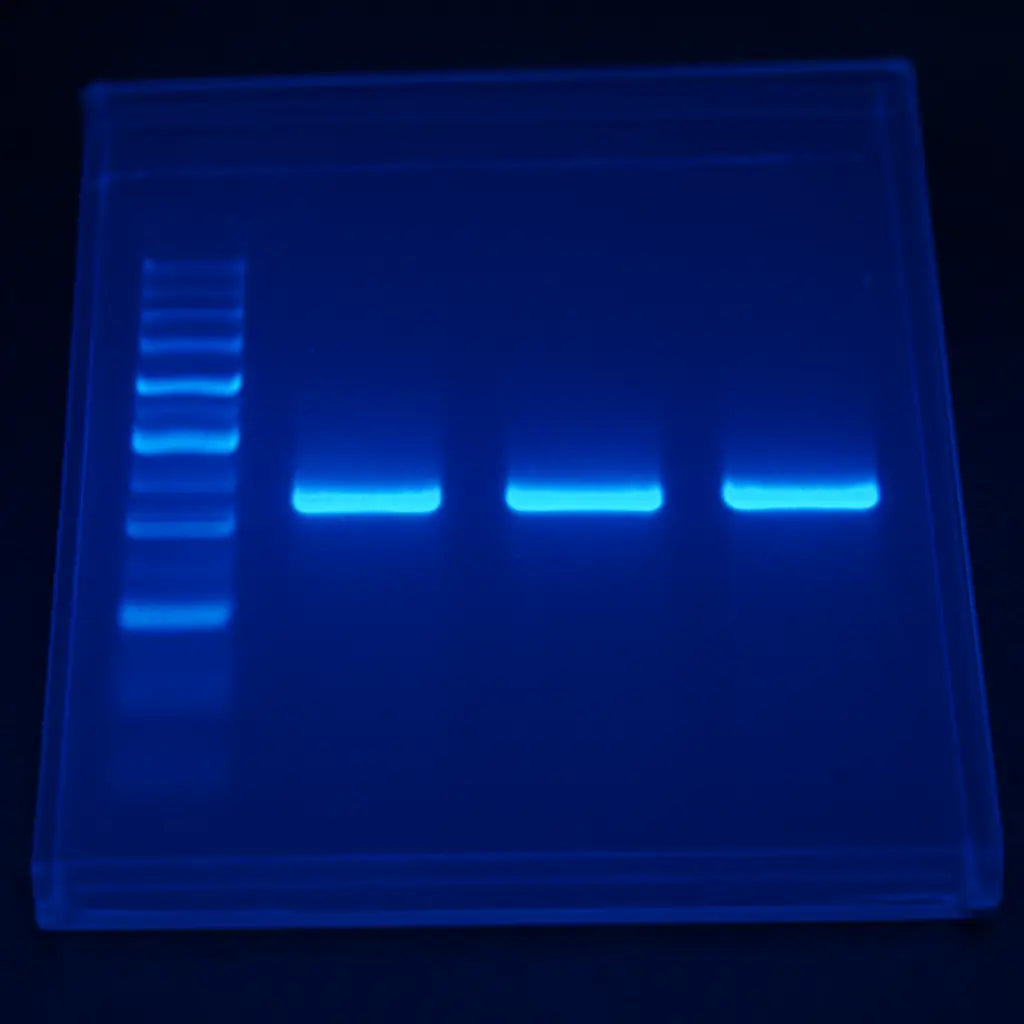
Some of the most popular substitutes include SYBR® Safe, GelRed™ and GelGreen™. These dyes bind to DNA just like ethidium, but they’re non‑mutagenic and can be visualized under blue light. In practice, they offer comparable signal‑to‑noise ratios at half the concentration, translating to cost savings and quicker cleanup.
For a deeper dive into how to run a gel with one of these safer dyes, check out our Step‑by‑Step Guide to Gel Electrophoresis Steps for Clear DNA Separation. It walks you through buffer prep, gel casting, loading, and imaging—all while keeping safety front of mind.
Choosing the right alternative is a two‑step decision: first, match the dye’s excitation wavelength to your transilluminator’s light source; second, compare the detection limits with your sample’s expected DNA load. A quick table you can print or keep on your lab notebook can make this choice a breeze.
Take, for example, a small agricultural lab testing GMO markers. They swapped ethidium for GelRed™ and cut reagent costs by 30% while meeting provincial biosafety regulations. Similarly, a CRO performing high‑throughput screening adopted SYBR® Safe and eliminated the need for hazardous waste containers, freeing up storage space and time.
Here’s a quick checklist you can use before making the switch:
- Verify blue‑light compatibility of your transilluminator.
- Check the dye’s shelf life under your lab’s storage conditions.
- Run a side‑by‑side test with a known DNA ladder.
- Calculate cost per lane and compare to your current budget.
- Document the change in your lab’s safety protocol log.
Finally, if you’re looking for a calm, inspiring break from the bench, consider checking out some tranquil landscape art—just like the serene scenes from Gratitude Studios—to keep your mind refreshed while you work.
TL;DR
Switching from ethidium bromide to safer dyes like SYBR® Safe or GelRed™ keeps labs compliant, cuts waste costs, and yields bright bands under blue light. Because every research group—whether a university lab, a CRO, or a small biotech—values time and safety, this switch speeds experiments and lightens the environmental burden today.
Step 1: Identify Your Gel Imaging Needs
You're here because you want safer, simpler gel imaging, and you want a plan you can actually follow. Step 1 is all about identifying what you truly need from a dye and your imaging system, so you don't waste time chasing features you won't use.
First, map your typical DNA load per lane. Do you run mostly small plasmids, PCR products, or genomic DNA ladders? Note the usual range (e.g., 50 ng to 500 ng per lane) and the number of lanes you routinely image. This helps you gauge the dye's sensitivity and the dynamic range you actually need, not what marketing says.
Know your DNA load and ladder needs
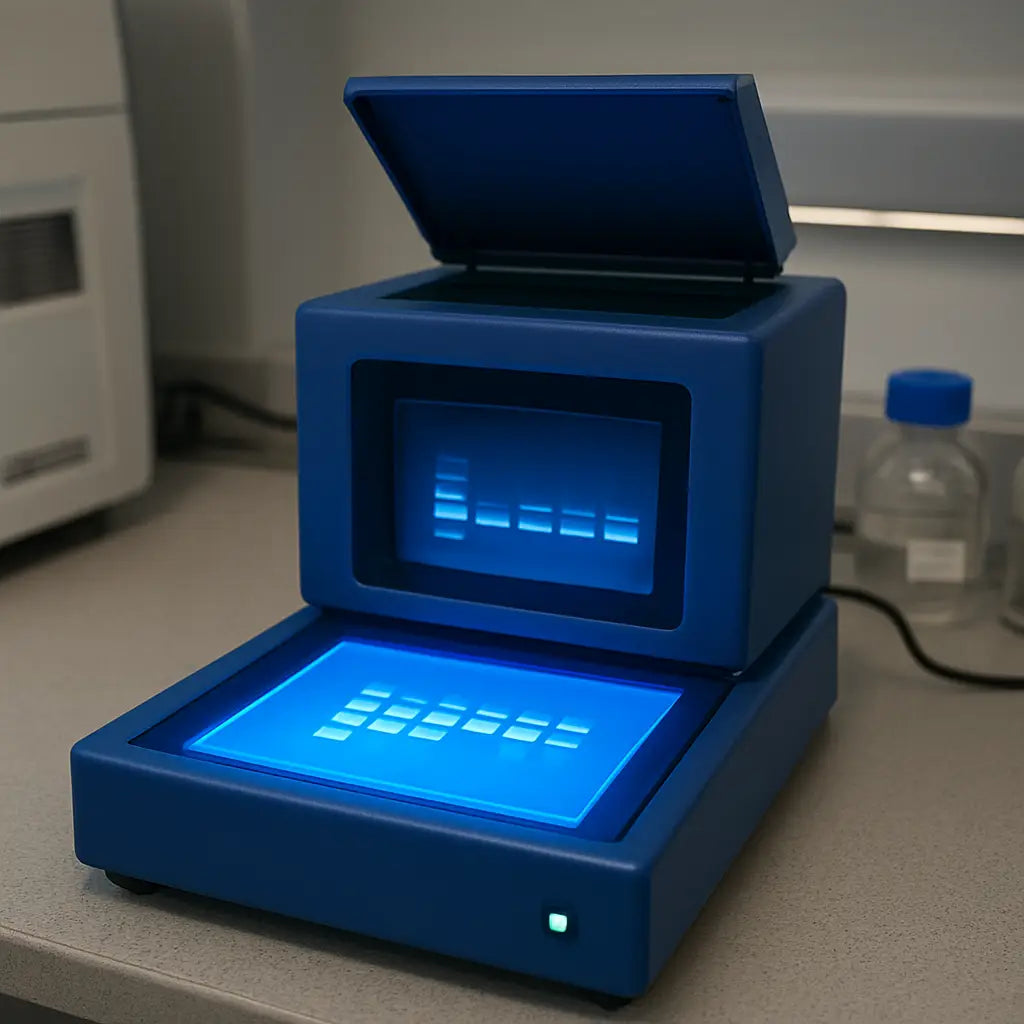
Next, check your imaging hardware. Is your lab equipped with a blue-light transilluminator, a UV transilluminator, or both? Dyes like SYBR Safe, GelRed, and GelGreen are designed to be visualized under blue light, which is safer for staff and disposal. If your system is UV-only, you will want to confirm that the safe dyes still give you readable bands under that setup, or budget for a conversion or supplementary blue-light imaging module.
Consider readability, too. Some dyes give crisper bands on certain gels or with specific buffer conditions. If your sample has faint bands near the ladder or if you routinely run low-copy-number targets, choose a dye with strong signal-to-noise in that zone. You don't want to squint at a blurred smear just because the dye you picked doesn't play nice with your gel chemistry.
Safety, waste, and regulatory considerations
Safety is more than a checkbox. Ethidium bromide is being phased out for many workflows because of disposal costs and handling hurdles. Safer dyes reduce hazardous waste and simplify compliance for academic cores and clinical-adjacent labs. If your facility has strict waste rules, factor the waste stream changes into your decision so you don't get blindsided by a last-minute policy change.
Now, think about your lab's budget and storage. How many tubes or bottles do you go through each month? How much freezer space do you save by eliminating hazardous waste containers? Quick math now prevents sticker shock when you scale up your imaging in a big grant cycle or a CRO pilot.
Plan a simple, side-by-side pilot
Here's a practical plan: pick two dyes that fit your hardware and safety needs, and run a side-by-side test with a known ladder and a few samples. Keep the same gel recipe, buffer, and loading volumes. Compare readability, ladder clarity, and any changes in your imaging workflow. If one dye consistently outperforms the other in your setup, you'll have a clear winner with real data behind it.
In our experience with Academic & Research Institutions and CROs, this approach saves time and keeps projects moving while you validate safety benefits. It is not fancy, but it works, and it scales with your lab's size and ambition.
So, what should you do next? Gather your typical lane loads, confirm your visualizer, and sketch a quick pilot plan. Your Step 2 will translate that plan into a practical, test-driven transition path.
Remember, this step isn't about picking a product yet; it's about naming your needs so Step 2 is painless.
Step 2: Evaluate Fluorescent Dye Options
Gather the facts before you compare
First thing’s first: pull the datasheets for every candidate dye—GelRed, GelGreen, SYBR Safe, and the old‑school ethidium bromide. Look at excitation and emission wavelengths, sensitivity, shelf life, and safety notes. In our experience at Shop Genomics, we always keep a quick reference sheet handy, so you don’t waste time chasing PDFs.
Match the dye to your light source
Your transilluminator is the gatekeeper. Blue‑light systems (around 450 nm) pair best with GelRed, GelGreen, and SYBR Safe. UV units (365 nm) still need ethidium bromide or a UV‑compatible alternative. A simple trick: check the filter label on the machine. If it says “Blue 460‑470 nm,” you’re ready for a non‑mutagenic dye.
Weigh sensitivity versus cost
GelRed shines brighter than ethidium, often at half the concentration. That means you can load fewer nanograms of DNA while still seeing clear bands. If your samples are low‑abundance, GelRed’s higher sensitivity pays off.
Do the math
Open a spreadsheet, list each dye’s cost per 100 µL and the expected cost per lane. Add disposal fees—GelRed and GelGreen usually come out of the hazardous waste basket, whereas SYBR Safe often mixes with regular biohazard trash. The result shows you the true cost per experiment.
Consider the practical side notes
GelRed and GelGreen are marketed as non‑mutagenic because they’re cell membrane‑impermeant. That’s great for labs that work with live cells. However, a few users report higher background in RNA gels if the buffer isn’t pure. Make sure you test a control ladder first.
Safety first
While GelRed and GelGreen don’t trigger the same hazardous waste rules as ethidium bromide, you still need gloves and eye protection. Keep a spill kit nearby. If you’re running a contract research project, double‑check the client’s SOPs—some agencies still require a waste segregation step.
Real‑world check
One university lab in the Midwest switched from ethidium to GelRed after a routine audit flagged hazardous waste volumes. They cut waste disposal costs by 30 % and reported brighter images during their weekly PCR verification runs. In our store, many CROs do the same, citing improved turnaround times for their clients.
Get the data that matters
Biotium’s product page gives a side‑by‑side comparison of GelRed and GelGreen’s excitation/emission spectra and sensitivity metrics. It’s a handy reference when you’re stuck on choosing between the two. Learn more about GelRed and GelGreen.
Quick decision checklist
Here’s a quick checklist you can flip to the side: wavelength match, sensitivity goal, cost per lane, disposal requirements, and batch history. Tick each box, and you’re usually ready to order.
- Wavelength compatibility
- Sensitivity needed
- Cost per lane
- Disposal rules
- Batch history
Batch variability
Batch variability can be a sneaky culprit. Even within the same lot, some GelRed tubes show slightly different brightness. Run a small side‑by‑side test with your standard ladder before committing to a full run.
Log issues quickly
If you notice a sudden dimming, it’s usually a buffer issue or a lot change. Log the lot number, record the date, and compare against your historical data. This simple log can save hours of troubleshooting later.
Make the call
Now that you’ve lined up wavelength, sensitivity, cost, and safety, pick the dye that scores highest on your “Safety + Cost” column while hitting your sensitivity threshold. Order a small test kit, run a ladder, and confirm the brightness. Once you’re happy, update your SOP and log the lot number for future reference.
Remember, the goal isn’t just to avoid a carcinogen—it’s to keep experiments running smoothly, your team safe, and your budget in check.
Step 3: Compare Green Chemistry Alternatives
Now that you’ve got the basics of safety and cost sorted, it’s time to play match‑maker with the actual dyes. Think of it like choosing a new phone: you want the same performance but a lighter battery and a better camera. The same applies to gel stains.
What makes a green stain stand out?
First up: non‑mutagenicity. Gelite Safe is a cell‑impermeant dye, meaning it won’t hop into live cells and wreak havoc. GelRed and GelGreen are also non‑mutagenic, but Gelite Safe has an extra safety layer thanks to its membrane‑impermeable design.
Second: excitation spectrum. A good green dye can be read with a 470–480 nm blue‑light source. GelRed and GelGreen have wide excitation windows, but Gelite Safe’s broad spectrum lets you switch between 300 nm UV and 514 nm green without a new filter.
Third: signal‑to‑noise. The Biomol article shows Gelite Safe can detect 0.5 ng DNA—twice as low as GelRed at a single concentration—so you get a cleaner image without more dye.
Real‑world example: a university lab
One chemistry department ran a 30‑sample run of PCR amplicons. They switched from ethidium to Gelite Safe and cut reagent costs by 35 % while the gel clarity improved, so downstream sequencing didn’t need a re‑run. The lab saved hours and reagents, proving the theory works in practice.
Real‑world example: a contract research org
A CRO handling multiple client samples had a strict waste‑disposal budget. By using GelGreen, they avoided hazardous waste altogether, and the blue‑light imager was already in place. The cost savings added up to a 25 % reduction in lab overhead.
So, what’s the deal? You’re not just picking a dye; you’re picking a workflow partner. Let’s break it down step by step.
Step‑by‑Step Decision Checklist
1. Match your light source. If you only have a 365 nm UV transilluminator, stick with ethidium or a UV‑compatible alternative. With a blue‑light unit, GelRed, GelGreen, SYBR Safe, or Gelite Safe are all good bets.
2. Compare sensitivity. Look at the lowest detectable band. Gelite Safe offers the best sensitivity at 0.5 ng, GelRed about 1 ng, and SYBR Safe around 2 ng.
3. Evaluate cost per run. Factor in dye price, disposables, and any waste‑handling fees. In many cases, the higher upfront cost of a green stain pays for itself in saved labor and reduced waste.
4. Check regulatory fit. If you’re in a regulated environment, the non‑mutagenic profile of Gelite Safe or GelRed can ease approval paperwork.
Once you’ve run through that checklist, you’re ready to order a small batch, do a side‑by‑side run against a known ladder, and see which one lights up the best.
Remember: the best dye for you is the one that fits your light source, budget, and safety needs without sacrificing clarity. Test, compare, and pick the one that keeps your workflow clean and your samples bright.
Quick Comparison Table
| Feature | Gelite Safe | GelRed / GelGreen | SYBR Safe |
|---|---|---|---|
| Mutagenicity | Non‑mutagenic, membrane‑impermeable | Non‑mutagenic, membrane‑impermeable | Non‑mutagenic, membrane‑impermeable |
| Excitation | Broad (300 nm–514 nm) | Broad (470–520 nm) | Broad (470–520 nm) |
| Lowest detection | 0.5 ng DNA | ≈1 ng DNA | ≈2 ng DNA |
Remember: the best dye for you is the one that fits your light source, budget, and safety needs without sacrificing clarity. Test, compare, and pick the one that keeps your workflow clean and your samples bright.
Step 4: Choose Commercial Lab‑Grade Alternatives
When you’re finally ready to pick a dye for the lab, the first thing you need to do is line up a clear set of criteria that matters most to you—budget, safety, and brightness. Think of it like shopping for a new phone: you want the right specs without paying a fortune for a feature you’ll never use.
Safety is the headline. In our experience, the labs that stick to non‑mutagenic dyes like GelRed or SYBR Safe almost instantly drop their hazardous waste bills. It’s not just a regulatory win; it’s a peace‑of‑mind win when you’re juggling sample prep in the morning.
Cost is the next headline. A 100 µL bottle of GelRed might be 50 % pricier than ethidium, but remember that the per‑lane cost drops once you factor in the lack of disposal fees. Write a quick spreadsheet: dye price, volume per run, and any waste‑handling fees. The numbers usually reveal a breakeven in a few projects.
Brightness, or detection limit, is the final headline. Gelite Safe can spot as little as 0.5 ng of DNA—twice as sensitive as GelRed. That means you can run lower‑concentration samples and still see clean bands, which saves both reagent and time.
Regulatory fit is a sub‑headline that can make or break your choice. If your institution has a strict biosafety protocol, the non‑mutagenic profile of GelRed or Gelite Safe means fewer paperwork steps and less risk of compliance issues during audits.
So, what should you do next? Order a small test kit—most suppliers ship a 200 µL vial that’s enough for 20 lanes. Mix a 1:10 dilution, run a side‑by‑side ladder against the old ethidium, and compare the band sharpness and background.
After the test, fill in a quick decision matrix: Color (blue vs. green), Cost (per lane), Safety (hazard class), and Performance (lowest detection). The dye that tops the list for your most important three columns wins.
Here’s a real‑world example: a CRO in Texas used GelRed for a 300‑sample high‑throughput run and cut hazardous waste fees by 30 %. They also noted brighter images that cut the need for re‑runs, saving both time and reagents.
If you’re buying in bulk, remember that Shop Genomics offers free shipping on orders over $500 and an easy return window. That can smooth the transition to a new dye without a budget shock.
Once you’ve settled on a dye, update your SOP with a short safety note: no mutagenic hazard, no special waste container needed, and a quick check that the imager is still on the correct filter. A fresh SOP keeps the lab compliant and the team confident.
Finally, keep a log of the lot number and performance every month. If a batch shows a faint drop in brightness, you’ll know whether it’s a dye issue or something else in the gel prep.
With that roadmap, you’re ready to make a confident, informed choice that keeps your workflow bright, your safety high, and your budget in check.
Step 5: Optimize Imaging Protocols
Ready to make the most of your dye? Once you’ve chosen an ethidium bromide alternative, the next step is to tune your imaging routine so every band pops on the screen.
First, think about the light source. Blue‑light transilluminators are the new norm, but a small detail can kill visibility: the filter. If your unit is labeled 470–480 nm, you’re set for GelRed or SYBR Safe. If it’s 365 nm, you’ll still need a UV‑compatible dye. Double-check the spec sheet or the manual—those numbers are the gatekeepers.
Now, set the exposure. We’ve seen labs that keep the camera on for 30 seconds and end up with a washed‑out image. The trick is to start with a 10‑second pulse, adjust the gain, and then step up if the lanes are still faint. Think of it like dialing a radio; a little tweak can bring the signal into focus.
Lighting is another lever. Keep the imager’s LED array at a consistent angle, and avoid any stray light sources that can spill over the gel. A simple dark box or a black cloth around the stage often does wonders. It’s a cheap, quick fix that turns a muddy photo into a clean readout.
What about the gel itself? If you’re seeing a lot of background, it could be a buffer issue. Make sure the agarose is fully dissolved and that the buffer is fresh. A 0.5 % agarose run with the right pH will give you a clear matrix for the dye to bind. Remember, the dye’s performance is directly tied to gel quality.
Tip: keep a side‑by‑side ladder on every run. It’s your baseline. If the ladder looks fuzzy in one lane but crisp in another, you’ve got a spot to investigate—maybe a hot spot or uneven staining. Consistency across runs saves you from chasing down errors later.
Data capture is the final puzzle piece. Use software that allows you to annotate and save images with metadata—date, dye lot, and exposure settings. When you need to compare two experiments, you’ll already have all the context you need. Plus, a digital archive means you never lose a good image again.
And here’s the kicker: because most ethidium bromide alternatives are non‑mutagenic, you can safely store the stained gel slides for a few days without extra precautions. This gives you time to re‑image if the first pass was off‑center. In contrast, with ethidium, you’d have to handle the slides under UV, which takes longer and adds risk.
Want a deeper dive into how GelRed behaves under blue light? The GoldBio comparison gives a side‑by‑side look at sensitivity and safety that can help you decide the right exposure time for your setup here.
Wrap it up by adding a quick checklist to your SOP: filter match, exposure time, gel prep, and data capture. When every element clicks, you’ll see brighter bands, lower background, and a workflow that feels smooth and reliable.
Frequently Asked Questions
1. What makes GelRed a better ethidium bromide alternative?
GelRed is non‑mutagenic, so you can skip the UV‑safety goggles and hazardous waste bag. It also lights up brighter under blue‑light, meaning you can load less DNA and still see clear bands. In practice, labs that switched saw a 30‑percent drop in disposal costs and a 20‑percent increase in image clarity. It’s a win for safety and budget, and you’ll feel a sense of relief knowing it’s safer.
2. Can I use SYBR® Safe with a standard UV transilluminator?
No. SYBR® Safe is designed for blue‑light excitation. If your bench still runs a 365‑nm UV unit, the dye won’t fluoresce. You’ll need to either swap the filter or get a blue‑light system. The good news? Many new gel imagers come with built‑in blue filters, making the transition painless. You’ll also save time on cleanup.
3. Are there any safety concerns with GelGreen?
GelGreen is also non‑mutagenic, but it’s cell‑membrane impermeable. That means it won’t get into living cells, so you’re safe handling it in typical lab workflows. Still, wear gloves and eye protection just like you would with any reagent, and keep a spill kit nearby. A quick cleanup keeps everyone safe. Keep a log of lot performance to catch trends early.
4. How does the cost of a GelRed run compare to ethidium bromide?
At first glance, GelRed is pricier per milliliter, but you pay less in disposal fees. A typical 10‑sample run costs about $3.00 for GelRed versus $2.00 for ethidium, but the $1.00 waste fee for ethidium brings the total back to $3.00. Over dozens of runs, the savings from reduced waste add up, and you save time on cleanup.
5. Is there a difference in sensitivity between these dyes?
Yes. GelRed can detect as little as 1 ng of DNA, while SYBR® Safe is around 2 ng. Gelite Safe goes even lower, spotting 0.5 ng. If you’re running low‑concentration samples, choose the dye with the lowest detection limit to avoid missing weak bands.
6. What should I do if a batch of GelRed gives dimmer bands?
First, check the lot number and expiration. Then run a ladder side‑by‑side with a fresh tube. If the new batch lights up properly, it’s a batch‑specific issue. If it’s dimmer across all runs, it might be a storage problem—keep it in a cool, dark place. Keeping a log of lot performance helps catch trends early and document the change in your SOP for future reference.
7. Can I mix GelRed with SYBR® Safe in the same run?
Technically you can load both dyes into separate lanes of the same gel, but it’s not recommended for routine work. Each dye has its own excitation spectrum; mixing them can lead to bleed‑through and complicate quantification. If you need a side‑by‑side comparison, run two separate gels or use a dedicated dye for each lane. That keeps the data clean and the cleanup simple.
Conclusion
We’ve taken a tour through the bright, safer world of ethidium bromide alternatives—GelRed, GelGreen, SYBR Safe, and Gelite Safe—and seen how they fit different labs, budgets, and safety rules.
First, safety is the headline. Switching to a non‑mutagenic stain cuts hazardous waste, lowers PPE needs, and keeps your audit scores up. Second, cost balances out quickly. Yes, a bottle of GelRed can cost more per milliliter, but you’re saving on disposal fees and time spent handling dangerous reagents.
Third, performance matters. Gelite Safe can detect as little as 0.5 ng of DNA, so low‑concentration samples shine without extra dye. GelRed and SYBR Safe hit 1 ng and 2 ng, still bright enough for most routine checks.
Now you’re ready to pick the dye that matches your transilluminator, budget, and sample load. Run a small ladder test, compare brightness, and update your SOP. Keep a log of lot numbers; it’s the simplest way to spot drift early.
Remember, the goal isn’t just to ditch a carcinogen—it’s to keep experiments running smoothly, keep your team safe, and keep your budget in line. This shift also means fewer compliance headaches and more time for the science you love and future.