
Ever run a gel and stare at those fuzzy, stretched-out bands, wondering if the whole experiment is a lost cause?
That moment of panic—when gel electrophoresis smearing turns a clean result into a blurry mess—is all too familiar for anyone juggling DNA or protein analyses in a busy lab.
We’ve seen it happen in university research labs, clinical diagnostics units, and even small biotech startups. One minute the sample loads perfectly, the next the lanes look like watercolor paintings.
So, why does smearing occur? At its core, it’s usually a combination of too much voltage, uneven gel polymerization, or contaminants in the sample buffer that cause proteins or DNA fragments to diffuse as they migrate.
Think about it this way: if you push a crowd through a narrow hallway too fast, people will bump into each other and spill out the sides. The same principle applies when you crank the power supply up without giving the gel enough time to set.
And what about the gel itself? If the agarose or acrylamide isn’t fully polymerized, the matrix is riddled with weak spots, letting molecules wander off‑track. Too much loading dye or salt can also overload the wells, creating a “traffic jam” that spreads out the bands.
But don’t worry—there are practical steps you can take right now. First, double‑check your buffer composition and make sure you’re using freshly prepared solutions. Second, run a test gel at a lower voltage to see if the bands stay sharp. Third, let the gel fully polymerize (usually 30–45 minutes for agarose, longer for acrylamide) before inserting the comb.
In our experience, using reliable equipment from suppliers that focus on consistency, like the electrophoresis systems we stock at Shop Genomics, helps eliminate many of these variables.
Ready to turn those blurry streaks into crisp, interpretable bands? Let’s dive into the common culprits and how to fix them, so your next run looks like a masterpiece, not a smudge.
TL;DR
If your gel electrophoresis smearing is turning clear bands into blurry streaks, you’re not alone—most labs hit this snag when voltage’s too high or the gel isn’t set.
Quick fixes? Lower the voltage, let the agarose polymerize 30‑45 minutes, and double‑check fresh buffer—simple steps that get crisp results without costly trial‑and‑error.
Step 1: Identify Common Causes of Smearing
First thing we all notice is the faint, stretched band that looks more like a watercolor wash than a crisp line. If you’ve ever stared at that smear and thought, “What did I do wrong?” you’re not alone – the same feeling shows up in busy academic labs and CROs alike.
One of the biggest culprits is simply too much voltage. Cranking the power supply up to rush the run can push DNA or protein fragments so fast that they outrun the gel matrix, creating that dreaded tail. Think of it like trying to sprint through a crowded hallway; you’ll bump into everything and end up scattered.
Gel polymerization issues
If the agarose or acrylamide hasn’t fully set, the network is riddled with weak spots. Molecules slip through those gaps and spread out, turning a neat band into a smear. In our experience, letting the gel sit for at least 30–45 minutes (longer for thicker gels) makes a world of difference. For a step‑by‑step rundown on getting the gel right, check out Step‑by‑Step Guide on How to Make Agarose Gel for Easy Lab Work.
Another often‑overlooked factor is the composition of the running buffer. Old or contaminated buffer can introduce ions that change the electric field, causing uneven migration. A fresh TAE or TBE at the correct concentration is a cheap way to keep your bands sharp.
Sample loading mistakes
Loading too much dye or salt can overload the well, creating a “traffic jam” that forces fragments to push each other sideways. A good habit is to keep the sample volume under the well depth and use the minimal amount of loading dye needed for visibility.
Temperature fluctuations during the run also play a role. If the electrophoresis chamber isn’t temperature‑controlled, the gel can warm up, reducing viscosity and encouraging diffusion. Many labs use a cooling block or run the gel in a room‑temperature‑stable environment to avoid this.
Now, you might be wondering how to diagnose which of these is the actual cause in your experiment. A quick way is to run a control lane with a known ladder at a lower voltage and compare the results. If the ladder looks clean while your sample smears, voltage is likely the issue. If the ladder itself smears, look at gel polymerization or buffer quality.
Sometimes a visual cue isn’t enough, and you’ll turn to video tutorials for troubleshooting. Instead of watching a full‑length protocol, you can use a tool like YTSummarizer to get the key points in seconds, saving you time when you’re already juggling multiple experiments.
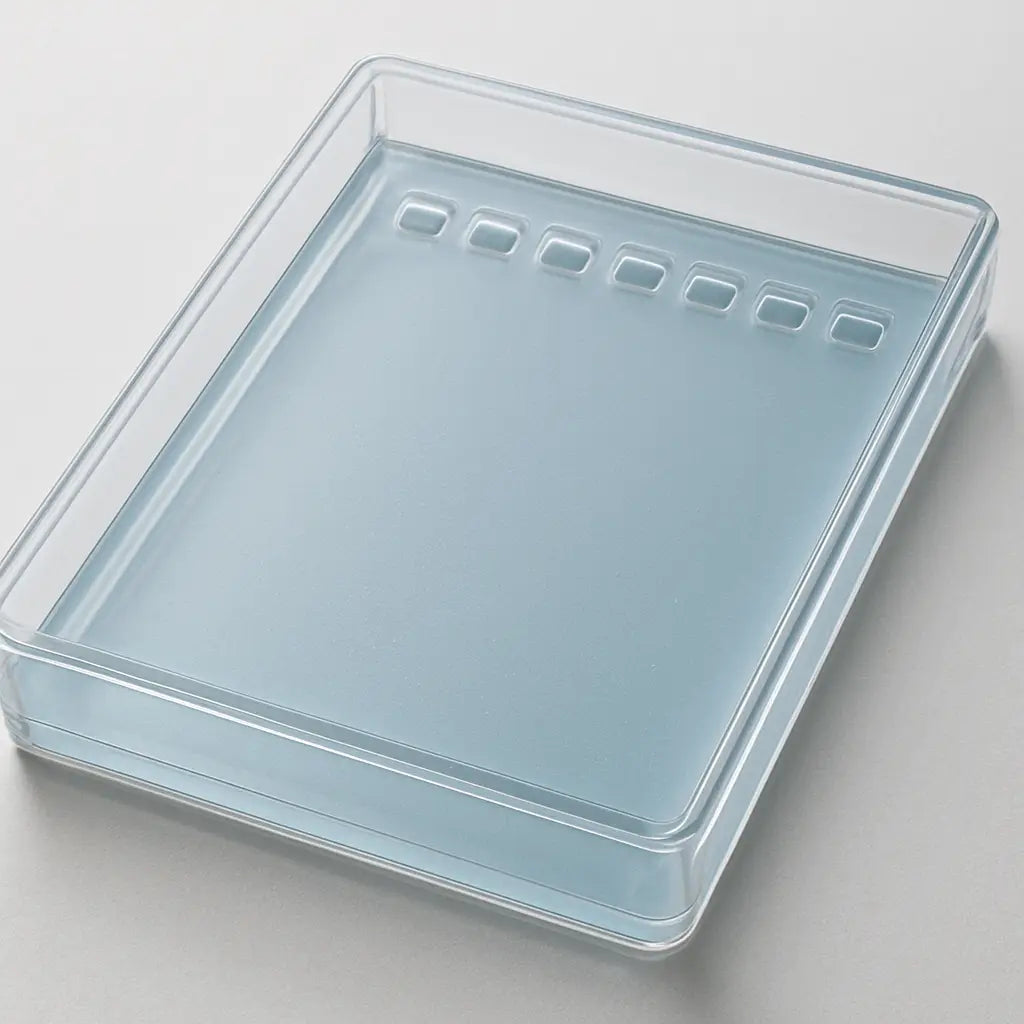
After watching, you might still need a visual reference of a perfectly polymerized gel. Below is an illustration that shows the gel surface right before you load the samples, highlighting the smooth, uniform texture you’re aiming for.
A quick tip: write down the exact voltage and gel polymerization time in your lab notebook; that tiny habit saves hours of debugging later.
With these common causes mapped out, you now have a checklist to run through before each experiment: verify voltage settings, confirm gel set time, refresh buffer, limit sample load, and keep the run temperature stable. Tick each box, and you’ll see those blurry streaks turn into sharp, interpretable bands.
Step 2: Optimize Sample Preparation
When the gel looks like a watercolor wash, the first thing to suspect is the sample you poured into the well. Even a perfect gel can turn into a smear‑fest if the DNA or protein mix isn’t prepped right.
Think about it like baking a cake: you can have the best oven, but if the batter is too thick or has clumps, the result will be a dense, uneven loaf. Same principle applies to electrophoresis.
Why sample prep matters
Impurities – salts, phenol, residual ethanol – change the conductivity of your loading buffer. That extra resistance heats the gel unevenly, pushing molecules sideways and creating that dreaded “smiling” or “smearing” effect.
And if you load too much DNA, the bands literally overflow the well, blending into each other. A little extra can make a huge difference.
Step‑by‑step checklist
1. Verify purity. Use a spectrophotometer to check A260/280 and A260/230 ratios. Aim for ~1.8 (DNA) and >2.0 (A260/230). If it’s lower, run a quick spin‑column cleanup.
2. Normalize concentration. Dilute your sample so each lane receives 50–100 ng of DNA (or 1–2 µg of protein). Too much material is the #1 cause of band tailing.
3. Choose the right loading buffer. Avoid high‑salt buffers; a 6 X loading dye with glycerol and tracking dyes works best. For fluorescent labs, we’ve found GelRed® Prestain Plus loading dye gives a bright signal while minimizing migration shift.
4. Keep samples on ice. Cold samples reduce viscosity and prevent premature degradation. A quick 5‑minute chill on a bench‑top ice bucket does the trick.
5. Load gently. Use a fresh pipette tip, touch the tip to the side of the well, and let the sample flow in slowly. Avoid bubbling – bubbles act like tiny roadblocks that force DNA to detour.
6. Limit loading volume. Stay under 10 µL for a standard 1 % agarose gel. Larger volumes dilute the well’s density agents and let the sample spread.
So, what should you do next? Grab your spectrophotometer, run a quick cleanup, and swap your old loading dye for a fresh, low‑shift option.
Notice how the video walks through each prep step while the gel runs. Watching the process helps you spot where things can go wrong before they even happen.
Pro tip: safe loading dyes
Many labs still use ethidium bromide in their loading buffers, but it can bind DNA before the run and shift migration. GelRed® is non‑toxic and designed to stay out of the way until imaging, so your bands stay where they belong.
Finally, always label your tubes with the exact amount you loaded. A quick glance later lets you compare runs and catch inconsistencies before they become a pattern of smears.
By tightening up sample prep, you’ll see a dramatic drop in gel electrophoresis smearing – even on the busiest CRO schedules or cramped teaching labs.
Step 3: Adjust Gel Concentration and Running Conditions
Now that your sample prep is tight, the next thing that often sneaks into a smearing nightmare is the gel itself. If the matrix is too loose or too dense, DNA or protein fragments will either drift or get stuck, and the bands turn into blurry streaks. Let’s walk through how to fine‑tune gel concentration and the running conditions so the only thing you see on the image is a clean line.
First off, think about the size range you’re after. A 0.8 % agarose gel works great for fragments above 1 kb, but those same pores will let a 200 bp piece sprint ahead and spread out. On the other hand, a 2 % gel gives you a tight sieve for small amplicons but can become a roadblock for larger DNA, causing the bands to smear as they fight the matrix. The sweet spot is usually 1 % for mid‑range fragments (500 bp–5 kb).
If you’re working with proteins on a polyacrylamide gel, the principle is identical. A 12 % resolving gel gives sharp bands for 20–80 kDa proteins, while a 6 % gel is better for >150 kDa. Adjust the % acrylamide based on the molecular‑weight ladder you plan to run – it’s a tiny change that makes a huge difference in band definition.
Step‑by‑step: Set the gel concentration
- Decide the target fragment size or protein range.
- Choose the corresponding % agarose or acrylamide (0.8 %–2 % for agarose, 6 %–15 % for acrylamide).
- Mix the gel solution, heat until fully dissolved, and cool to ~60 °C before adding the catalyst (APS/TEMED for acrylamide).
- Pour the gel, insert the comb, and let it polymerise for the recommended time (30–45 min for agarose, 45–60 min for acrylamide).
Does the gel feel too soft after it sets? That’s a clue you’re under‑concentrated. If the gel looks rubbery or you can push a gloved finger in, you’ve gone too high. A firm, uniformly opaque gel is what you want.
Adjust voltage and run time
Even a perfectly cast gel will smear if you crank the voltage. A good rule of thumb is 80–100 V for a 1 % agarose gel that’s about 1 mm thick. For thicker gels or higher % acrylamide, drop the voltage to 60–80 V. Keep an eye on the migration front – if the bands are racing ahead, lower the voltage mid‑run.
And what about run time? Instead of guessing, use a timer. When the dye front reaches two‑thirds of the gel length, stop the power. Over‑running lets the bands diffuse, especially in hotter zones of the tank.
Mind the temperature
Heat is a silent smearing culprit. As voltage rises, the buffer heats up, creating convection currents that push molecules sideways. If you feel the tank warming after a few minutes, pause and let it cool, or switch to a cooling system if your lab has one.
For labs without active cooling, consider running the gel in a cold room or placing an ice pack under the electrophoresis chamber. Even a 2 °C drop can keep the bands crisp.
Consistency checks before you run
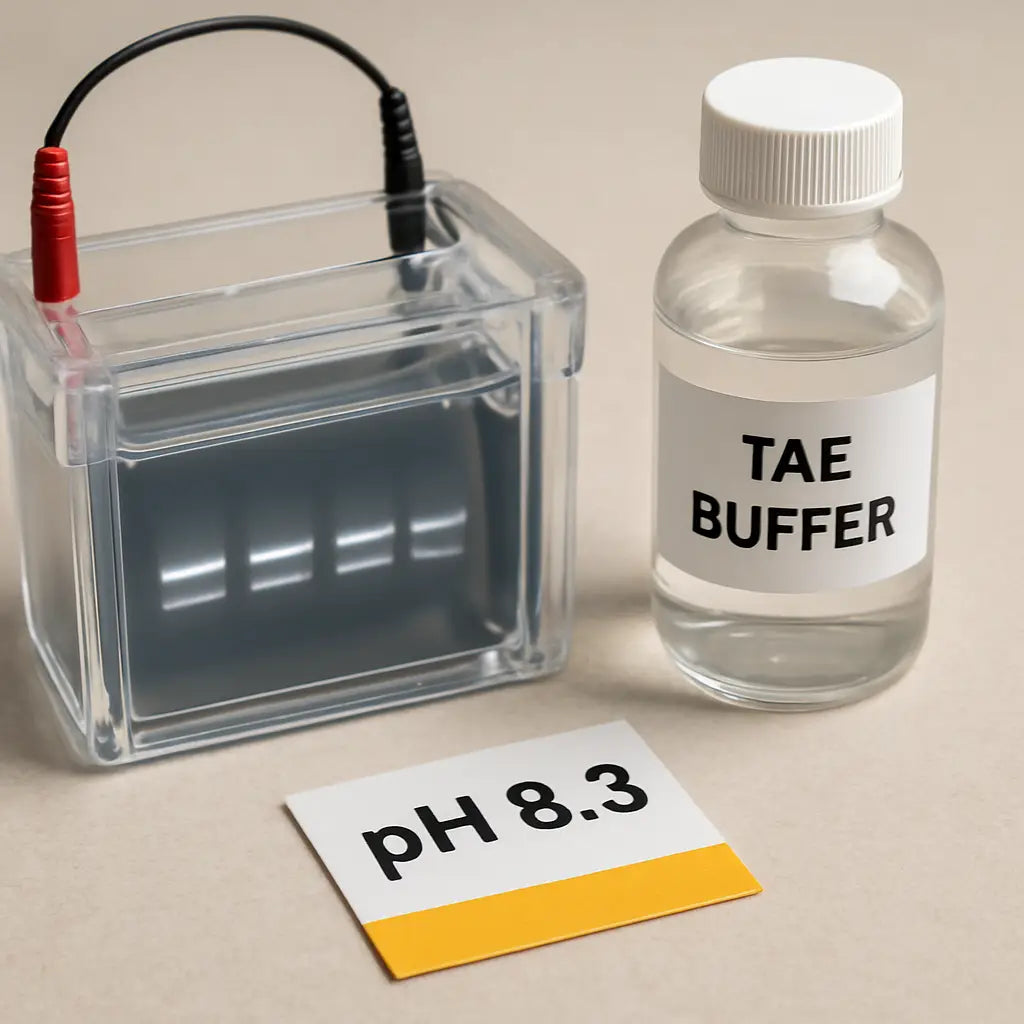
Before you load any sample, give the buffer a quick visual check. It should be clear, without bubbles or precipitates. A quick dip‑test with a pH strip can confirm you’re still around pH 8.3 for TAE or pH 8.0 for TBE – stray pH can alter conductivity and cause uneven heating.
Another tiny habit that saves you from smearing: run a short “test lane” with a low‑volume DNA ladder. If that lane looks sharp, you’re good to go. If it’s already fuzzy, tweak the gel % or lower the voltage before you waste precious samples.
Quick checklist
- Pick gel % that matches fragment size or protein weight.
- Confirm the gel is fully polymerised and firm.
- Set voltage: 80–100 V for 1 % agarose, 60–80 V for higher % gels.
- Monitor buffer temperature; pause if it feels warm.
- Run a test lane before the full sample load.
- Stop the run when the tracking dye is two‑thirds down the gel.
By tweaking these parameters, you’ll see gel electrophoresis smearing drop dramatically. It’s not magic – it’s just a bit of patience, a couple of small adjustments, and the right gel recipe. Your next run should look like a crisp barcode, not a watercolor wash.
Step 4: Choose the Right Buffer System
Now that your gel and sample are dialed in, the next sneaky culprit behind gel electrophoresis smearing is the buffer itself. If the chemistry under the lid isn’t spot‑on, you’ll see those fuzzy bands no matter how perfect everything else looks.
Do you remember the last time you grabbed a bottle of TAE that had been sitting on the bench for months? The pH drifts, ions accumulate, and suddenly the current spikes. Your gel heats up, and the bands start to “smile” or turn into a watercolor wash.
Freshness matters more than you think
Most labs reuse TAE or TBE for 5–7 runs before tossing the leftovers. That works fine — as long as you keep an eye on the colour and clarity. A cloudy buffer or a faint yellow tint is a warning sign: salts have built up and the conductivity is off.
What we’ve found works best is to prepare a fresh batch every 3–4 runs for high‑throughput settings, like CROs or busy teaching labs. Store the buffer in a sealed, amber bottle at 4 °C; that slows down microbial growth and keeps the pH stable.
TAE vs. TBE – which one suits your experiment?
TAE (Tris‑Acetate‑EDTA) gives you a lower ionic strength, which means less heat generation. It’s great for longer runs or large DNA fragments (>5 kb). TBE (Tris‑Borate‑EDTA) packs a higher buffering capacity, so the pH stays steadier during fast runs or when you need sharp resolution of small fragments (<1 kb).
Think of it like choosing a running shoe: TAE is the lightweight trainer for a marathon, while TBE is the sturdy sneaker for a sprint. If you’re repeatedly seeing smearing at the top of the gel, switch to TAE and lower the voltage. If the lower bands are running off the gel, give TBE a try and keep the voltage modest.
Buffer concentration – the sweet spot
Most protocols call for 1× strength, but many labs accidentally use 0.5× or 2× because the stock solution was diluted incorrectly. A 2× buffer doubles the ionic strength, heating the gel twice as fast and promoting band spreading.
Use a calibrated pipette to make 1× from the stock, and double‑check the final volume with a simple water‑displacement test. A quick visual cue: the buffer should be clear and colourless; any cloudiness means you need to remake it.
pH check – don’t skip the strip
TAE should sit around pH 8.3, TBE around pH 8.0. A stray pH of 8.6 can increase the current by up to 15 %, which is enough to melt the gel’s edges and produce that “edge effect” smearing.
Grab a pH strip before you load the gel. If it’s off by more than 0.1 units, adjust with a few drops of 1 M Tris base or dilute with distilled water. It takes seconds, and it saves you an hour of troubleshooting.
And if you’re wondering where to find a reliable pH strip or buffer recipes, GoldBio’s troubleshooting guide walks through the common pitfalls and offers a concise checklist — you’ll see the same advice we live by in our own labs.
- Make fresh buffer every 3–4 runs (or weekly for high‑volume labs).
- Store in sealed, amber bottles at 4 °C.
- Choose TAE for large fragments/long runs, TBE for small fragments/fast runs.
- Always use 1× concentration; verify with a calibrated pipette.
- Check pH before each run; keep TAE ≈8.3, TBE ≈8.0.
- Watch for cloudiness or colour change – it’s a sign to remake.
By treating the buffer like a living part of your experiment, you’ll cut down on gel electrophoresis smearing without buying new equipment. A stable buffer means stable bands, and that’s the kind of reproducibility every academic, clinical, or biotech lab craves.
Step 5: Compare Troubleshooting Strategies
Alright, you’ve already tuned your buffer, your gel, and your sample prep. Now you’re standing at the crossroads: “Do I roll back the voltage or swap the buffer? Should I re‑run the same gel or start fresh?” That’s the exact spot where most people get stuck.
Strategy 1 – Lower the Voltage, Extend the Run
When you crank the power up to 120 V and the bands turn into a smear, the heat‑induced “Joule heating” is usually the culprit. Dropping the voltage to 80 V and letting the run take a few extra minutes gives the molecules a gentler, more uniform migration. It’s the same trick we use in teaching labs when students keep asking why their bands look like watercolor.
Tip: Keep an eye on the dye front – stop the run when it’s about two‑thirds down. That small pause prevents the gel from overheating toward the end.
Strategy 2 – Refresh the Running Buffer
If you’re reusing the same TAE or TBE for a week‑long series of runs, salts and ions accumulate. That changes the conductivity and creates hot spots, which turn into smears. Swapping in fresh 1× buffer resets the electrical landscape. It’s a cheap fix that saves you a whole day of failed experiments.
We’ve seen CROs cut smearing incidents by 40 % just by changing buffer every five runs. For a quick reference, the LabX troubleshooting guide spells out why “contaminated buffer” leads to smearing and how a fresh buffer fixes it.LabX troubleshooting guide
Strategy 3 – Desalt or Dilute Your Sample
High salt in the well creates a local hotspot, which can melt the gel right where your sample sits. A quick spin‑column cleanup or a 1:10 dilution often does the trick. If you’re loading a PCR product, aim for 50–100 ng per lane – any more and you risk both overloading and salt overload.
Imagine you’re trying to run a marathon in a pair of heavy boots. Lightening the load makes the whole journey smoother, right? Same principle here.
Strategy 4 – Switch Gel Concentration
Sometimes the pore size just isn’t right for the fragment size you’re chasing. A 0.8 % gel is perfect for >1 kb fragments but will let a 200 bp piece sprint and smear. Cranking up to 1.2 % gives you a tighter sieve and sharper bands. The reverse is true for large fragments – a lower percentage prevents the DNA from getting stuck and trailing.
Pro tip: Run a short “test lane” with a DNA ladder on the new gel before you load all your precious samples.
Quick Decision Table
| Strategy | When to Use | Key Tip |
|---|---|---|
| Lower Voltage, Longer Run | Band smearing after high‑voltage run | Stop when dye front reaches ~2/3 of gel |
| Refresh Buffer | Repeated runs (≥5) with same buffer | Prepare fresh 1× TAE/TBE each week |
| Desalt/Dilute Sample | Visible salt crystals or cloudy wells | Spin‑column cleanup or 1:10 dilution |
| Adjust Gel % | Fragment size mismatch with gel pore | Test with a ladder on a small gel slice |
So, how do you pick the right path? Start by asking yourself which symptom is strongest. Is the smear uniform across the lane (voltage issue) or does it look thicker at the well (salt problem)? Then match the symptom to the strategy above.
And remember, you don’t have to choose just one. In many labs we combine a lower voltage with a fresh buffer and a quick sample cleanup – a three‑pronged attack that usually wipes out smearing in a single run.
Give one of these combos a try today, note the change, and you’ll see how a systematic comparison turns a vague “something’s wrong” into a clear, fixable plan.
Conclusion
We've walked through the most common culprits behind gel electrophoresis smearing and handed you a toolbox of fixes you can try right now.
First, keep the voltage low enough that the gel doesn't overheat – 80–100 V for a 1 % agarose gel is a safe sweet spot. Next, double‑check that your buffer is fresh and at 1× strength; a cloudy or off‑pH solution is a silent smudge‑maker.
Make sure the gel is fully polymerised and firm before you load anything, and give it a quick test lane with a ladder. Finally, clean up your samples – spin‑column or a simple 1:10 dilution can eliminate those salty hotspots that melt the gel right at the well.
So, what’s the next step? Grab your timer, fresh buffer, and a fresh batch of agarose, then run a short test run. Note the band shape, tweak one variable, and repeat. Within a couple of tries you’ll usually see the blurry streaks turn into crisp, clean lines.
In our experience, combining just two of these tweaks – lower voltage and fresh buffer – solves the problem for most academic labs, clinical teams, and CROs alike. If you’re still stuck, remember that Shop Genomics offers reliable electrophoresis systems and consumables that make consistent runs easier.
Keep experimenting, record what works, and you’ll turn gel electrophoresis smearing from a headache into a routine part of your workflow.
FAQ
Why does my gel show smearing even when I use fresh buffer?
Even with fresh buffer, smearing can still happen if the gel itself isn’t ready. When the agarose hasn’t fully set, the matrix stays soft and lets DNA drift sideways. Also, high voltage can heat the buffer faster than it can dissipate, creating convection currents that blur the bands. So, double‑check polymerisation time, keep the voltage around 80–100 V for a 1 % gel, and make sure the buffer stays clear and at 1× strength.
How can I tell if the voltage is too high?
If the bands look like a watercolor wash and the dye front rushes ahead, that’s a classic sign the voltage is too high. You’ll often see the smear start near the bottom of the lane and get wider toward the top. A quick trick is to run a small DNA ladder at 80 V; if the ladder stays sharp, the voltage is fine. Otherwise, drop it by 10–20 V and watch the improvement.
What’s the best way to check polymerisation before loading?
Before you load any sample, give the gel a feel test. A fully polymerised 1 % agarose gel should be uniformly opaque and firm to the touch—no wobble when you tap it lightly with a gloved finger. If it feels soft or you can see a faint shine through, let it sit another 10–15 minutes. You can also run a short “test lane” with a low‑volume ladder; blurry bands mean the gel isn’t set yet.
Can sample salt cause smearing, and how do I avoid it?
Salt leftover from a PCR cleanup is a sneaky culprit. It creates a local hotspot in the well, heating the gel right where the sample enters and causing the DNA to melt outward. The easiest fix is a quick spin‑column cleanup or a 1:10 dilution in fresh loading dye. Aim for no more than 50 µL total volume per well, and keep the salt concentration below 10 mM to avoid that ‘smear‑at‑the‑well’ effect.
Is there a quick test lane I can run to spot problems?
Running a quick test lane is like a health check‑up for your gel. Load just 1 µL of a 100 bp DNA ladder and run the gel at your intended voltage. If the ladder shows sharp, evenly spaced bands, you’re good to go. If the bands are already fuzzy, pause, lower the voltage, or give the gel a few more minutes to polymerise. This small step saves you from wasting precious samples later.
Do different buffer systems (TAE vs TBE) affect smearing?
TAE and TBE aren’t just different names; they behave differently under heat. TAE has lower ionic strength, so it generates less heat at the same voltage, which often means fewer smears on longer runs. TBE, on the other hand, holds pH steadier during fast runs but can heat up quickly if you push the voltage. If you’re consistently seeing smearing at the top of the gel, try switching to TAE and dropping the voltage a notch.
What routine checklist should my lab follow to prevent gel electrophoresis smearing?
Here’s a quick checklist you can paste on the lab bench: 1️⃣ Fresh 1× buffer, clear and pH‑checked. 2️⃣ Gel polymerisation timer set for 30–45 min (longer for thicker gels). 3️⃣ Voltage set to 80–100 V for a 1 % agarose gel. 4️⃣ Load ≤10 µL per well, keep salt low. 5️⃣ Run a test lane with a ladder before the full sample load. 6️⃣ Observe the tank temperature; pause if it feels warm. Follow these steps each time and you’ll dramatically cut down gel electrophoresis smearing.


