
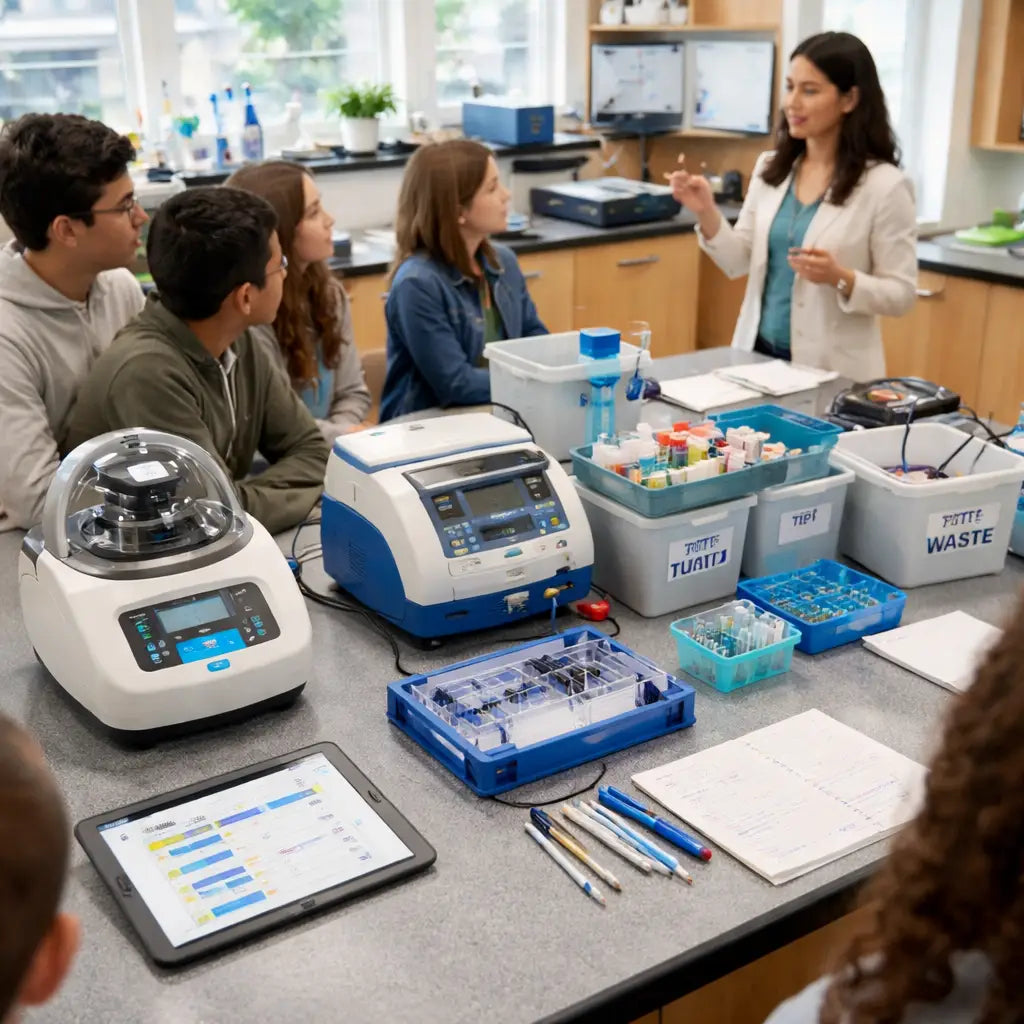
Imagine walking into a high‑school lab and seeing a tiny bench‑top sequencer humming while students lean in, eyes wide, ready to decode real DNA. That spark of curiosity is what makes genomics so thrilling.
But you’ve probably felt the pinch of tight school budgets—wondering if you need a million‑dollar setup to give kids a hands‑on experience. Is there a way to get a functional genomics lab without draining the department’s funds?
Good news: you can learn how to set up a school genomics lab on a budget, and you don’t have to reinvent the wheel. In the next few minutes I’ll walk you through the essentials, from the first piece of equipment to the cheapest consumables that still deliver reliable results.
I know how it feels to stare at a price list and feel stuck. That’s why I’m sharing the exact checklist we use at schools that have turned a modest corner of a classroom into a working genomics station.
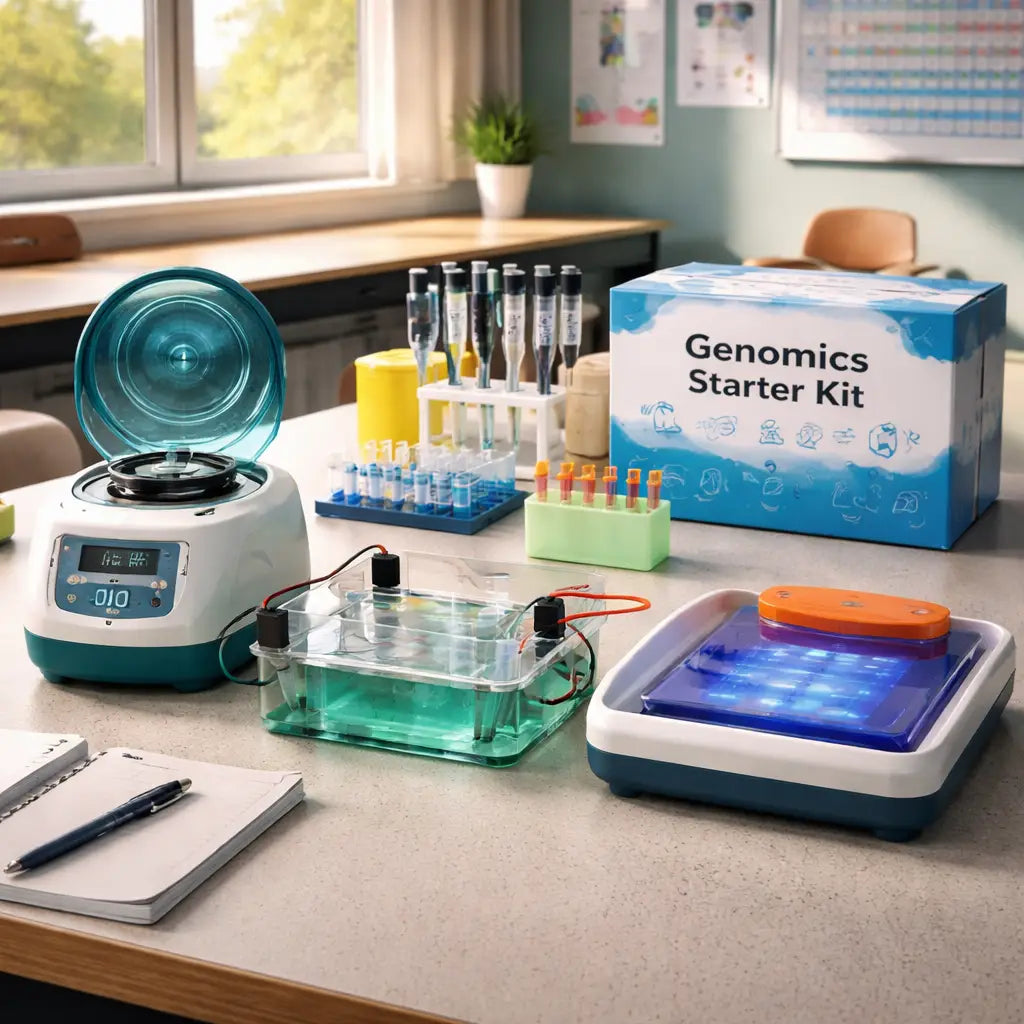
Start with the core tools that give you the most bang for your buck: a reliable microcentrifuge, a compact gel electrophoresis system, and a starter PCR or CRISPR kit. These items cost a few hundred dollars each, yet they cover the majority of teaching labs—from DNA extraction to basic sequencing prep.
Next, look for bundled kits that combine reagents, pipette tips, and safety supplies. Bundles shave off 10‑15 % compared to buying parts separately, and they keep inventory simple so you don’t lose track of tiny tubes.
Platforms like Shop Genomics make it easier by offering free shipping on larger orders and a hassle‑free return policy, so you can test a kit and send it back if it doesn’t fit your workflow.
Write down a quick “lab starter list”: microcentrifuge (12 kg or less), bench‑top power supply, acrylic gel tank, LED transilluminator, and a basic library‑prep kit. Add a few reusable pipette tip racks and a sturdy bench‑top stand, and you’ve covered the hardware side.
So, what’s the first move? Grab the checklist, compare a few affordable bundles, and order the core items that fit your space and class schedule.
Let’s dive in and turn that budget‑tight dream into a real, hands‑on genomics classroom.
TL;DR
If you want to turn a cramped classroom corner into a hands‑on genomics hub without draining the budget, start with a microcentrifuge, a compact gel system, and an entry‑level PCR/CRISPR kit that fit on a single bench.
Follow our quick checklist, compare affordable bundles, and order the core tools today so your students can see DNA bands, edit genes, and generate real data before the semester ends.
Step 1: Define Your Curriculum Goals and Lab Scope
Let’s be honest: setting up a school genomics lab on a budget isn’t thrilling, but it’s absolutely doable. You’re balancing safety, learning goals, and a ceiling on what you can spend. It’s okay to admit it’s a tight squeeze—students deserve hands-on science, not a pipe dream.
So, where do you start? First, spell out the core learning you want your students to actually achieve this term. Think concrete, like “extract DNA from fruit,” “see DNA bands on a gel,” or “amplify a simple gene with PCR.” When you name the outcomes, you can shape the rest of your plan around real results, not vague intentions.
Does this really work in a busy classroom? Yes—but only if the goals fit your schedule. Keep the list short: 2–3 nonnegotiable outcomes and a couple of inspirers that light curiosity. This is about momentum, not a perfect fantasy lab.
Next comes mapping those goals to activities. Map each outcome to a 1–2 week module: Week 1 DNA extraction, Week 2 gel visualization, Week 3 basic PCR setup. A tight cadence helps manage supplies, safety checks, and lesson pacing. It also makes it easier to justify the hardware you actually need instead of chasing every gadget on the market.
In our experience, the right roadmap reduces overwhelm. When administrators see a clean plan with measurable milestones, they’re more likely to green-light a modest bench and a couple of starter kits rather than a big, risky purchase. Shop Genomics can help you anchor the plan with predictable bundles that cover core needs without blowing the budget.
Let’s talk space and safety—two very practical constraints. Decide how many stations you’ll run and what safety PPE is non‑negotiable. Plan for a small, safe footprint: a microcentrifuge, a compact gel system, and a starter PCR/CRISPR kit often cover most classroom demonstrations from DNA extraction to sequencing prep. Keeping the core hardware lean helps you scale later without re‑architecting the room.
Note this isn’t just about gear. It’s about creating a teachable route that feels doable for teachers and exciting for students. You’ll want a simple procurement checklist, a quick pilot plan, and a clear sign-off path for admin. A well-scoped start sets the tone for the entire year, especially in Educational Institutions and Independent labs where budgets are tight but curiosity is high.
So, what should you do next? Create a one-page curriculum-to-lab map: 2–3 nonnegotiable outcomes, 2–3 supporting activities, and the minimum hardware with a rough cost. This becomes your decision guide and a powerful tool for stakeholder conversations.
Here's a quick starter checklist to keep you on track:
- Define 2–3 must-have outcomes (DNA extraction, gel readout, basic amplification).
- Outline a 2–3 week module plan for each outcome.
- Choose lean hardware: microcentrifuge, bench‑top gel system, and a basic PCR kit.
- Bundle consumables to simplify ordering and inventory.
- Draft a simple pilot schedule and a one-page budget snapshot.
Ready to turn planning into action? This is the blueprint you’ll refine as you pilot and scale—the boring parts that actually keep kids learning and labs running on a tight budget.
Taking a moment to reflect after watching the video can save you weeks of back‑and‑forth later. Capture notes on what surprised you, what felt doable, and where you’ll need more support or training.
Remember, a well‑defined scope makes purchasing decisions fast, transparent, and within budget—and it sets your students up for real, visible progress.
Step 2: Choose Cost‑Effective Equipment and Supplies
Now that you’ve nailed down what you want your students to achieve, it’s time to match those goals with gear that won’t make the finance office faint. The trick is to focus on the “must‑haves” – the tools that actually move the experiment forward – and then hunt for bundles or DIY hacks that shave off the fluff.
First up, the microcentrifuge. A reliable 12‑kg or lighter model will spin down DNA extracts, cell pellets, and even those tiny magnetic beads you’ll use in library prep. Look for a unit with a simple digital display and a safety lid; you don’t need a fancy temperature‑controlled rotor for most classroom work. In our experience, a basic model in the $80‑$120 range pays for itself in a couple of semesters.
Next, the gel electrophoresis system. This is where students get to see DNA fragments separate like tiny puzzle pieces. You’ll need three things: a low‑voltage power supply, an acrylic gel tank, and a safe LED‑based transilluminator. The budget‑friendly gel electrophoresis system guide walks you through exactly which specs to look for and why LED lighting is both cheaper and safer than UV.
Here’s a quick checklist for the electrophoresis core:
- Power supply: 12 V, 300 mA bench‑top unit with automatic shut‑off.
- Tank: lightweight acrylic, clear lid, capacity for a 10 cm gel.
- Transilluminator: blue‑light LED under $150, with a green filter for SYBR Safe or GelRed.
Once those three are in place, add the small but mighty consumables: reusable pipette tip racks, a set of combs, and a ladder marker that’s easy for students to read. A sturdy bench‑top stand keeps the tank steady and frees up bench space for other steps.
Now, let’s talk PCR – the workhorse for amplifying DNA before you run a gel or feed a sequencer. A classroom‑friendly thermocycler should fit on a single bench, weigh under 10 kg, and have a quick‑start program that runs a 30‑minute reaction without you having to tweak too many parameters. Many vendors bundle a set of calibrated micropipettes with the machine, which can save you another $50‑$70.
Don’t overlook the importance of labeling and documentation. A cluttered bench with unlabeled tubes is a recipe for confusion and wasted time. That’s where a quick print‑on‑demand service can be a lifesaver – you can order custom lab labels, SOP sheets, and safety posters for pennies each. Check out custom lab labels and SOP sheets to keep everything tidy without blowing your budget.
Finally, think about the little extras that keep the whole workflow humming:
- Buy consumables in bulk (tips, tubes, agarose) to lock in a 10‑15 % discount.
- Choose kits that include pre‑measured reagents – they reduce waste and simplify prep.
- Set up a simple inventory spreadsheet on a shared drive so no one accidentally orders the same thing twice.
Putting it all together, the plan looks something like this:
- List the core hardware: microcentrifuge, PCR machine, gel system.
- Identify bundled options that combine power supply, tank, and transilluminator.
- Add consumable bundles (tips, tubes, agarose) and a label printing solution.
- Calculate the total cost of ownership for one semester (hardware + consumables + labeling).
- Present the one‑page budget to your department head – highlight the safety features, the learning outcomes, and the fact that everything fits on a single bench.
If the numbers stay under your target – say $800‑$1,000 for a 30‑student class – you’ve just proven that a functional genomics lab can live comfortably inside a tight budget. The next step is to place the order, set up the bench, and watch the excitement build as the first DNA bands appear on the gel.
Step 3: Set Up the Lab Space Safely
You’ve mapped goals and budget. Now the space you work in matters as much as the gear. A clean, well-organized bench makes hands-on genomics feel doable rather than chaotic.
Let’s put safety first from day one. A good layout isn’t just about keeping kids out of trouble; it’s about keeping samples clean and experiments repeatable. If you’re wondering how to set up a school genomics lab on a budget, safety should still be non-negotiable.
We’ll walk through a practical, human approach that wards off spills, mix-ups, and late-night panic orders.
Plan a safe, efficient bench layout
Start by mapping three zones on a single bench: extraction and prep, PCR setup, and gel visualization. Keep the zones separated by at least a few inches so you don’t cross-contaminate samples.
Pin down where PPE, waste disposal, and a spill kit live. Put a small shelf or bin at the end for gloves, wipes, sanitiser, and paper towels. That keeps the flow smooth and reduces bottlenecks when the class heats up.
Label everything clearly. A dedicated label printer helps you keep tubes and tubes of tips under control and saves minutes every class.
- Ensure proper ventilation for any chemical use and keep bench height comfortable for a 45-minute period
- Sturdy, non-slip mats under equipment to prevent slips during student movement
- Secure power strips and avoid daisy-chaining into wet areas
Here’s a simple bench setup you can start with: a compact centrifuge at one end, a gel system in the middle, and a small incubator or thermocycler nearby. Add a dedicated waste bin, a sharps container, and a printer/surface for SOPs and labels. It sounds basic, but this kind of order buys you real time later in the term.
PPE, disposal, and labeling
Stock up basic PPE: gloves, goggles, lab coats, and splash shields for demonstrations. Decide on a clear waste strategy—biohazard bags for used consumables, sharps bins for any needles or blades, and a routine for safe disposal with your school’s facilities team.
Labeling isn’t glamorous, but it saves frustration. Use reusable label racks and simple SOP sheets so students know exactly where to find things and how to return them.
Budget-smart procurement on day one
You don’t have to buy everything new at once. Focus on essentials that move demonstrations forward and keep people safe. Bundles can trim 10–15% off separate purchases, and a platform like Shop Genomics often helps educators by offering starter kits that include safety and labeling supplies alongside core hardware. In our experience, simple bundles save time and keep safety gear in reach.
So, what should you do next? Sketch a quick bench map, assign zones, and list your must-have PPE and disposal gear. Then compare a couple of bundles that fit your space and rhythm. You’ll be surprised how little it takes to set up a safe, student-friendly genomics bench.
Take 15 minutes this week to map your space, list safety tasks, and decide on one starter bundle. Small, deliberate steps beat sticker shock.
Step 4: Build a Simple Data Management System
You’ve got the bench, the PPE, and the starter kits. The data management part is what makes this setup repeatable and scalable.
A simple system keeps track of what you did, what worked, and what needs restocking.
Define the data you’ll actually track
Start by naming the core data categories. Three buckets cover most school genomics labs: equipment status and maintenance, student projects and results, and safety/compliance logs. You’ll thank yourself later when a class changes and you don’t lose track of a calibration date or which gel image belongs to which group.
- Equipment status: rotor speeds, calibration dates, service notes.
- Maintenance schedule: next service window, costs, and vendor contact.
- Student projects: title, group, date, instrument used, and a quick outcome snapshot.
- Results: observed bands, readouts, or images linked to the project code.
- Safety/compliance: PPE usage, waste disposal events, incidents, and approvals.
Here's a quick real-world nudge: the first month, you’ll jot a lot of notes by hand. Then you’ll build templates that automatically slot in data fields, and you’ll save hours each week by not re-entering the same info.
Pick a lightweight data structure
Keep it simple. One shared spreadsheet with tabs for Inventory, Safety, Classes, and Samples usually does the trick for a 30-student classroom. A cloud-based sheet is fine, so teachers can update from different devices. But guard sensitive student data with basic permissions and avoid posting everything publicly on the drive.
- Inventory tab: item name, location, quantity, last restock date.
- Safety tab: PPE stock levels, disposal log, end-of-term safety checks.
- Classes tab: course, section, teacher, bench assignment.
- Samples tab: label, project code, date created, current status.
Set a clear naming convention (see Step 4.3) and keep it consistent across sheets. That consistency saves time and prevents mix‑ups when a substitute teacher steps in.
Standardize SOPs and data-entry routines
Create simple templates for data entry and a quick-start guide for new teachers. Assign roles—who logs what, who reviews entries, and how often data should be updated. A 5-minute daily ritual beats a backlog on Friday.
Does this really work in a busy classroom? Yes. A tight data system keeps your evidence-ready for audits at an Educational Institution and makes procurement decisions smoother because you can point to real usage and needs. Platforms like Shop Genomics make this easier by offering educational bundles that include labeling and SOPs, helping you stay organized without extra admin pain. Start with a one-page data plan this week: list your data categories, pick a structure, and draft two templates you’ll reuse every class.
Now you’ve got a practical, repeatable data framework you can actually teach to new teachers and students alike. It reduces chaos and buys you time to focus on the learning moments, not the paperwork.
Step 5: Compare Essential Kits and Services
Okay, you’ve got the bench, the safety plan, and a data sheet ready to go. The next big question is: which kit actually gives you the most bang for your buck?
We’ve all stared at a spreadsheet of prices and wondered if we’re missing something. The trick is to line up the pieces you need, then match them to a bundle that already groups those pieces together.
Identify your core needs first
Ask yourself what you’ll be doing most often. Is it DNA extraction and gel runs? Or will you be running a few PCR‑based CRISPR demos too? Write down the three must‑haves – usually a microcentrifuge, a gel electrophoresis system, and a starter PCR or CRISPR kit.
Once you have that list, you can start scanning the bundles that shop around those exact items. Anything that adds a fancy extra you’ll never touch (like a high‑throughput sequencer) is just wasteful budget space.
Pick a starter bundle that bundles the basics
In our experience, the most cost‑effective bundles include the hardware, a set of reusable tip racks, and a pre‑measured reagent kit. Look for a package that mentions “educational bundle” or “starter kit” – those usually shave 10‑15 % off the a‑la‑carte price.
Here’s a quick way to compare:
| Feature | Option A: Basic Bundle | Option B: Mid‑Tier Bundle | Option C: Premium Bundle |
|---|---|---|---|
| Core hardware | Microcentrifuge + acrylic gel tank + LED transilluminator | All of A + tabletop PCR machine | All of B + CRISPR activity kit + extra incubator |
| Consumables (tips, tubes, agarose) | 1‑month supply | 2‑month supply + reusable combs | 3‑month supply + labelled safety posters |
| Support & training | Email guide | Video tutorials + 1‑hour live demo | Full onboarding + priority support |
Does that table make sense? It’s a simple way to see where you can save and where you might want a little extra help.
Evaluate service extras
Beyond the hardware, think about shipping, returns, and warranty. A bundle that offers free shipping on orders over a certain amount can cut a few hundred dollars off the total. Easy returns are a lifesaver if a piece arrives damaged – you won’t lose class time waiting for a replacement.
Also, check if the vendor provides a quick‑start guide tailored for teachers. A short PDF that walks a new instructor through setting up the gel tank in ten minutes is worth its weight in gold.
So, what should you do next?
Grab a notebook, copy the three rows from the table, and shade in the column that feels right for your budget and class size. Then reach out for a quote that includes free shipping and a training video. In a single afternoon you’ll have a clear, affordable kit ready to roll out.
When the kit arrives, do a dry run with just you and a couple of students. If the bench layout feels smooth and the consumables last longer than you expected, you’ve nailed the comparison step.
That’s the sweet spot – you’ve compared the essentials, you’ve accounted for service, and you’ve got a plan that won’t break the school’s budget.
Step 6: Train Teachers and Engage Students
So you’ve got the bench set up, the kit in hand, and the budget finally looks friendly. Now the real magic happens when you turn that gear into a classroom experience.
First thing: give yourself a quick “train‑the‑teacher” sprint. Spend an afternoon walking through the gel tank, the microcentrifuge, and the PCR machine just like you’d demo it for students. Take notes on anything that trips you up – that’s the gold you’ll share later.
Does it feel weird to rehearse a lesson before the class? That’s exactly what we want. A dry run helps you spot missing tips, confusing labels, or a power strip that’s too short. And because you’re the one doing it, you’ll spot the moments where a student might ask “why do we need to spin that?” before it even happens.
Build a short training pack
Grab a notebook or a simple Google Doc and write a three‑step cheat sheet. Step 1: Power on the supply and set 12 V. Step 2: Load the gel and add loading dye. Step 3: Start the run and record the timer. Keep it to bullet points so teachers can glance at it during a busy lab period.
Add a one‑page safety snapshot too – goggles, gloves, waste bin locations. Students love a colourful poster that says “Stay safe, stay curious.” You can print it on cheap cardstock and stick it next to the bench.
Turn teachers into facilitators
Instead of lecturing, let teachers act as guides. Ask them to assign roles: pipette lead, timer keeper, data recorder. When each student knows their job, the whole class moves like a well‑oiled machine. And if someone forgets a step, the peer in that role can gently remind them.
Try a “pair‑share” after each run. One student explains what they saw on the gel, the partner asks one clarifying question. That short dialogue cements the concept and keeps everyone talking.
Engage students with a quick data log
Give each group a one‑page template: sample name, expected band size, observed band size, “what surprised me?” section. It only takes a couple of minutes, but it turns a visual result into written evidence they can reference later.
Bonus tip: let them snap a photo with a phone and drop it into a shared folder. Seeing their own image on the screen makes the science feel real, and you get a ready‑made gallery for future class presentations.
Does this feel like extra work? Not really – you’re building reusable assets. Once the cheat sheet and data template are printed, they’ll serve you for the next semester, the next school year, maybe even the next grade level.
Keep the momentum going
Schedule a quick “check‑in” after the first week. Ask teachers what surprised them, what students struggled with, and adjust the cheat sheet accordingly. Small tweaks – like adding a reminder to turn off the power supply – can prevent a whole class of hiccups.
Finally, celebrate the wins. When a student spots a clear band and exclaims “we got it!”, pause the class and give a high‑five. Those moments create a positive feedback loop that keeps curiosity alive.
So, what’s the next step? Pick a Friday afternoon, run through the kit alone, write down three tips, print a one‑page safety poster, and hand it to the teachers. In a single session you’ll turn a budget‑friendly lab into a thriving learning hub.
Conclusion
We've walked through every piece of the puzzle, from picking a microcentrifuge that fits on a single bench to bundling consumables that shave off 10‑15 %.
So, what does it look like when you actually set up a school genomics lab on a budget? You start with a clear checklist, grab a core hardware bundle, and then spend a few minutes each week fine‑tuning the layout.
In our experience, teachers who print a one‑page cheat sheet and label every tube see fewer hiccups and more “aha!” moments. A quick safety poster hanging next to the gel tank keeps everyone focused.
Remember that the biggest win isn’t the price tag—it’s the confidence you give students when they watch a DNA band appear on the screen.
Ready to take the next step? Grab a starter kit from Shop Genomics, run a dry run on your own, and then hand the bench over to the class. The excitement you’ll see is worth every penny saved.
Keep the momentum going: schedule a brief check‑in after the first week, tweak any confusing steps, and celebrate the first successful run. That simple loop turns a budget‑friendly setup into a lasting learning hub.
Finally, document what worked and share the cheat sheet with neighboring schools—budget labs thrive when knowledge spreads, and you’ll build a community of genomics explorers.
FAQ
How can I fit a microcentrifuge on a tight classroom bench?
A compact 12‑kg microcentrifuge is usually only about 12 inches wide, so it slides onto a standard bench without crowding. Look for models with a slim digital display and a safety lid that snap on, which cuts down on extra space. Position it near the power strip, keep a small towel nearby for spills, and label the rotor so students know where to place tubes. In our experience this set‑up clears enough room for a gel tank and a few pipette racks.
What’s the cheapest way to get reliable gel electrophoresis results?
Start with a low‑voltage power supply (12 V, 300 mA) and a lightweight acrylic tank; both can be found for under $100 as a bundle. Pair them with a blue‑light LED transilluminator, which costs less than $150 and avoids UV safety worries. Reuse agarose gels a couple of times by letting them solidify fully, and cut your own combs from disposable plastic. Adding a reusable tip rack and a simple ladder marker keeps consumable costs down while still giving clear, teachable bands.
How do I keep the lab safe without spending a fortune on PPE?
Buy bulk packs of nitrile gloves, safety glasses and disposable lab coats; suppliers often give a discount when you order 100 + items. Store them in a sealed bin on the bench so they’re always within reach and students can grab what they need without searching. Use a small spill kit with absorbent pads and a bottle of 10 % bleach, which is cheap and kills most contaminants. A quick checklist posted next to the bench reminds everyone to suit up before each run.
Can I run a PCR demonstration with a limited budget?
Look for a tabletop thermocycler that weighs under 10 kg and has pre‑programmed protocols; many models sell for $200‑$300 and use standard 0.1 ml tips you already own. Use a ready‑to‑go PCR master mix that comes in bulk tubes, which cuts down on pipetting errors and saves time. Run a simple 30‑minute program that amplifies a 500 bp fragment from a plant leaf extract – the result shows up on a gel and gives students a clear visual payoff without extra expense.
What data‑management tools work best for a small school lab?
A shared cloud‑based spreadsheet is enough for most teachers; create separate tabs for inventory, safety logs and student results. Give each student a short template that asks for sample ID, expected band size and observed outcome – this turns a visual result into data you can later analyse. Set a weekly reminder to update the sheet, and back it up to the school’s drive so nothing is lost when a computer is refreshed.
How often should I restock consumables to avoid interruptions?
Track how many tips, tubes and agarose you use each week and multiply by the number of class periods you run. Most teachers find that a two‑week buffer prevents a surprise run‑out, especially when a semester’s schedule includes holidays. Order the next batch when your inventory tab drops below 30 % of the original stock, and use the free‑shipping threshold on larger orders to keep shipping costs at zero.
What’s the best way to get student buy‑in for the first genomics experiment?
Start with a quick demo that shows DNA bands appearing on a gel in under ten minutes – the visual impact is immediate. Let a small group of students handle the pipetting and labeling first, then rotate roles so everyone feels involved. Capture a photo of the finished gel and post it on the classroom board with a simple caption; seeing their own work displayed boosts confidence and keeps enthusiasm high for the rest of the unit.


