
Most american laboratories risk critical errors when setting up new scientific equipment for research. Overlooking even basic workspace assessments or skipping essential cleaning steps can lead to safety issues and unreliable results. Understanding a systematic process for preparing your lab from initial evaluation to final equipment testing saves time, protects your investment, and keeps your research on track. This guide breaks down each step to help you achieve a safe, organized, and high performing laboratory environment.
Table of Contents
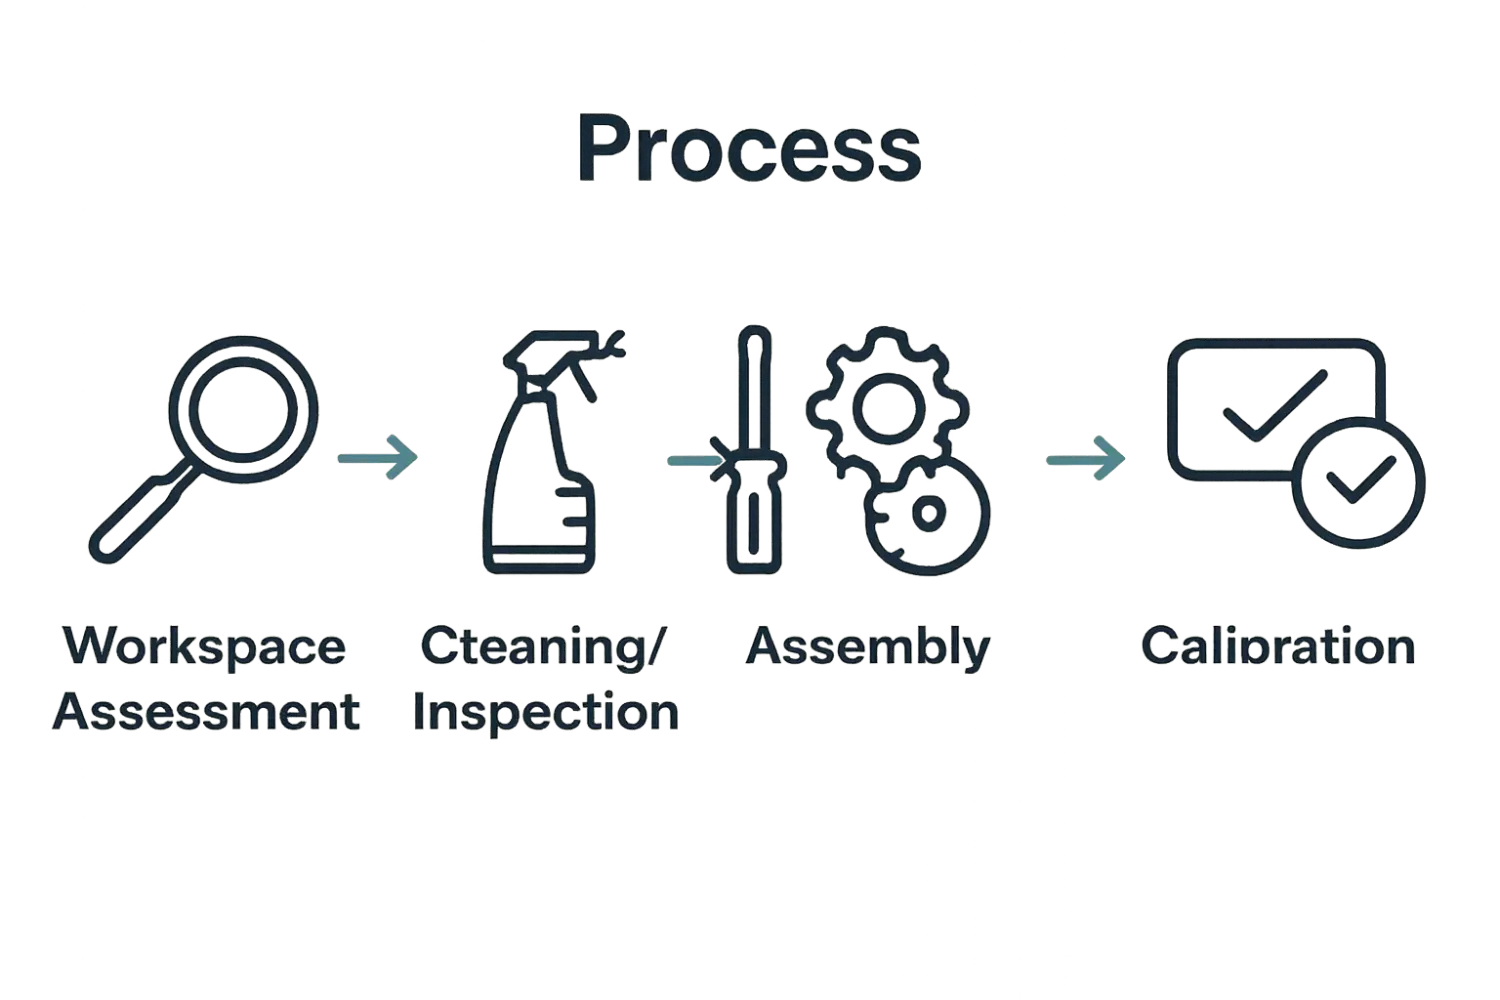
- Step 1: Assess Workspace And Gather Equipment
- Step 2: Clean And Inspect All Lab Components
- Step 3: Assemble Equipment According To Protocol
- Step 4: Calibrate Instruments For Accurate Performance
- Step 5: Verify Setup And Test Functionality
Quick Summary
| Key Point | Explanation |
|---|---|
| 1. Assess workspace and equipment needs | Evaluate the lab environment and create a checklist of required equipment for effective setup and safety. |
| 2. Clean and inspect all lab components | Use appropriate cleaning agents and perform thorough inspections to maintain instrument integrity and prevent contamination. |
| 3. Assemble equipment according to protocol | Follow manufacturer guidelines for assembly, ensuring all connections align correctly for reliable functionality. |
| 4. Calibrate instruments for accuracy | Identify calibration needs for each instrument and maintain a schedule to ensure consistent measurement reliability. |
| 5. Verify setup and test functionality | Conduct thorough functional tests of all equipment, documenting performance metrics to ensure accuracy and reliability before use. |
Step 1: Assess Workspace and Gather Equipment
Setting up a precise scientific workspace starts with a strategic workspace assessment and comprehensive equipment gathering. This initial phase will determine the effectiveness and safety of your entire laboratory setup.
Begin by thoroughly evaluating your laboratory environment and documenting the existing infrastructure. Coordinate with operations and research staff to obtain critical building documentation including architectural floor plans and mechanical HVAC system layouts. These documents will help you understand spatial constraints, electrical requirements, and potential ventilation considerations for your equipment placement.
Next, conduct a meticulous inventory of your required equipment. Create a detailed checklist that includes every piece of scientific apparatus you will need for your specific research protocols. Pay close attention to instrument specifications such as size, power requirements, and potential interaction with other equipment. Ensure your workspace has appropriate electrical outlets, stable surfaces, and adequate clearance for each instrument.
Pro Tip: Always leave 15 20% additional workspace around delicate equipment to prevent accidental collisions and allow proper maintenance access.
As you gather equipment, prioritize maintaining a clean and organized environment. Properly label all instruments and chemicals according to standard laboratory safety protocols. At the end of each workday, thoroughly clean your equipment and return everything to its designated storage location to prevent contamination and ensure consistent research conditions.
Step 2: Clean and Inspect All Lab Components
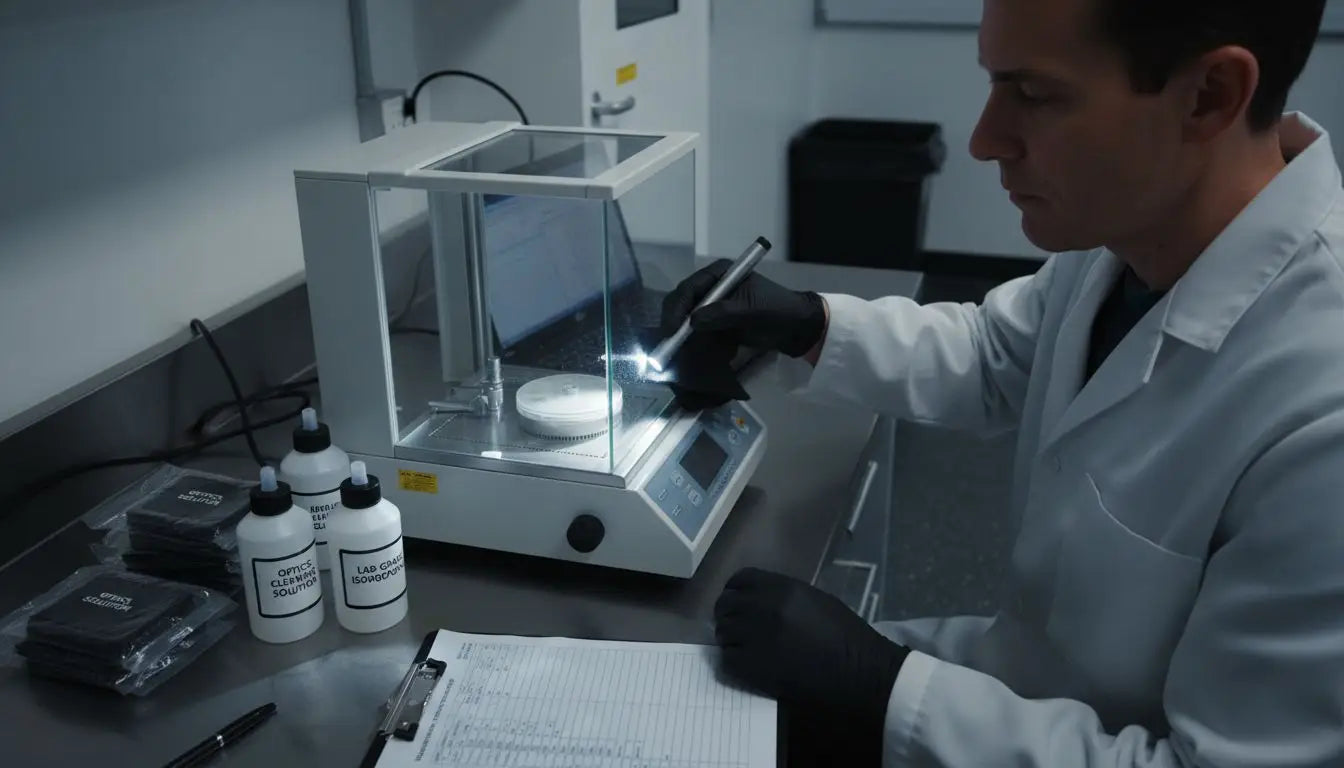
Cleaning and inspecting lab components is a critical process that ensures accurate research results and maintains equipment integrity. This meticulous step prevents contamination, identifies potential equipment issues, and preserves the precision of your scientific instruments.
Start by gathering appropriate cleaning agents specific to each piece of equipment. Different materials require unique cleaning approaches some delicate instruments need specialized solutions while others might require standard laboratory disinfectants. Methodically wipe down all surfaces using lint free cloths or sterile wipes recommended for scientific equipment. Pay special attention to contact points mechanical interfaces and areas prone to residue buildup.
After surface cleaning conduct a comprehensive visual and functional inspection. Check for any signs of wear deformation microfractures or unusual discoloration. Test moving parts for smooth operation and verify that all mechanical components function within expected parameters. Learn more about laboratory safety protocols to understand comprehensive equipment maintenance.
Pro Tip: Always dry lab components thoroughly after cleaning to prevent bacterial growth and potential corrosion.
Complete your inspection by applying appropriate lubrication to mechanical parts ensuring smooth operation and preventing potential friction damage. Document your cleaning and inspection process meticulously tracking any anomalies or maintenance performed. This careful approach will help maintain equipment reliability and support consistent research outcomes.
Step 3: Assemble Equipment According to Protocol
Assembling lab equipment with precision is a critical step that demands careful attention to manufacturer guidelines and scientific protocols. Your goal is to create a setup that ensures accuracy reproducibility and safety throughout your research process.
Begin by carefully reviewing the manufacturer documentation for each piece of equipment. Read through the assembly instructions completely before starting the physical setup. Organize all components on a clean workspace arranging them in the order they will be assembled. Pay close attention to connection points alignment markers and any specific orientation requirements. Explore our comprehensive laboratory safety protocols guide to understand best practices during equipment assembly.
As you assemble each component use gentle but firm pressure ensuring secure connections without forcing or misaligning parts. Check that each piece fits precisely according to the manufacturer specifications. Verify electrical connections power requirements and mechanical interfaces carefully. Some delicate scientific instruments require specialized handling so consult specific equipment manuals for unique assembly instructions.
Pro Tip: Always use manufacturer recommended tools and follow torque specifications when tightening connections to prevent potential damage or performance issues.
Document your assembly process by creating a detailed log noting any challenges encountered or modifications made during setup.
This documentation will prove invaluable for future reference troubleshooting and maintaining consistent research protocols.
Step 4: Calibrate Instruments for Accurate Performance
Calibrating scientific instruments is a crucial process that ensures the precision and reliability of your research measurements. This meticulous step transforms your equipment from functional to scientifically dependable creating a foundation for accurate experimental results.
Begin by identifying the specific calibration requirements for each instrument. Consult manufacturer manuals and scientific protocols that outline the precise calibration procedures for your specific equipment. Gather standardized reference materials or calibration standards that match the measurement range and specifications of your instruments. Explore our guide on precision measurement techniques to understand the nuanced approaches to scientific instrument calibration.
Carry out the calibration process systematically using controlled environmental conditions. Maintain consistent temperature humidity and other relevant parameters that might impact measurement accuracy. Use reference standards to adjust instrument readings comparing output against known values. Record all calibration data meticulously documenting initial readings adjustment parameters and final verified measurements.
Pro Tip: Perform calibration during stable environmental conditions and allow instruments to reach thermal equilibrium before starting the process.
Establish a regular calibration schedule tracking each instrument performance over time. Some sensitive equipment might require more frequent calibration while others can maintain accuracy for longer periods. By implementing a structured calibration protocol you will minimize measurement uncertainties and enhance the overall reliability of your scientific research.
Step 5: Verify Setup and Test Functionality
Verifying your lab equipment setup and testing functionality represents the final critical checkpoint in ensuring accurate and reliable scientific research. This comprehensive evaluation confirms that every component operates precisely as intended minimizing potential errors before actual experimentation begins.
Initiate your verification process by conducting a systematic functional test of each instrument. Run preliminary diagnostic sequences to check electrical connections power stability and fundamental operational parameters. Pay close attention to performance indicators such as unusual sounds unexpected vibrations or inconsistent initial readings. Explore our detailed guide on laboratory safety protocols to understand comprehensive equipment verification techniques.
Prepare a detailed verification log documenting each instrument performance during testing. Capture key metrics including startup time response accuracy temperature stability and mechanical responsiveness. Compare current performance against manufacturer specifications and previous calibration records. Some instruments might require multiple test cycles to establish consistent baseline performance particularly for complex or sensitive scientific equipment.
Pro Tip: Always conduct functionality tests under controlled environmental conditions to ensure reproducible and reliable results.
Complete your verification by creating a comprehensive documentation package. Include test results initial performance measurements and any observations about instrument behavior. This documentation will serve as a critical reference for future maintenance troubleshooting and scientific reproducibility ensuring your laboratory maintains the highest standards of precision and reliability.
Empower Your Lab Setup with Precise Solutions from Shop Genomics
Setting up lab equipment correctly demands careful attention to calibration, assembly, and verification to ensure accurate results and reliable research outcomes. If you have faced challenges with maintaining equipment precision or struggled to find the right tools that meet exacting scientific protocols, you are not alone. The need for trusted scientific instruments, compatible accessories, and streamlined setup solutions is critical to avoid costly delays and errors in your research.

At Shop Genomics, we understand these pain points and provide a wide selection of cutting-edge research equipment that supports your goals of accuracy and reproducibility. Our commitment to making advanced technology accessible helps you build a safer and more efficient lab environment. Stop compromising on quality or accessibility. Visit Shop Genomics today to explore how our products and expert resources can help you master every step from workspace assessment to equipment calibration. Take your research to the next level with reliable tools backed by knowledgeable support and start achieving consistent, breakthrough results now.
Frequently Asked Questions
How do I assess my lab workspace before setting up equipment?
Begin by evaluating your laboratory environment and documenting existing infrastructure. Gather architectural floor plans and HVAC layouts to understand spatial constraints and electrical needs.
What is the proper way to clean and inspect lab equipment before use?
Thoroughly clean all lab components using appropriate cleaning agents and lint-free cloths. After cleaning, inspect for wear or damage, and ensure moving parts operate smoothly to maintain function and reliability.
How should I assemble lab equipment to ensure accurate results?
Carefully follow the manufacturer’s assembly instructions while organizing components in order. Ensure that all connections are secure without forcing parts, and document any challenges during assembly to aid future reference.
What steps should I take for calibrating my lab instruments?
Identify specific calibration requirements for each instrument and use standardized reference materials. Record all calibration data and establish a regular calibration schedule to ensure ongoing accuracy.
How can I verify that my lab equipment is functioning properly?
Conduct systematic functional tests for each instrument to check electrical connections and operational parameters. Document performance metrics and compare them against manufacturer specifications to identify any discrepancies.


